Create GR for a Supplier
Record the delivery of goods or services for a buyer-managed vendor and optionally attach the invoice.
Last updated 12 October 2026
Who can use this?
Available to Procurement Buyer, Procurement Admin, and Admin. The supplier must be a buyer-managed (non-self-service) vendor, and the PO must have been accepted.
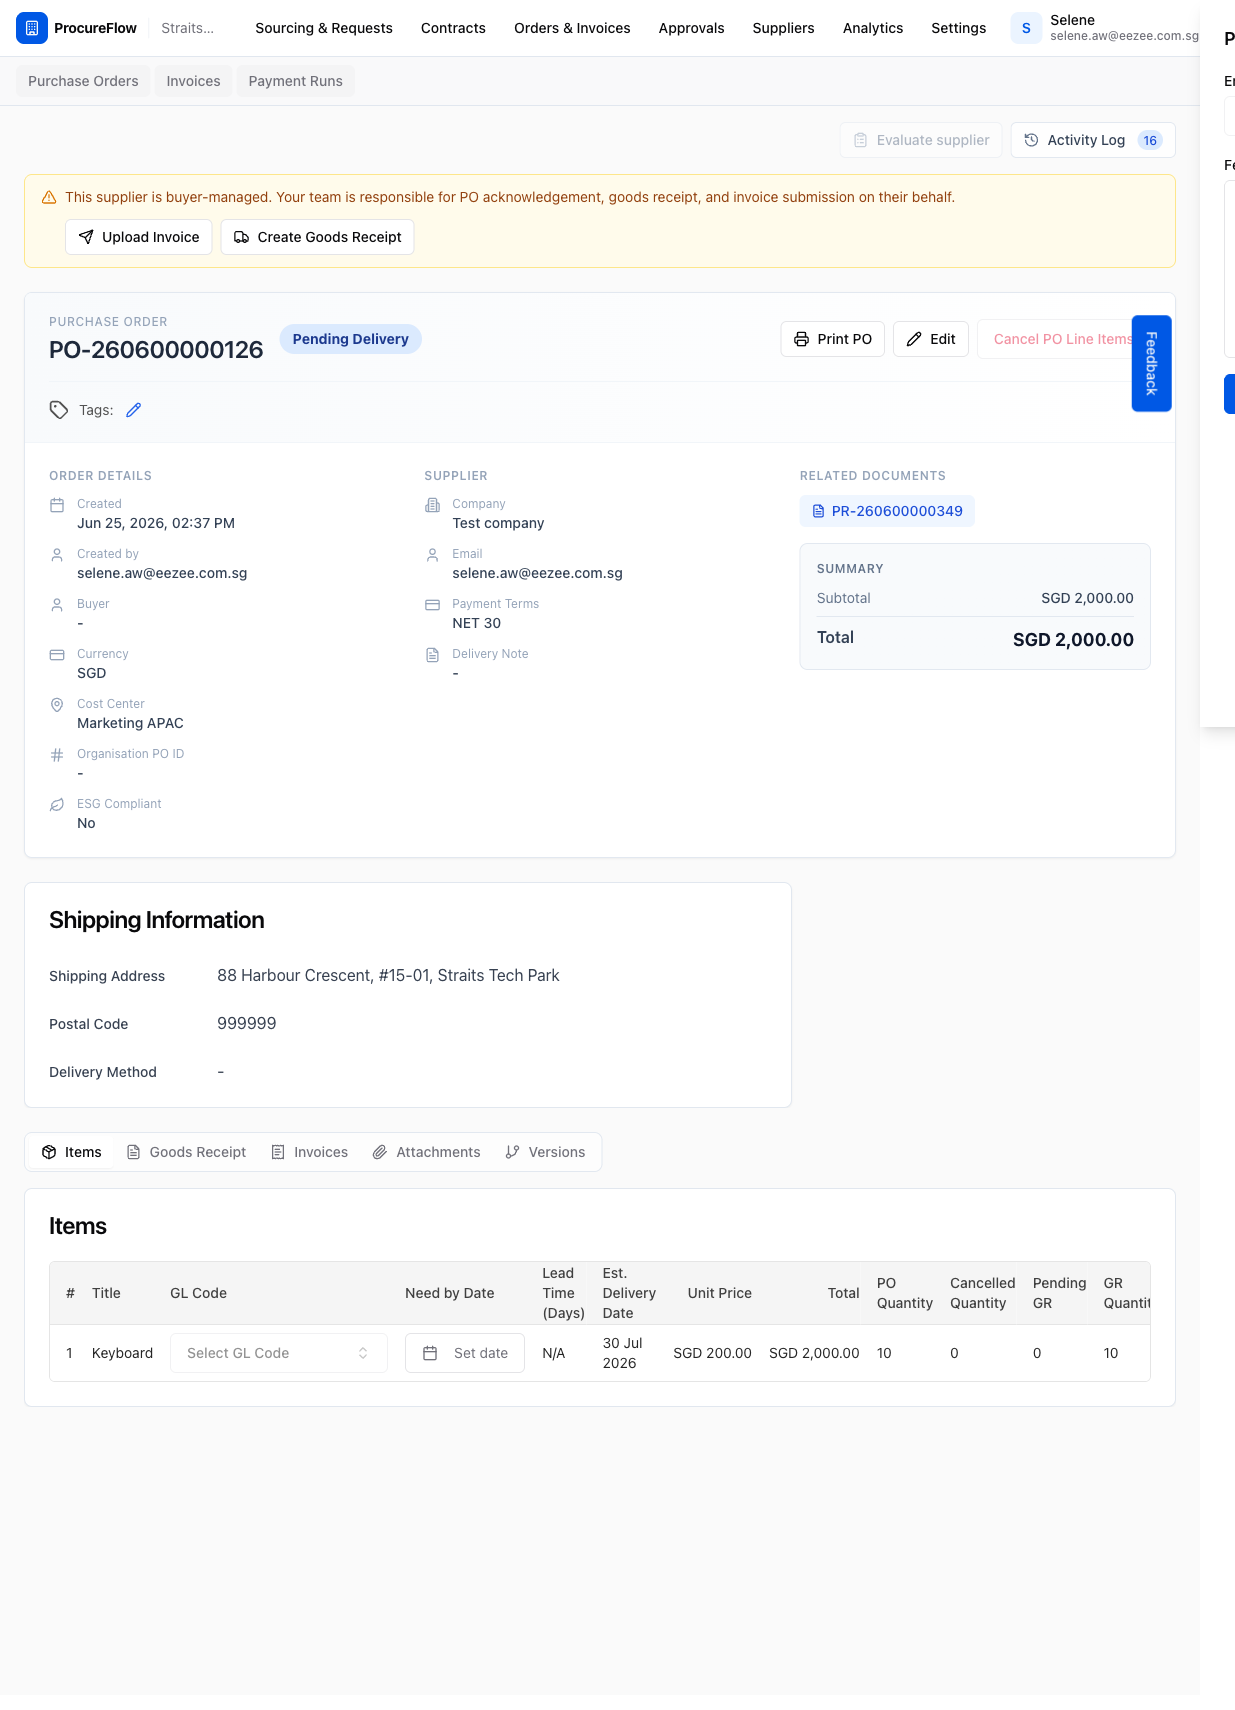
Open the Purchase Order
Open the PO detail page.
The buyer-managed banner should show the Upload Invoice and Create Goods Receipt buttons. These are available once the PO has been accepted on the supplier's behalf.

Click Create Goods Receipt
Click Create Goods Receipt in the buyer-managed banner.
The Create Goods Receipt dialog opens showing two steps: Delivery Details and Invoice Details.
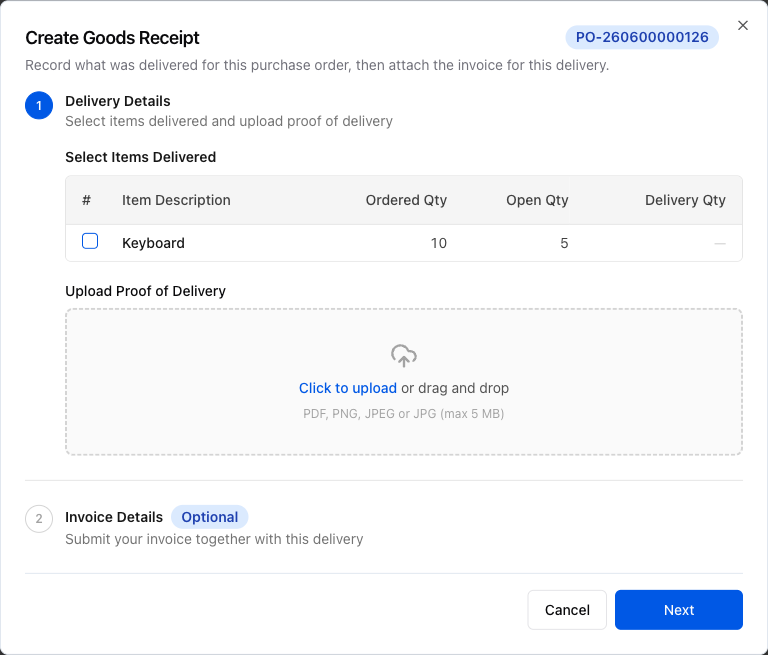
Select delivered items and set quantities
In Step 1: Delivery Details, record what was delivered:
- Tick the checkbox for each item that was delivered.
- Adjust the quantity if only a partial delivery was made. The quantity field defaults to the remaining open quantity.
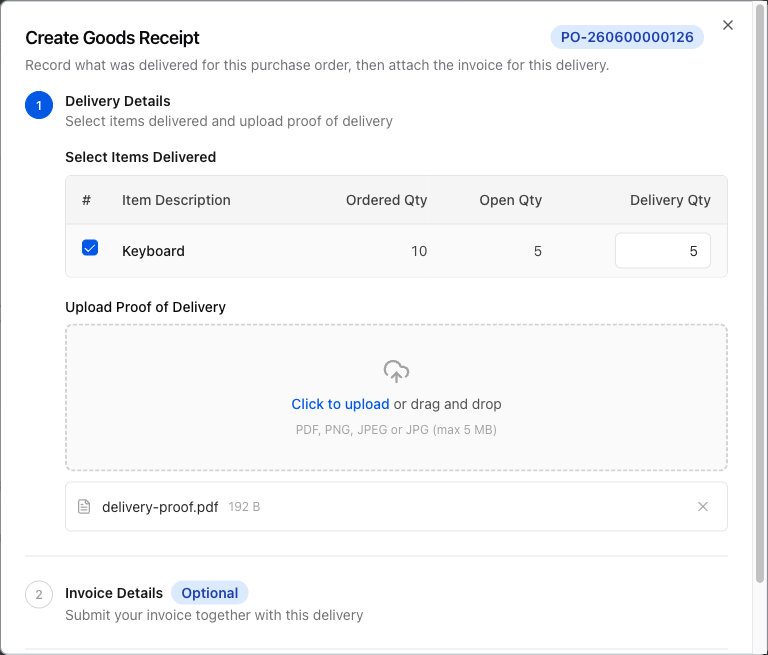
Upload Proof of Delivery
Still on Step 1, upload the proof of delivery document using the Upload Proof of Delivery dropzone. Accepted formats are PDF, PNG, and JPEG (max 5 MB).
Click or drag-and-drop the file to attach it.
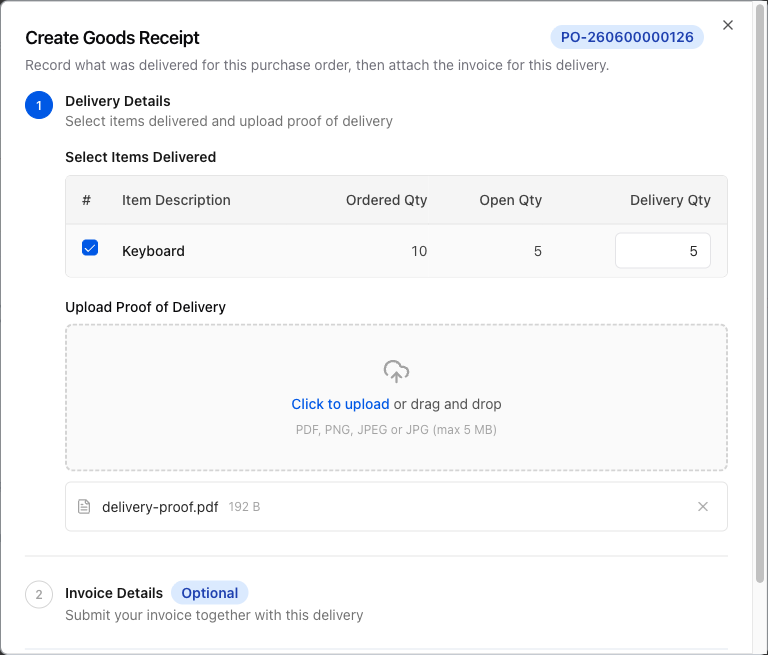
Click Next to proceed to invoice step
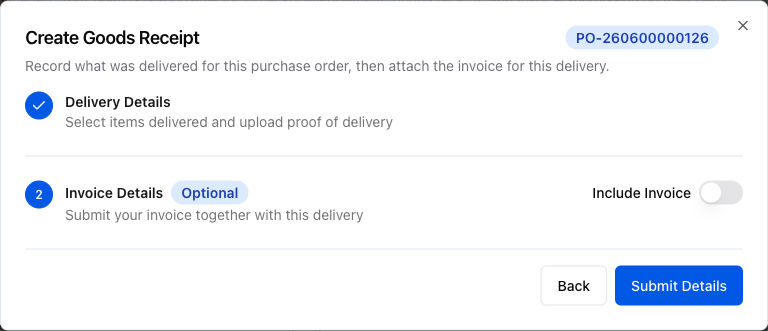
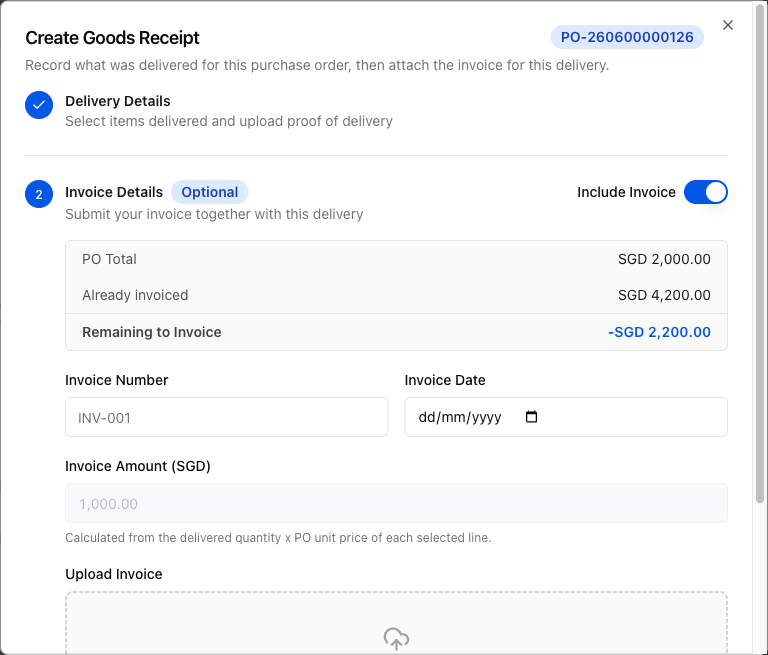
Click Next. Step 2 shows the optional Invoice Details section.
Choose whether to include an invoice with this delivery:
- Toggle Include Invoice on to submit an invoice together with this delivery.
- Leave it off to record the GR alone.
Click Submit Details
Click Submit Details.
ProcureFlow creates the goods receipt record, uploads the proof of delivery, and refreshes the page. The new GR appears in the Goods Receipt tab on the PO.