Upload Invoice for a Supplier
Submit a supplier invoice against a completed delivery for a buyer-managed vendor.
Last updated 12 October 2026
Who can use this?
Available to Procurement Buyer, Procurement Admin, and Admin. The supplier must be a buyer-managed (non-self-service) vendor, and the PO must have been accepted.
Open the Purchase Order
Open the PO detail page. The buyer-managed banner should show Upload Invoice and Create Goods Receipt buttons. These appear only after the PO has been accepted on the supplier's behalf.

Click Upload Invoice
Click Upload Invoice in the buyer-managed banner. The Upload Invoice dialog opens.
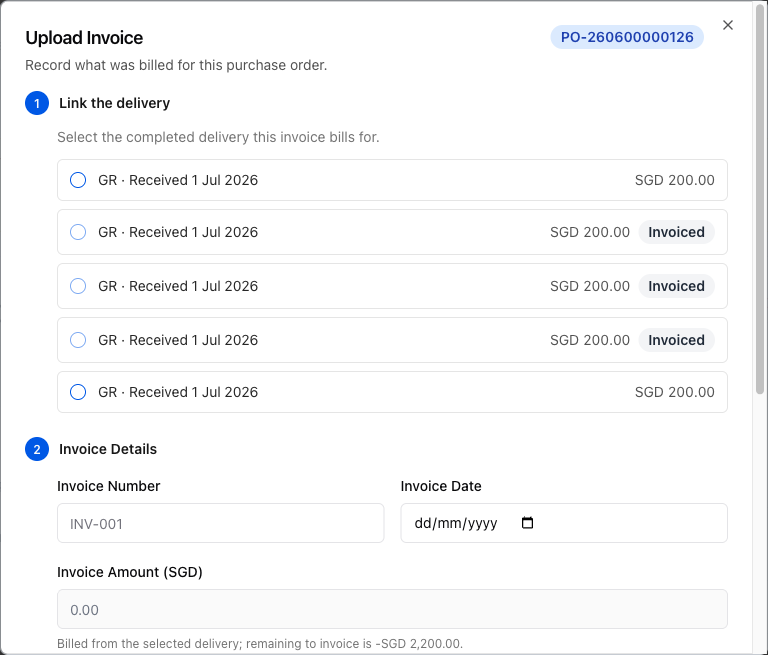
Select the delivery to bill (Step 1)
In Step 1: Link the delivery, select the completed Goods Receipt (GR) that this invoice bills for.
Only closed GRs that have not yet been fully invoiced are selectable. Already-invoiced GRs are shown greyed out.
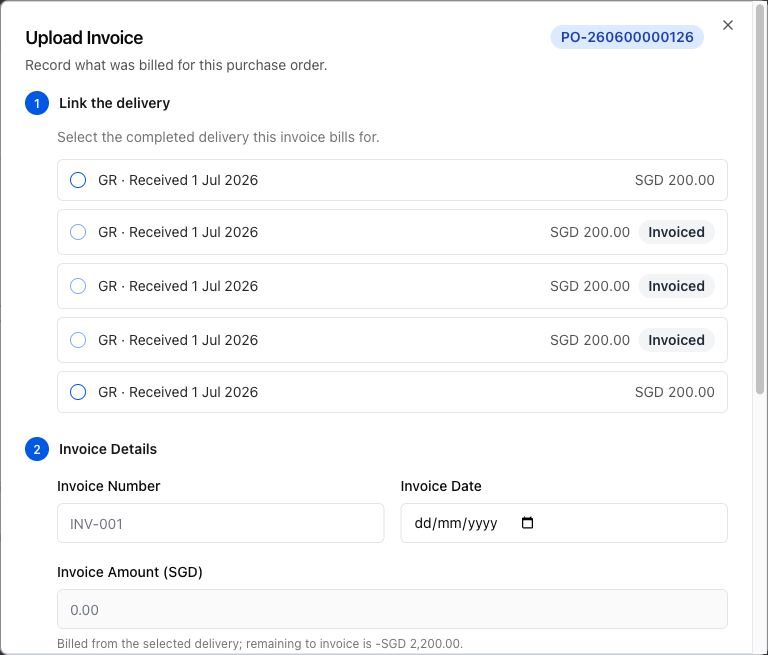
Fill in invoice details (Step 2)
In Step 2: Invoice Details, fill in:
- Invoice Number: the supplier's invoice reference.
- Invoice Date: the date on the supplier's invoice.
- Invoice Amount: pre-filled from the selected delivery; adjust if needed.
- Upload Invoice: attach the PDF or image of the invoice (max 5 MB).
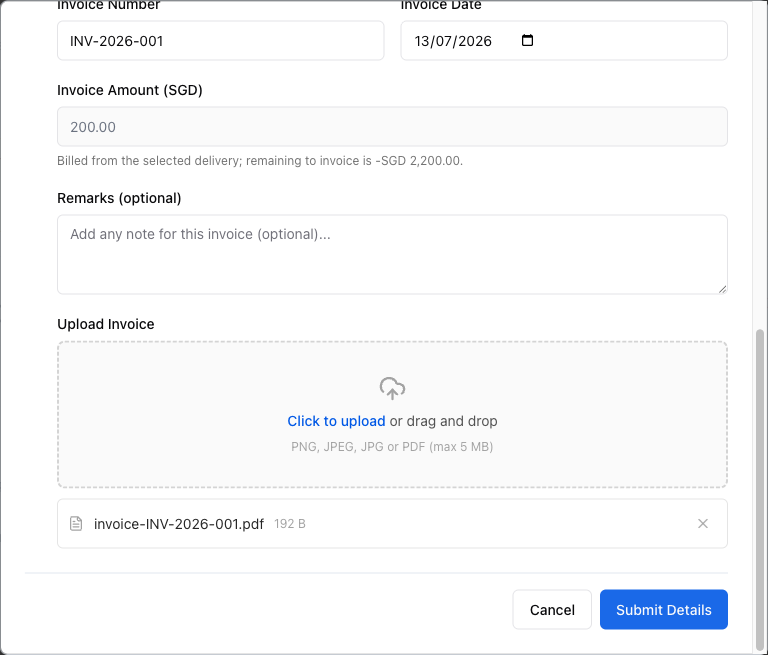
Click Submit Details
Click Submit Details. ProcureFlow uploads the invoice file, creates the supplier invoice record, and links it to the selected delivery.
The dialog closes and the invoice appears in the Invoices tab on the PO.
View the uploaded invoice
After submission, click the Invoices tab on the PO detail page to confirm the invoice was recorded.
Each row shows the invoice number, the linked goods receipt, invoice date, amount, and current status.
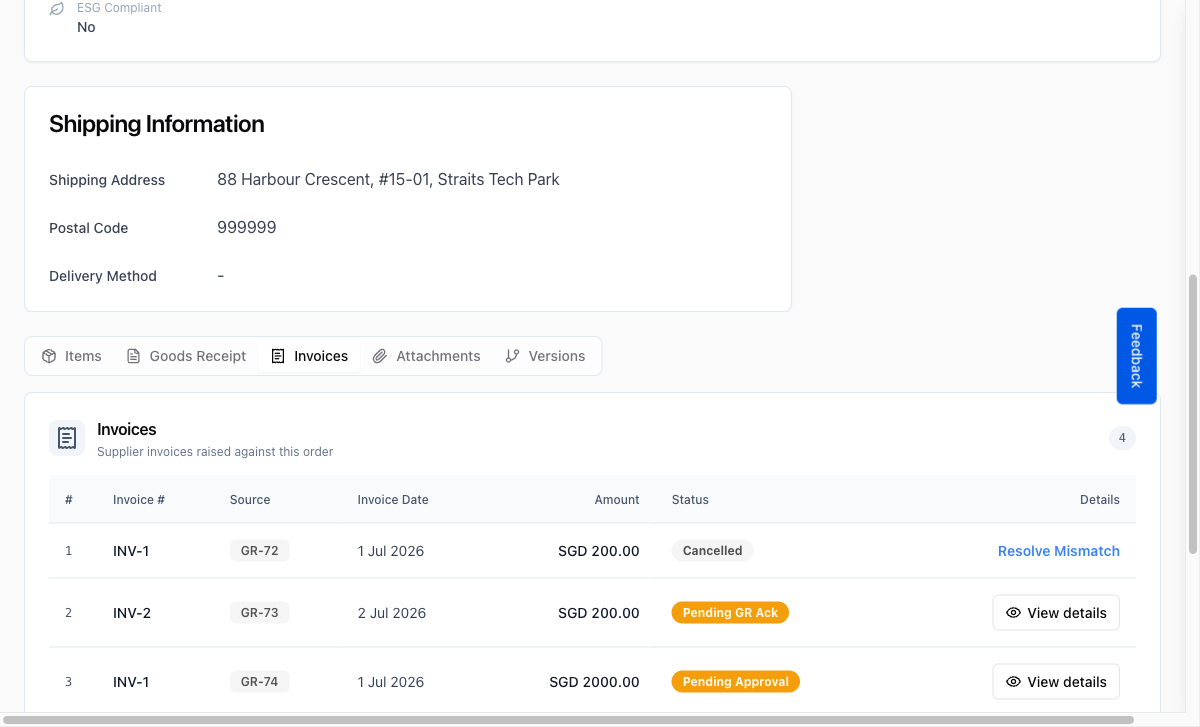
What the statuses mean:
- Pending GR Ack: the goods receipt acknowledgement is still outstanding.
- Pending Approval: the invoice is in the finance approval workflow.
- Pending Payment Run: it has been approved and is awaiting inclusion in a payment run.