Accept a PO for a Supplier
Record a buyer-managed supplier's acceptance of a purchase order, including per-line estimated delivery dates.
Last updated 12 October 2026
Who can use this?
Available to Procurement Buyer, Procurement Admin, and Admin roles. The supplier must be a buyer-managed (non-self-service) vendor.
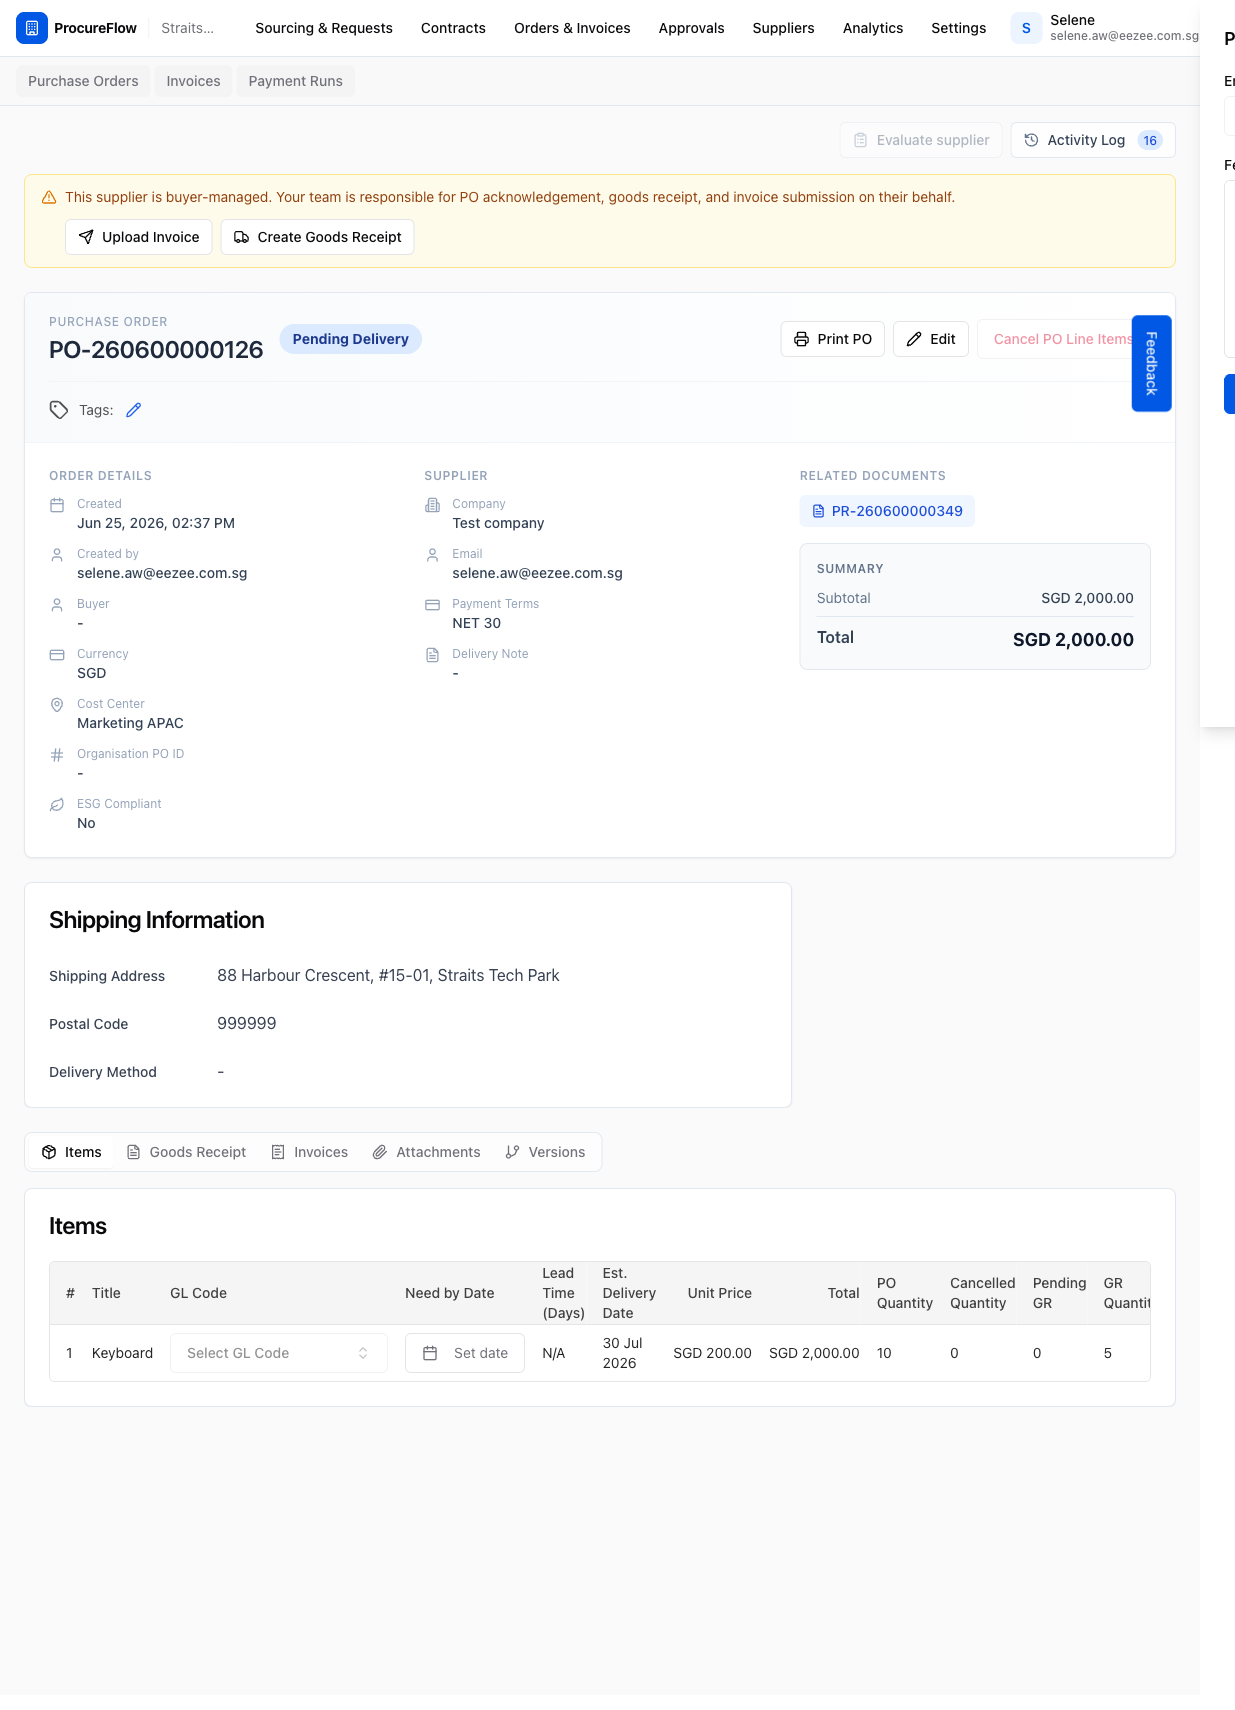
Open the Purchase Order
Open the PO you want to accept:
- Go to Orders & Invoices → Purchase Orders.
- Open the relevant PO.
The PO must be in Open state with the buyer-managed banner visible. The banner appears once all internal approvals are completed for a non-self-service supplier.
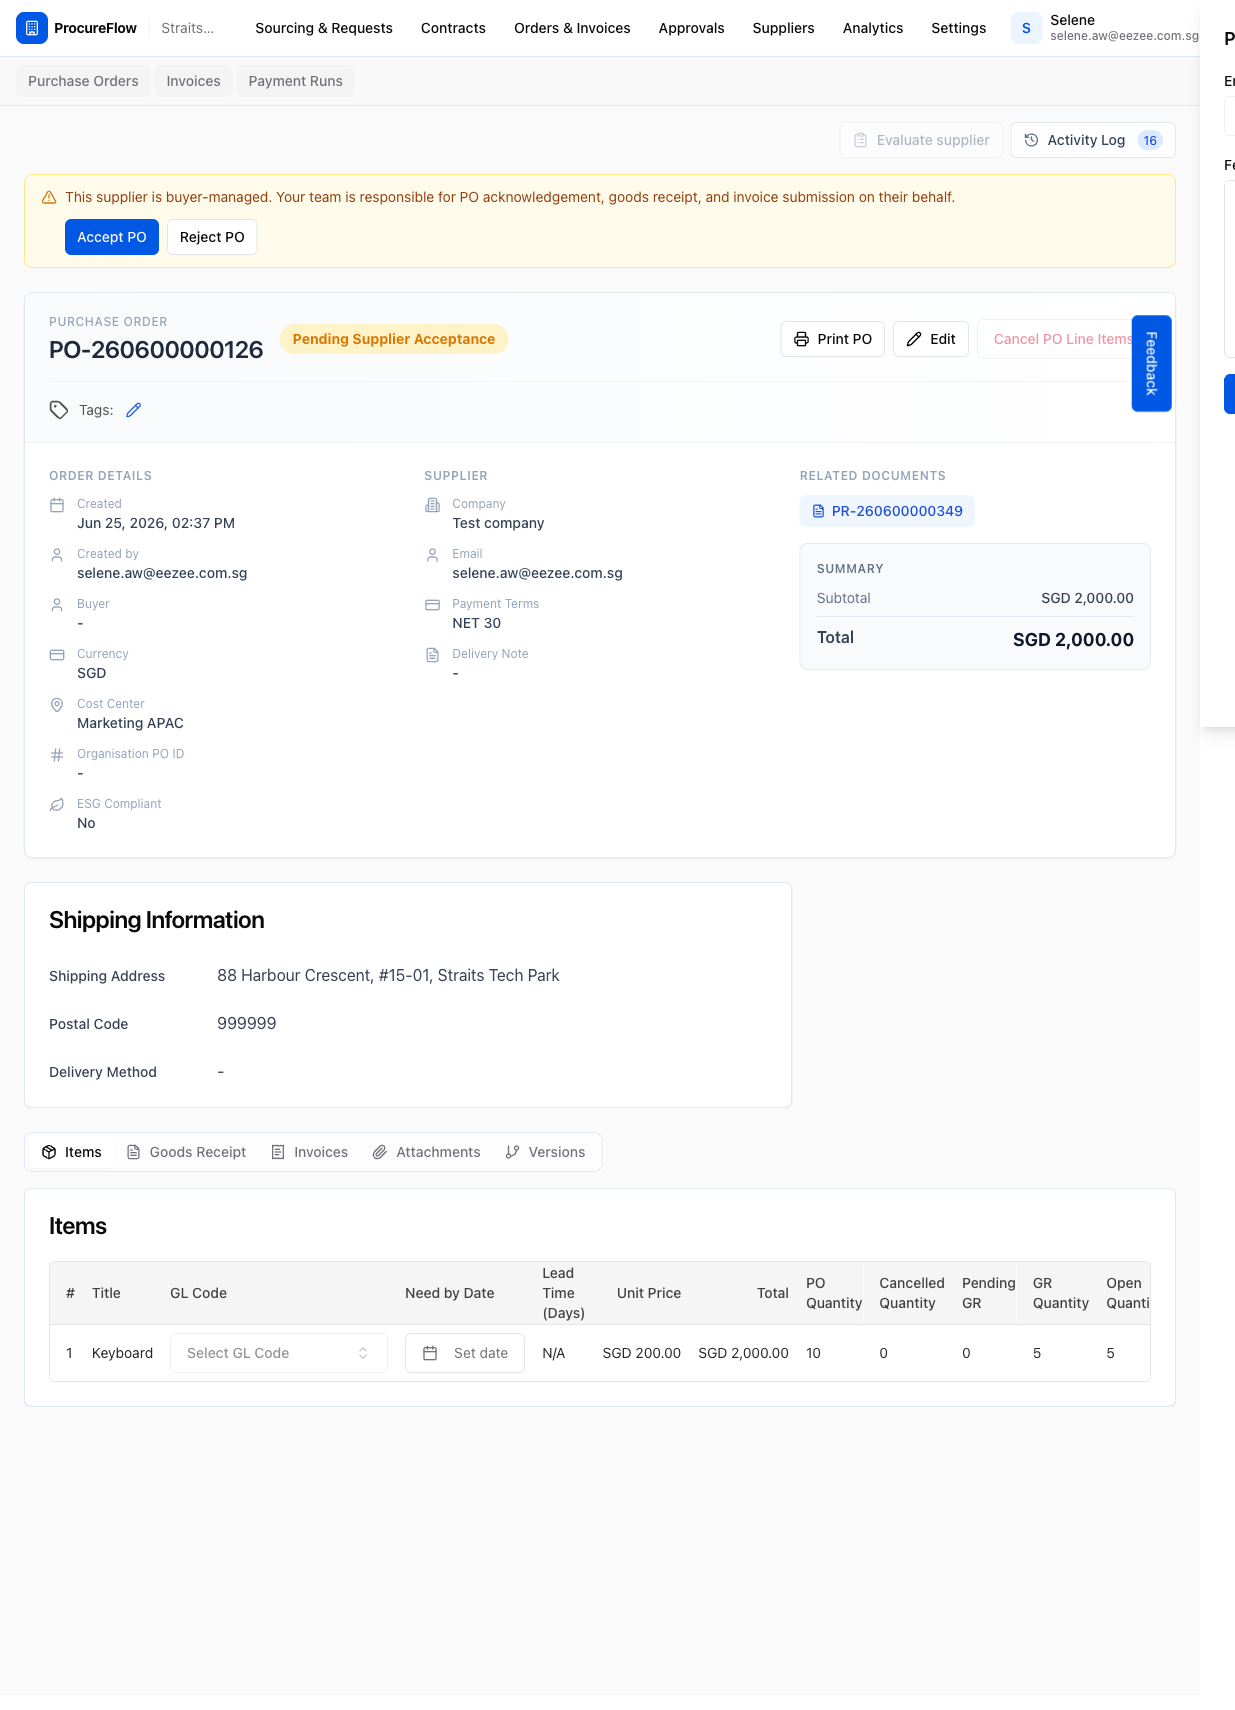
Click Accept PO in the buyer-managed banner
Inside the amber buyer-managed banner, click Accept PO.
This opens the acceptance dialog where you will record the supplier's acceptance on their behalf.

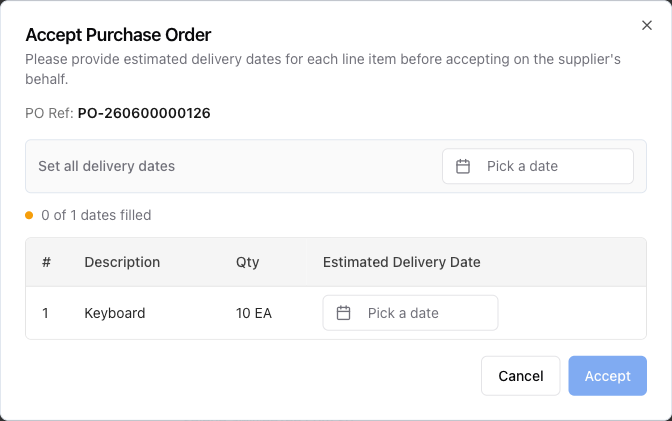
Set Estimated Delivery Dates for each line item
The dialog requires an Estimated Delivery Date (EDD) for every line item before you can proceed.
Set the dates in one of two ways:
- Use the Set all delivery dates bulk picker at the top to apply one date to all items at once.
- Set dates individually per row.
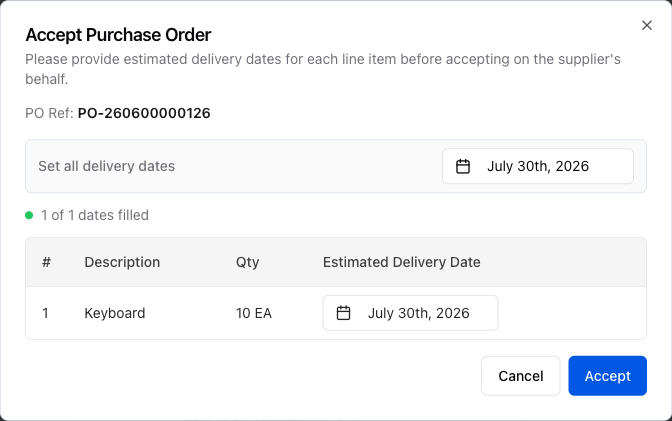
Click Accept to confirm
With all EDDs filled, click Accept.
ProcureFlow records the PO as accepted on the supplier's behalf and refreshes the page.