Proforma Invoice (COD)
As a Cash-on-Delivery (COD) supplier, raise an advance (proforma) invoice from the supplier portal before delivery, with no goods receipt required.
Last updated 12 October 2026
Who can use this?
Available to a Supplier on a Cash-on-Delivery (COD) purchase order, that is, one with Payment Terms of 0 days. On these orders you can raise an advance (proforma) invoice from the supplier portal before delivery, with no goods receipt required.
Log in to the Supplier Portal
Sign in to the buyer's supplier portal:
- Open the Supplier Portal link for the buyer's organisation (it is included in your purchase-order email).
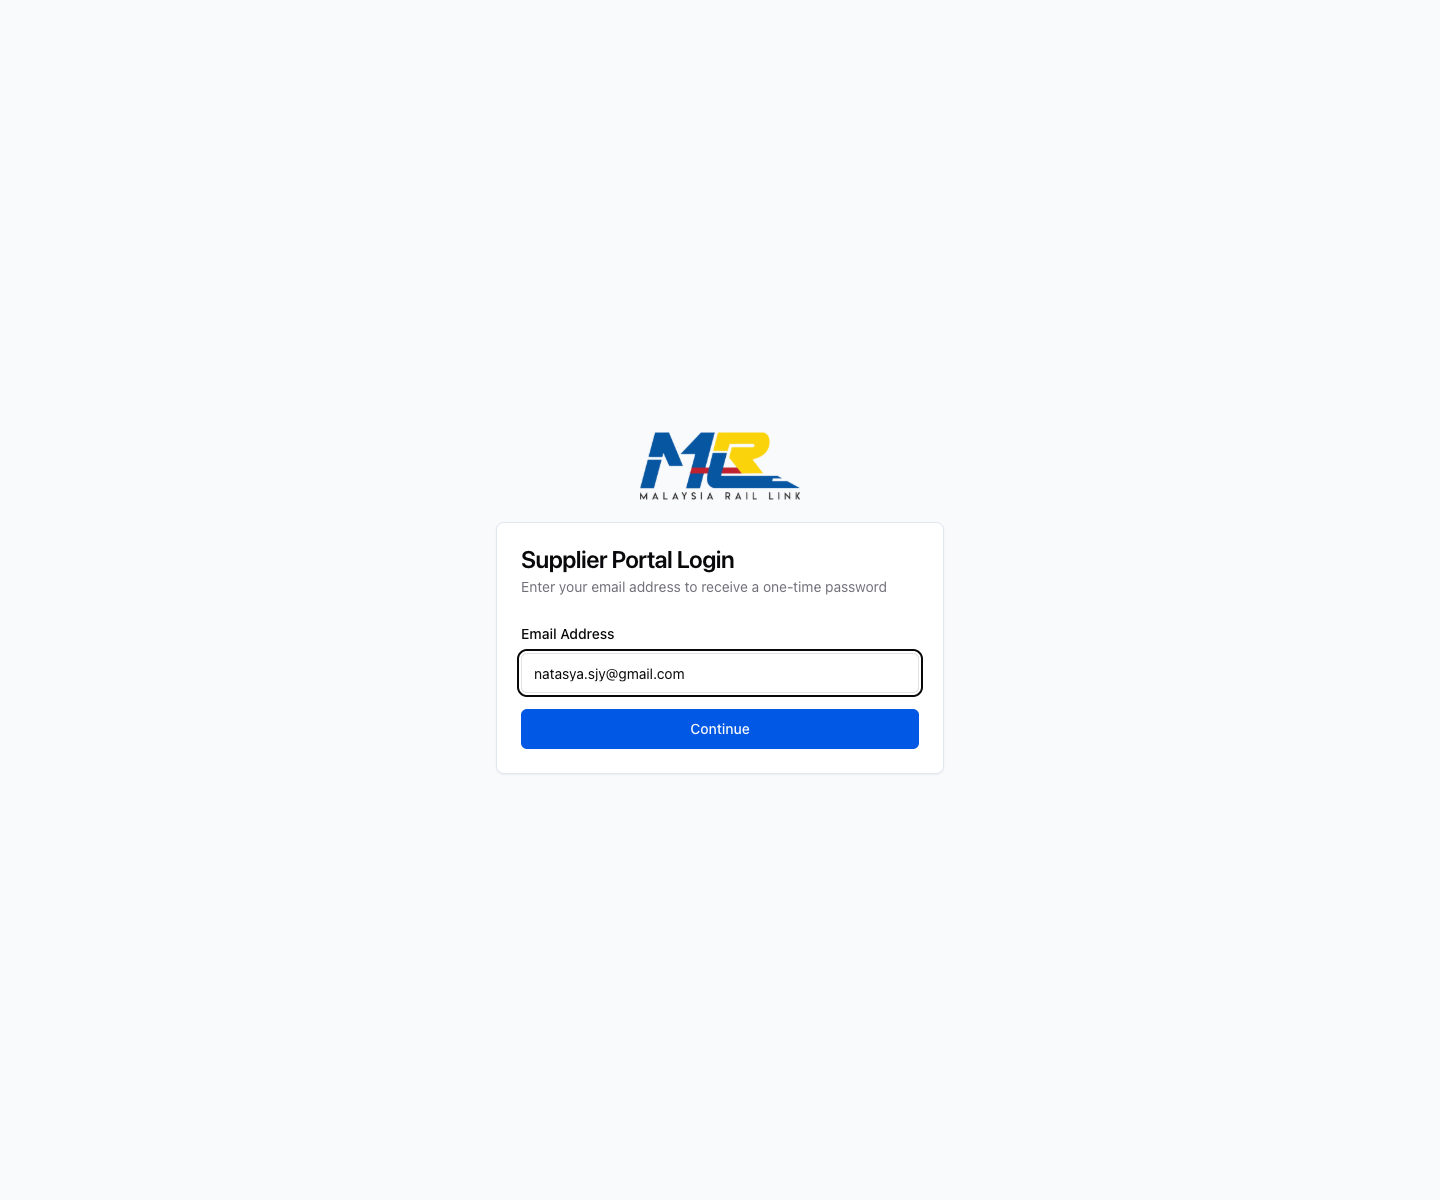
- Enter your registered email address and click Continue.
- Enter the 6-digit one-time passcode (OTP) sent to that email to sign in.
The portal is scoped to a single buyer organisation and only shows your own company's documents.
Open your COD purchase order
Find the order you want to bill:
- Go to Purchase Orders.
- Open the purchase order.
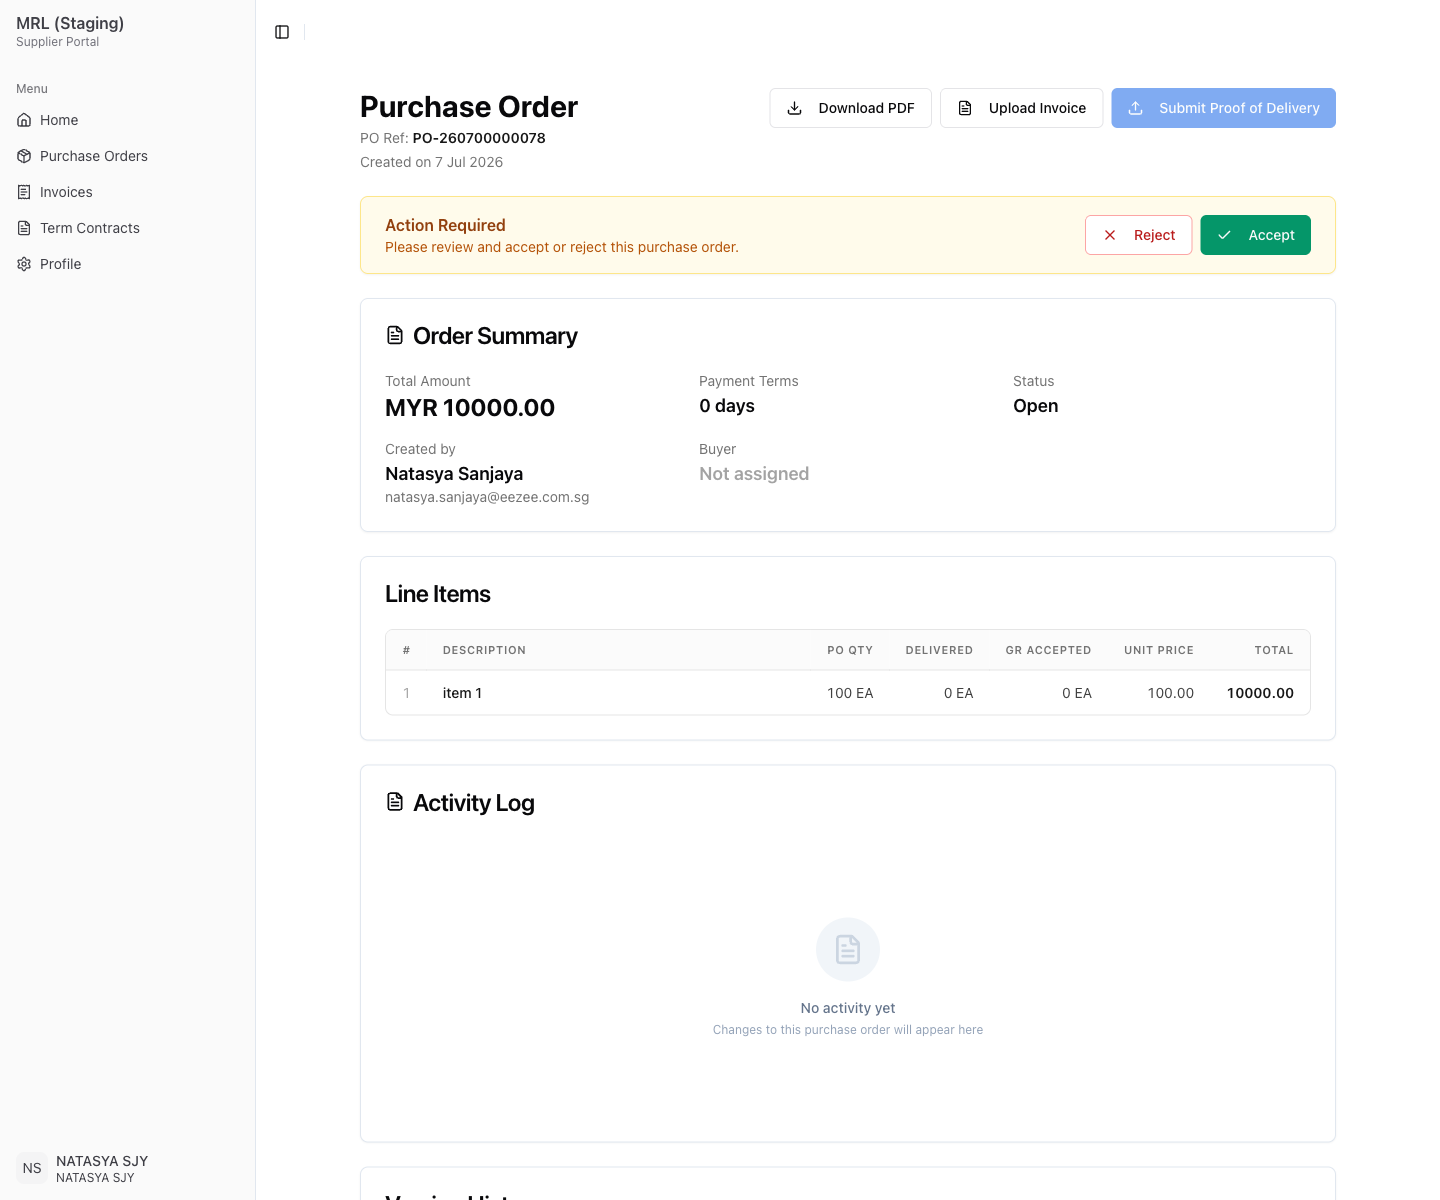
On a Cash-on-Delivery order, the Order Summary shows Payment Terms: 0 days, and an Upload Invoice button appears in the header.
Click Upload Invoice to start your invoice.
Select the items to invoice
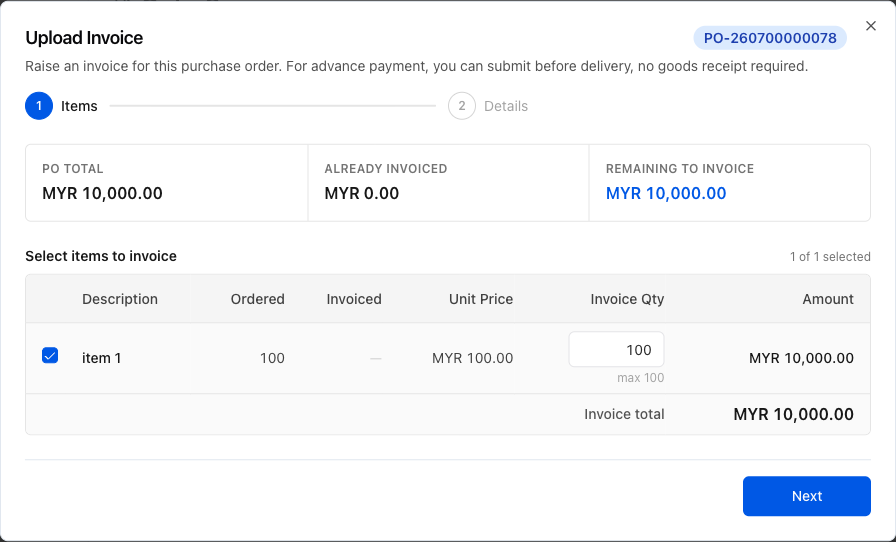
The wizard opens on Step 1: Items. It shows three amounts: the PO Total, the amount Already Invoiced, and the Remaining to Invoice. The unit price is fixed to the PO price, and each line Amount is calculated for you.
Choose what to bill:
- Tick each line item you want to bill.
- Set the Invoice Qty for each line. It defaults to the remaining quantity and cannot exceed it.
- Click Next.
Enter invoice details and attach your document
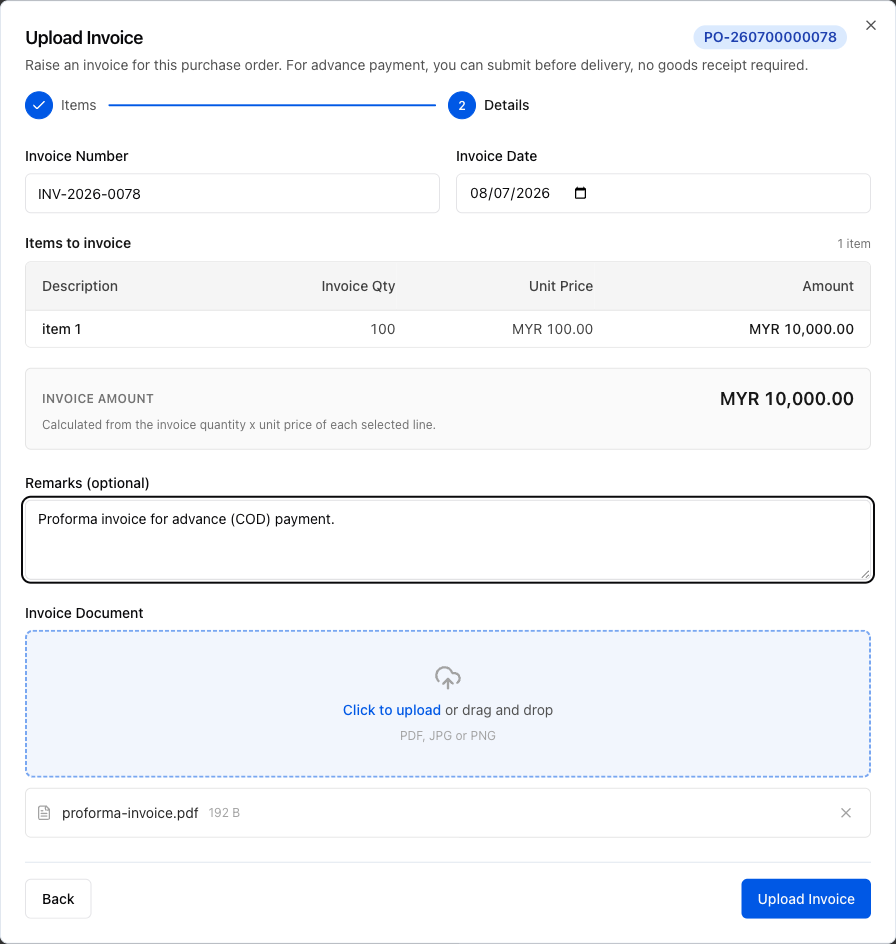
On Step 2: Details, complete the invoice:
- Enter your Invoice Number.
- Enter the Invoice Date.
- Review the read-only items recap and the calculated Invoice Amount.
- Add an optional remark.
- Upload your invoice file (PDF, JPG or PNG) in the Invoice Document dropzone.
- When everything is filled in, click Upload Invoice.
Your advance invoice is raised
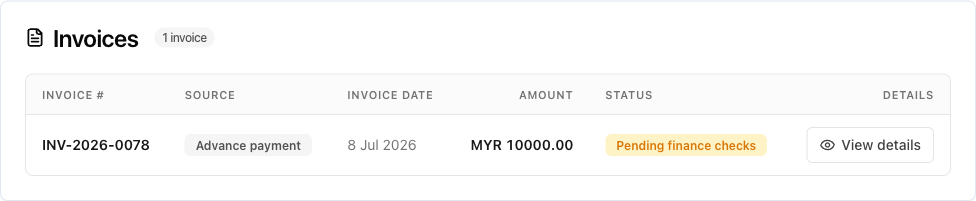
The invoice is created and now appears in the Invoices list on the purchase order, tagged Advance payment with a status of Pending finance checks.
The buyer's finance team reviews it for payment.
From here you can:
- Click View details to see the invoice.
- Raise another invoice for any remaining quantity the same way.