GL Codes & Cost Centers
Step-by-step guide for setting up your organisation's financial structure in ProcureFlow.
Last updated 12 October 2026
Who can use this?
Available to Admin only. Procurement Admin, Procurement Buyer, and Standard users do not have access to these settings.
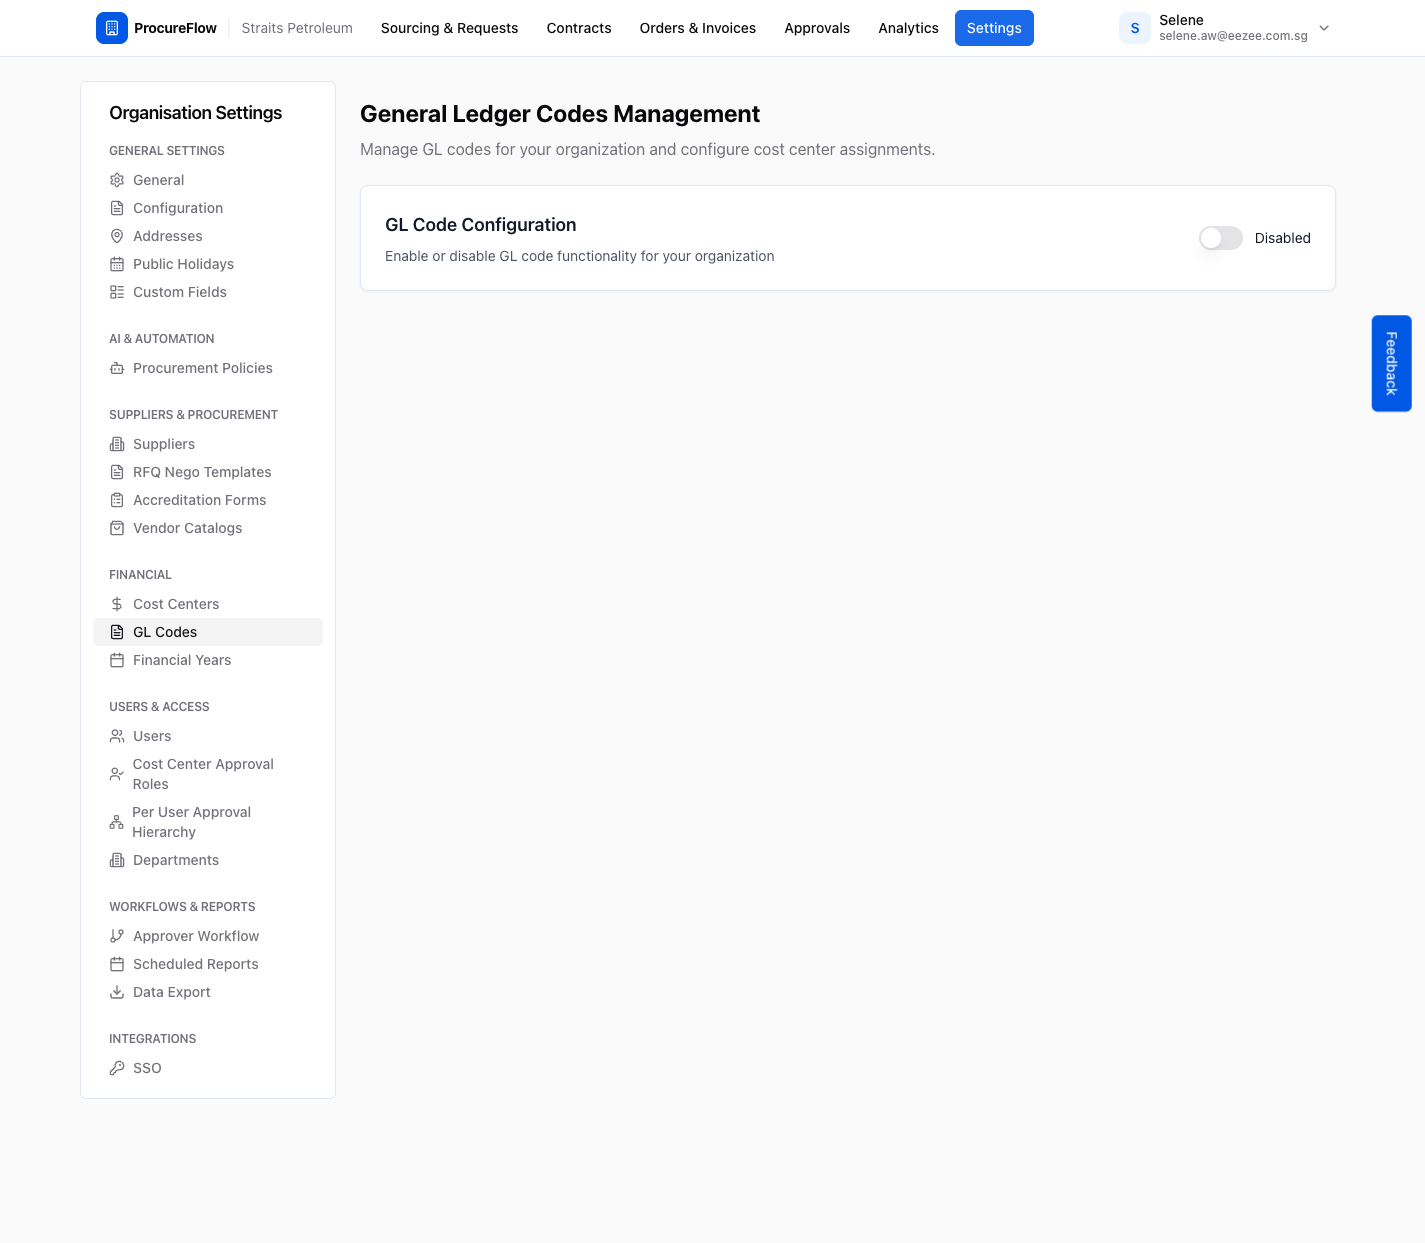
Navigate to GL Codes
- Go to Settings in the top navigation bar.
- In the left sidebar under Financial, click GL Codes.
Enable GL Code Configuration
By default, GL code functionality is disabled.
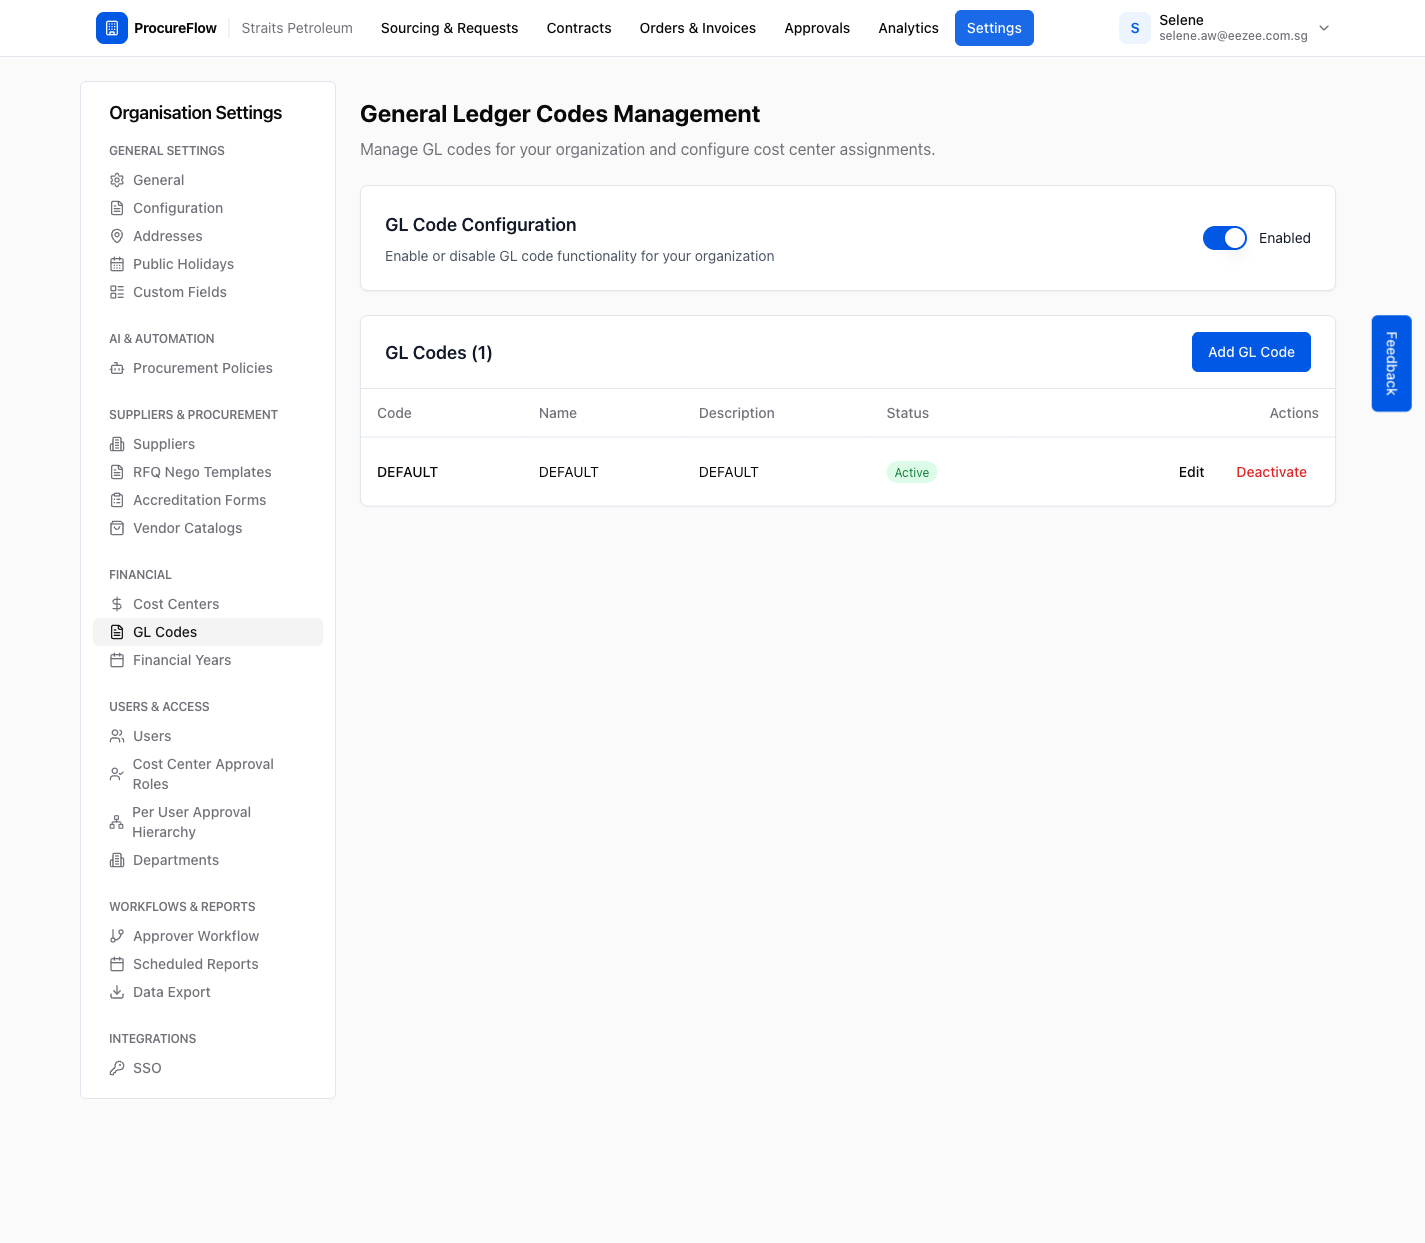
Toggle the switch to Enabled to activate it for your organisation.
The GL Codes table will appear immediately after enabling.
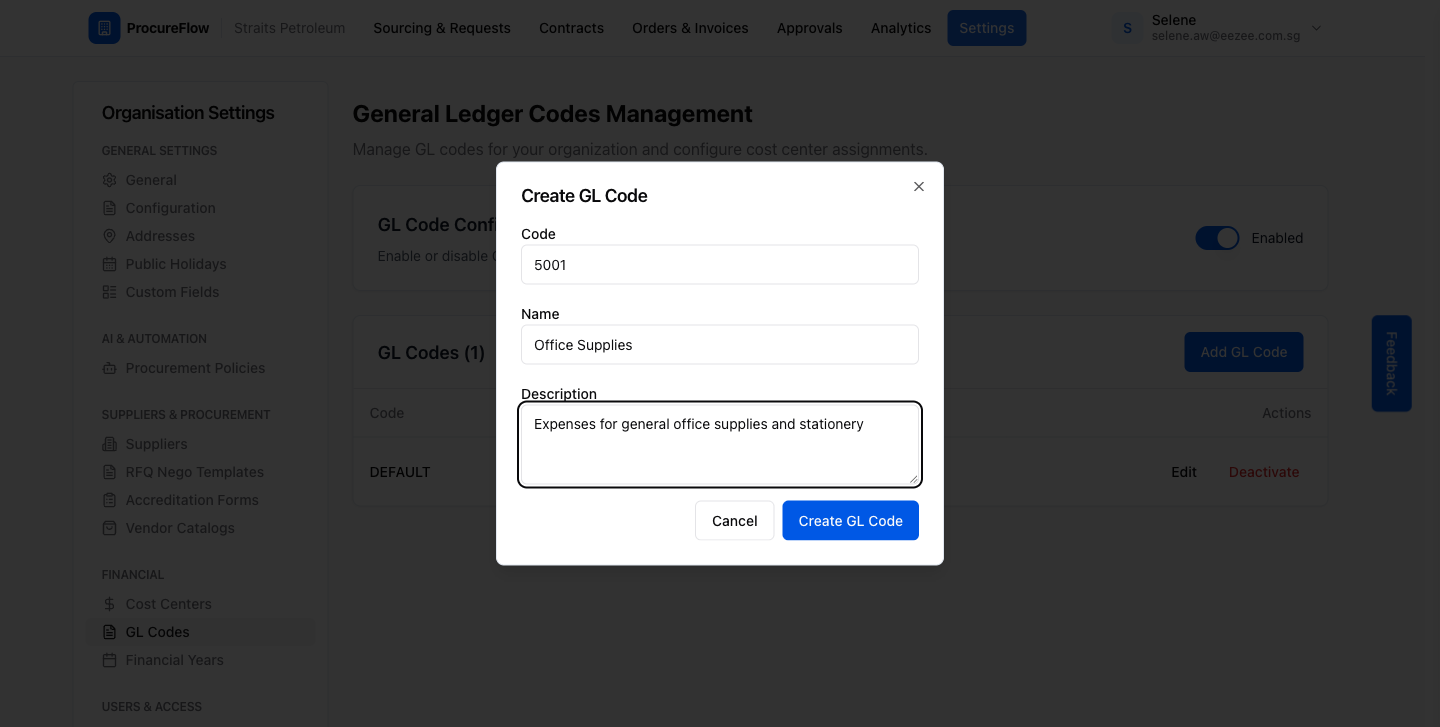
Open the Create GL Code form
Click the Add GL Code button at the top right of the GL Codes table.
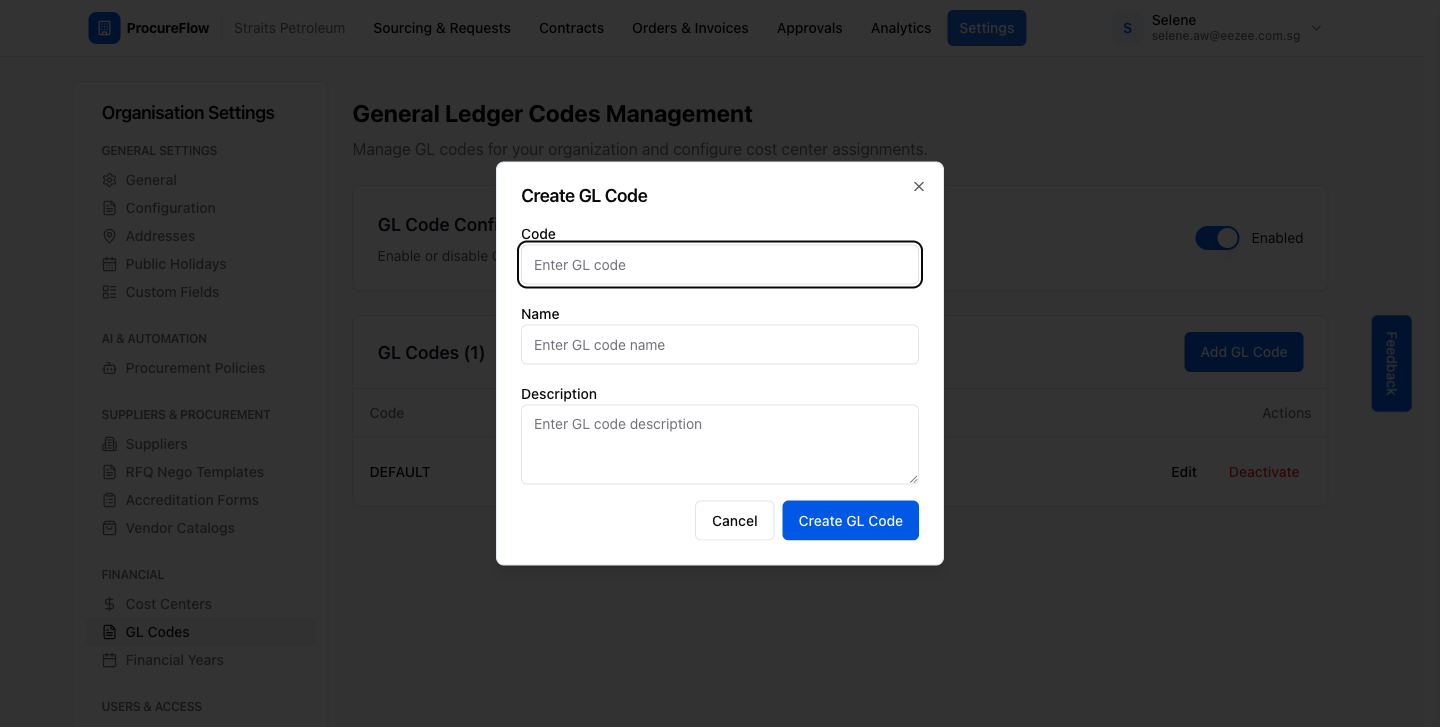
A dialog will appear with three fields to complete.
Fill in the GL Code details
Complete all three fields:
- Code: a short identifier used in purchase requests (e.g. 5001). Cannot be changed after creation.
- Name: a human-readable label (e.g. Office Supplies).
- Description: a brief explanation of what expenses this code covers.
Click Create GL Code to save.
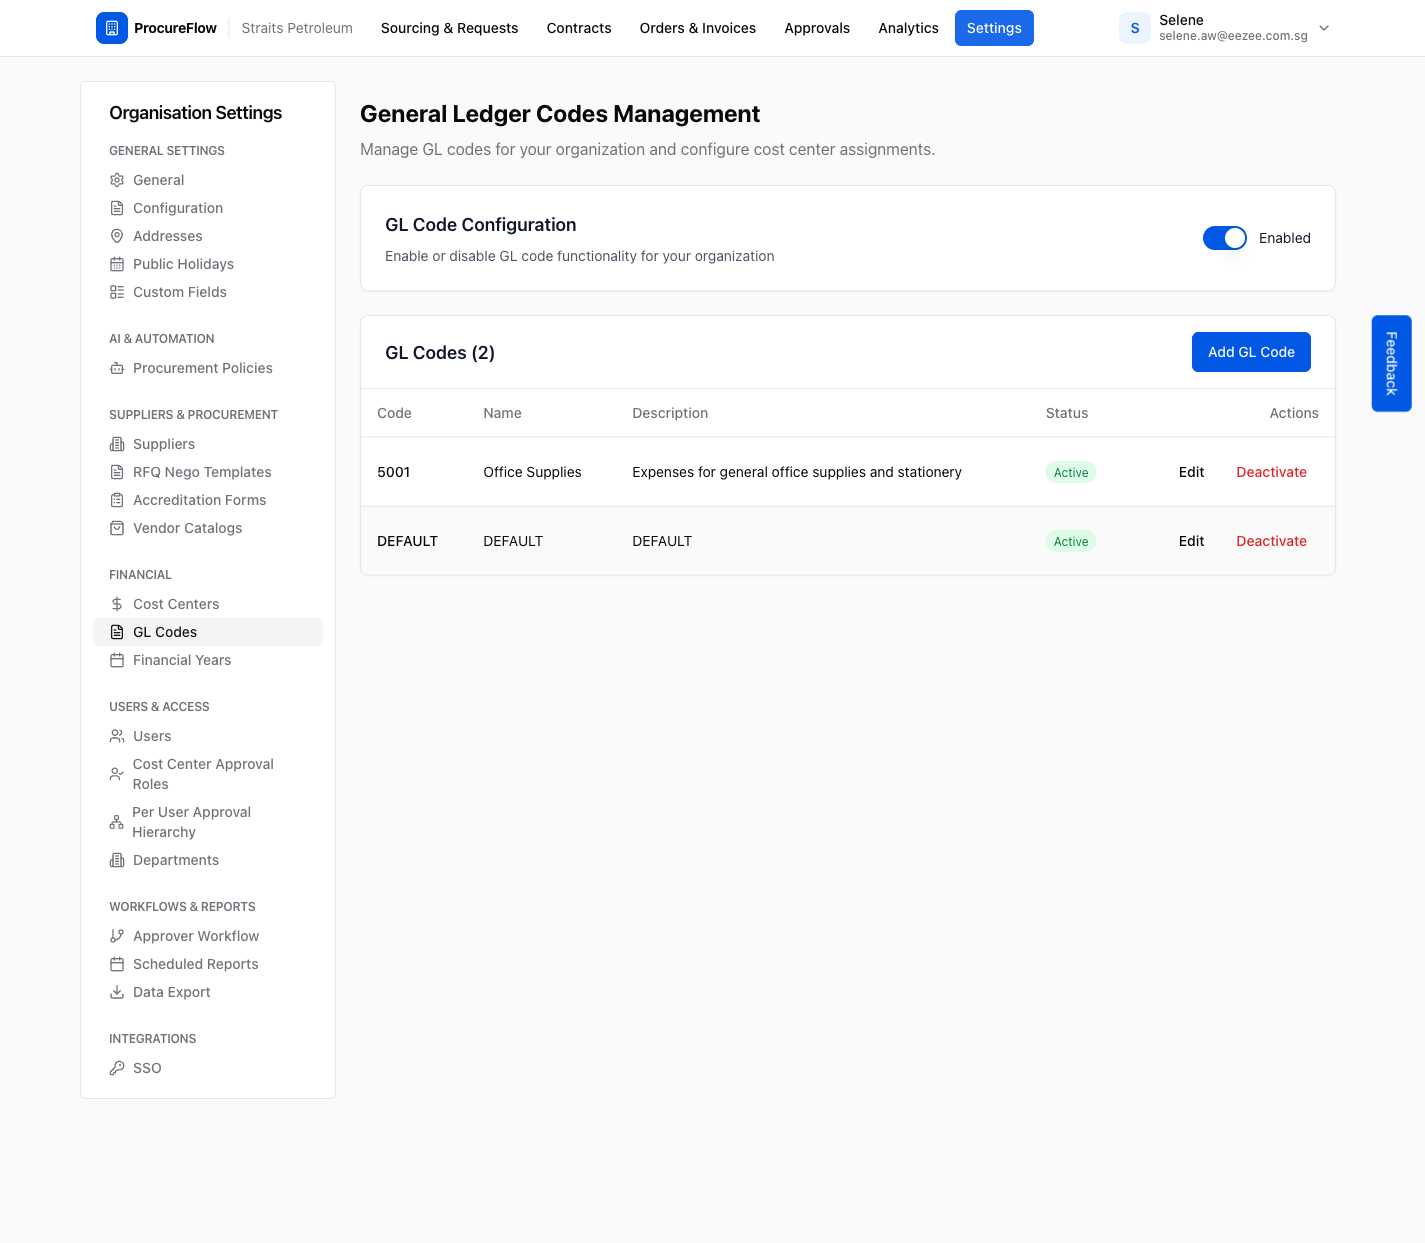
GL Code created
The new GL code appears in the table with Active status.
From here you can:
- Edit the name or description at any time.
- Deactivate a code to remove it from future use without deleting historical records.
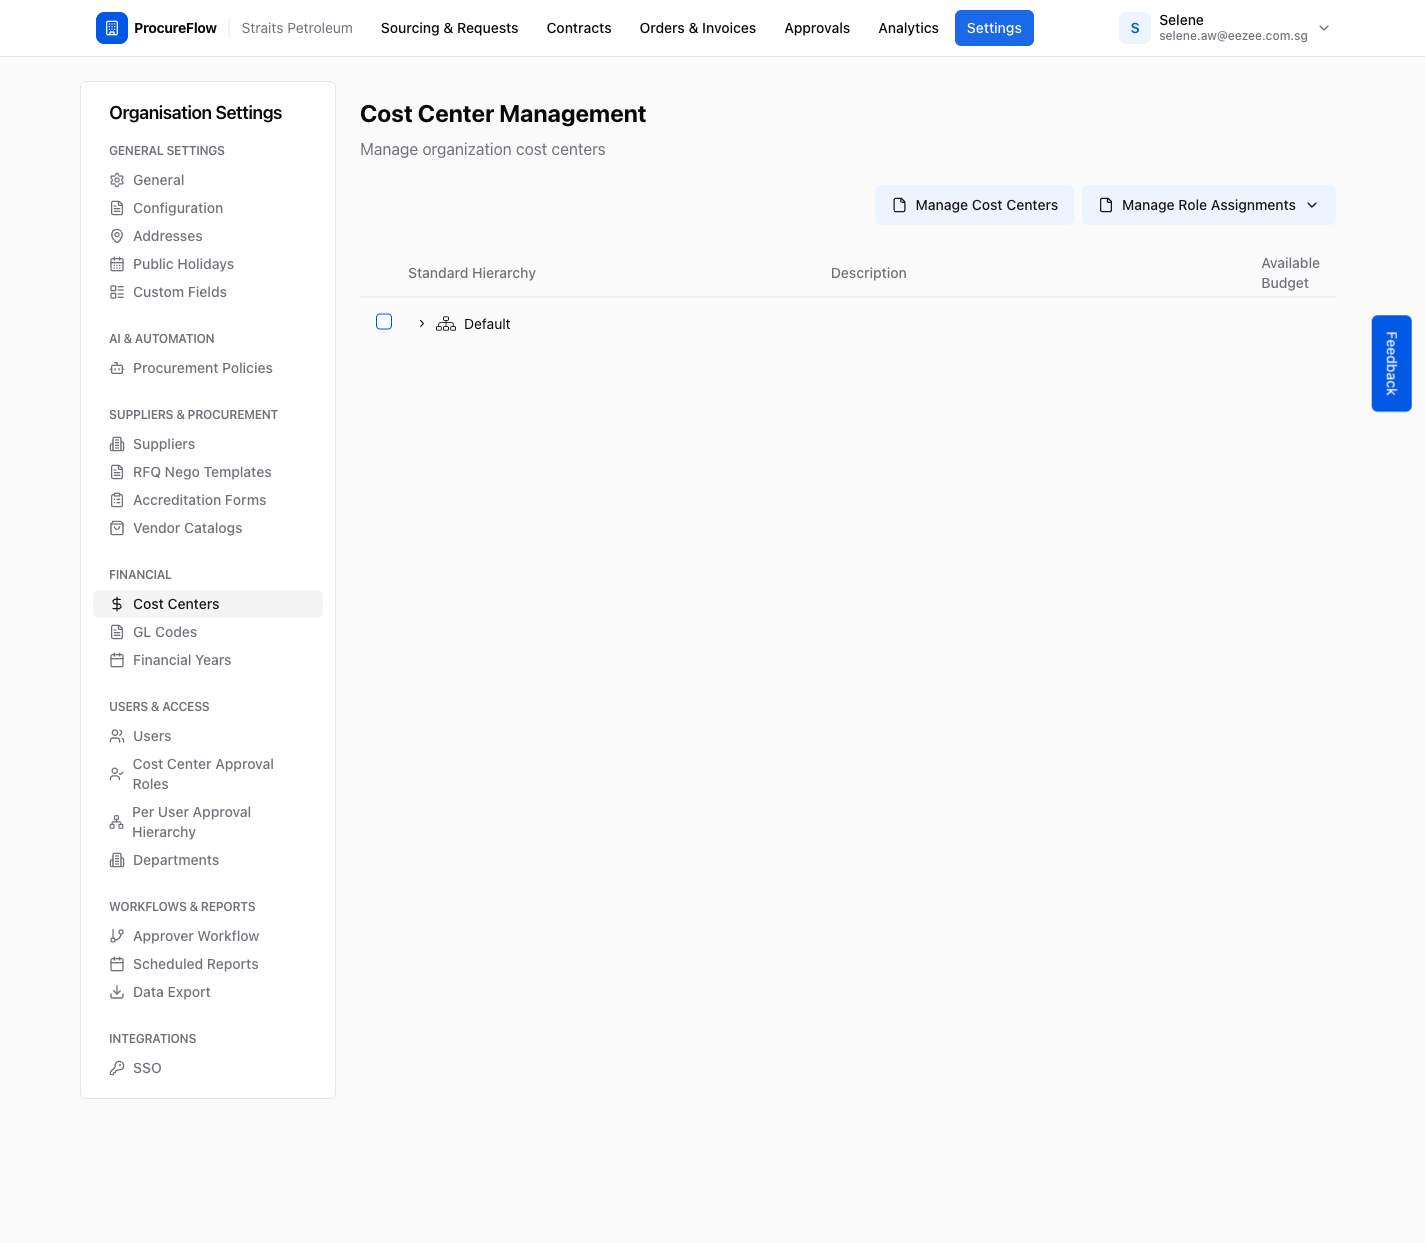
Navigate to Cost Centers
In the Organisation Settings sidebar under Financial, click Cost Centers.
The page shows a hierarchical tree of all cost center groups and individual cost centers, along with their available budgets.
Open Manage Cost Centers
Click the Manage Cost Centers button at the top right.
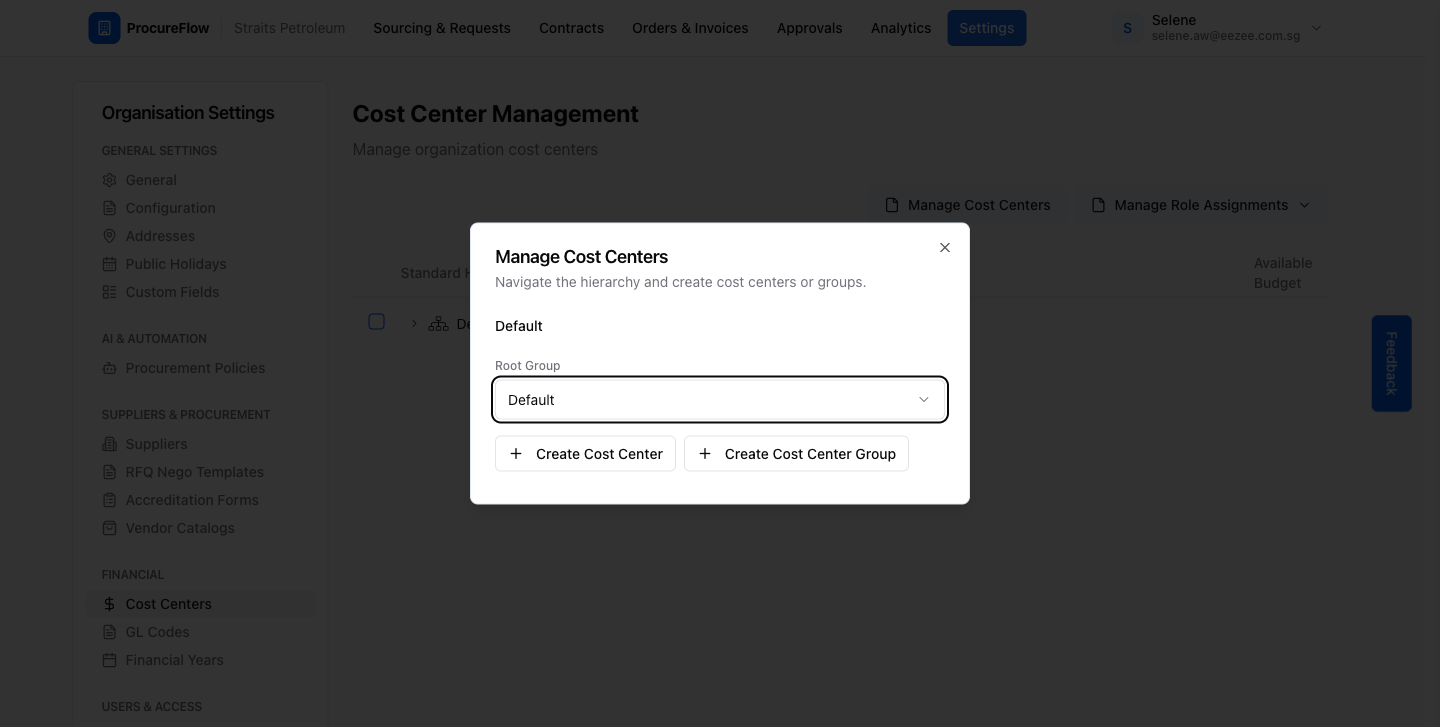
A dialog opens that lets you navigate the hierarchy and create new cost centers or groups.
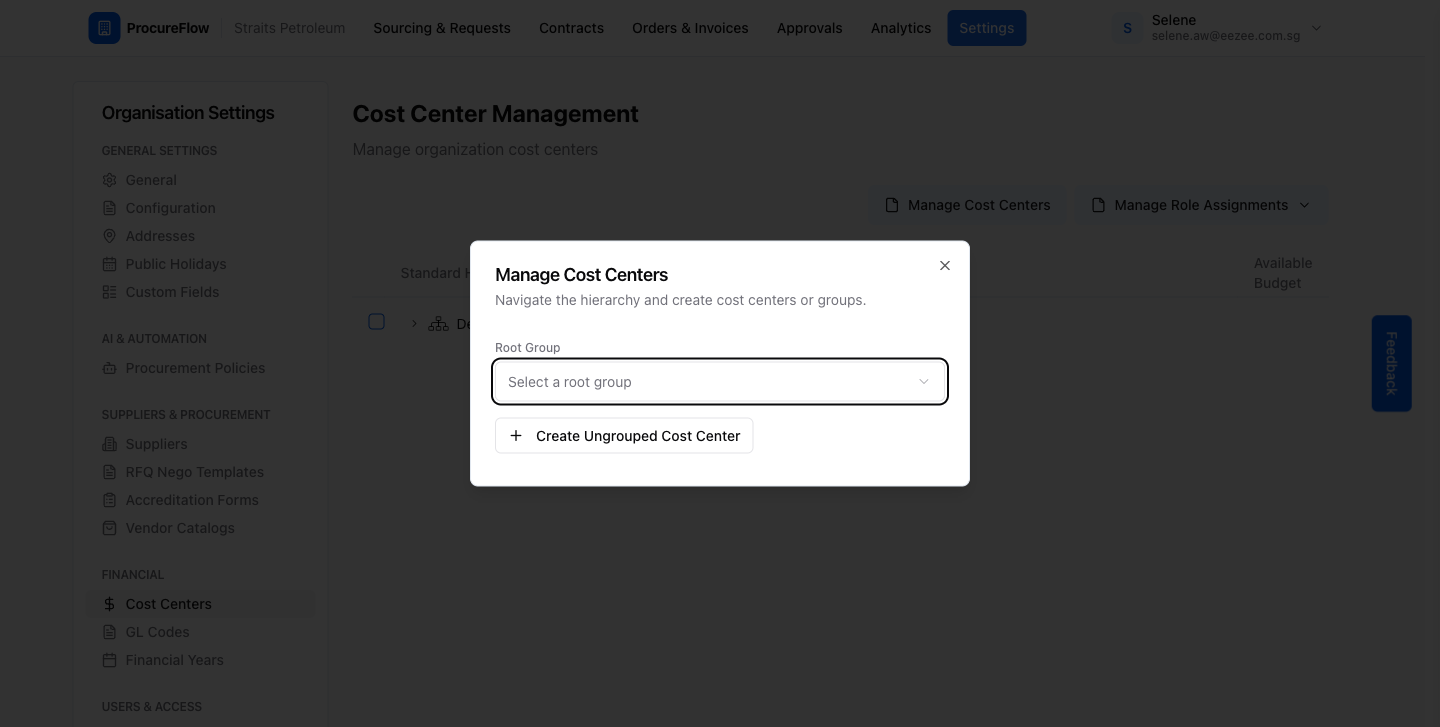
Select a hierarchy group
Use the Root Group dropdown to select the group you want to create the cost center under.
Once selected, two options appear:
- Create Cost Center
- Create Cost Center Group
You can also skip this step to create an ungrouped (standalone) cost center.
Open the Create Cost Center form
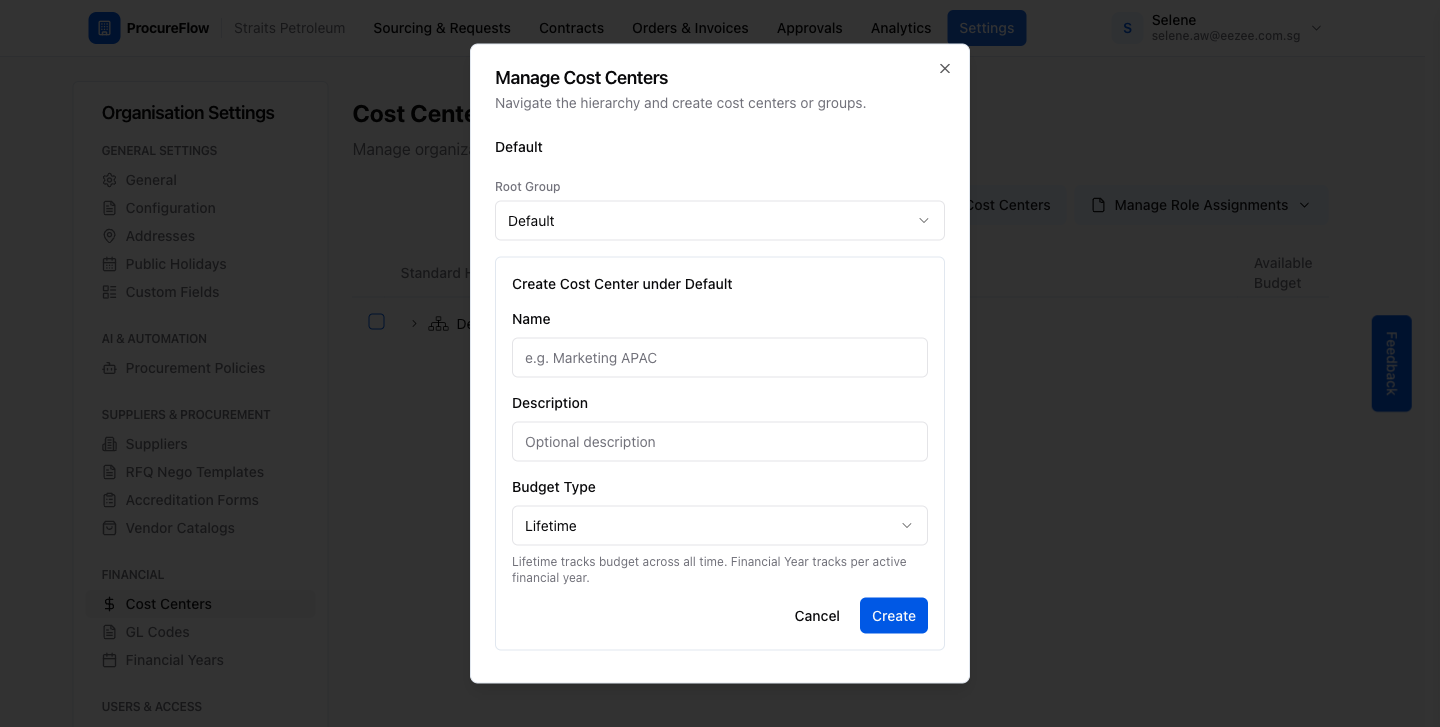
Click Create Cost Center.
An inline form expands inside the dialog with three fields: Name, Description, and Budget Type.
Choose a Budget Type
The Budget Type field determines how spending is tracked against this cost center:
- Lifetime: tracks total budget allocated across all time, with no time boundary. Good for project-based cost centers.
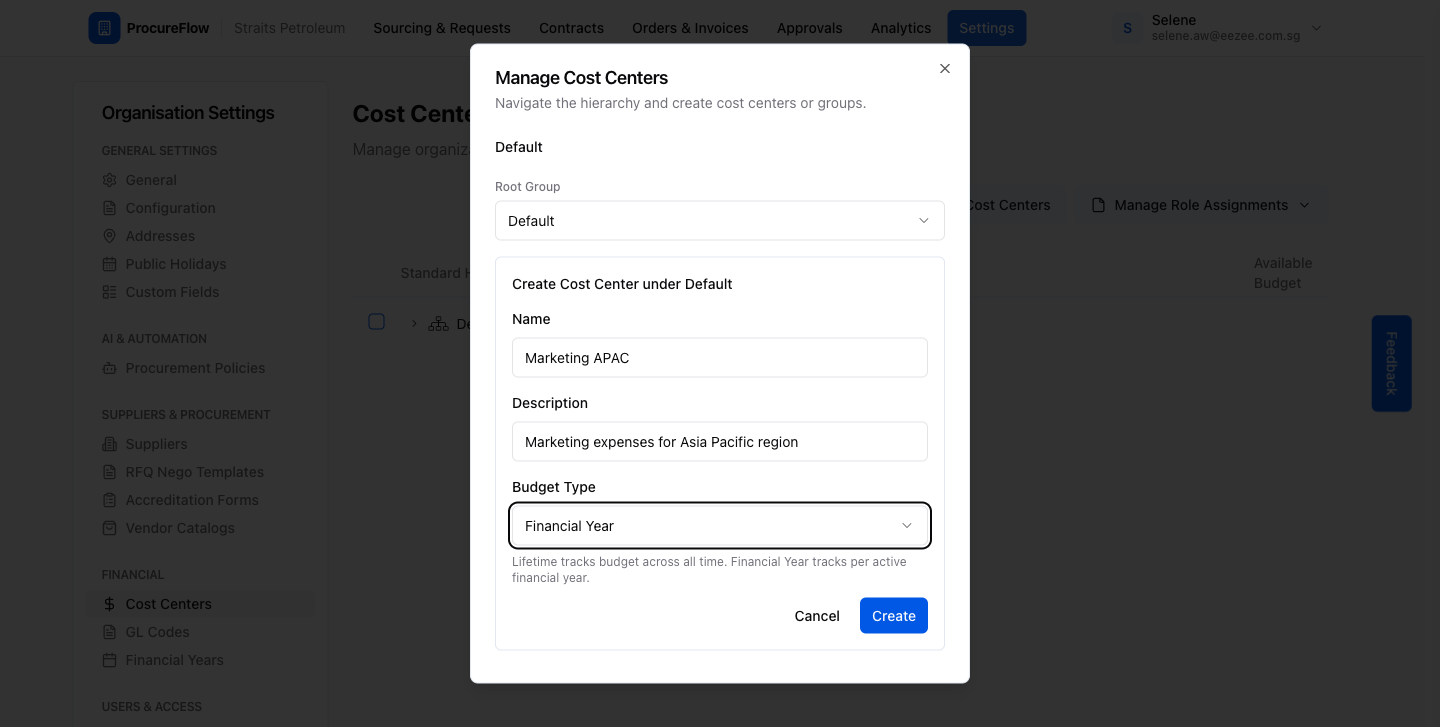
- Financial Year: resets the available budget each financial year. Requires a Financial Year to be configured (see Part C). Good for recurring department budgets.
Then:
- Fill in Name.
- Add an optional Description.
- Select your Budget Type.
- Click Create.
Cost Center created
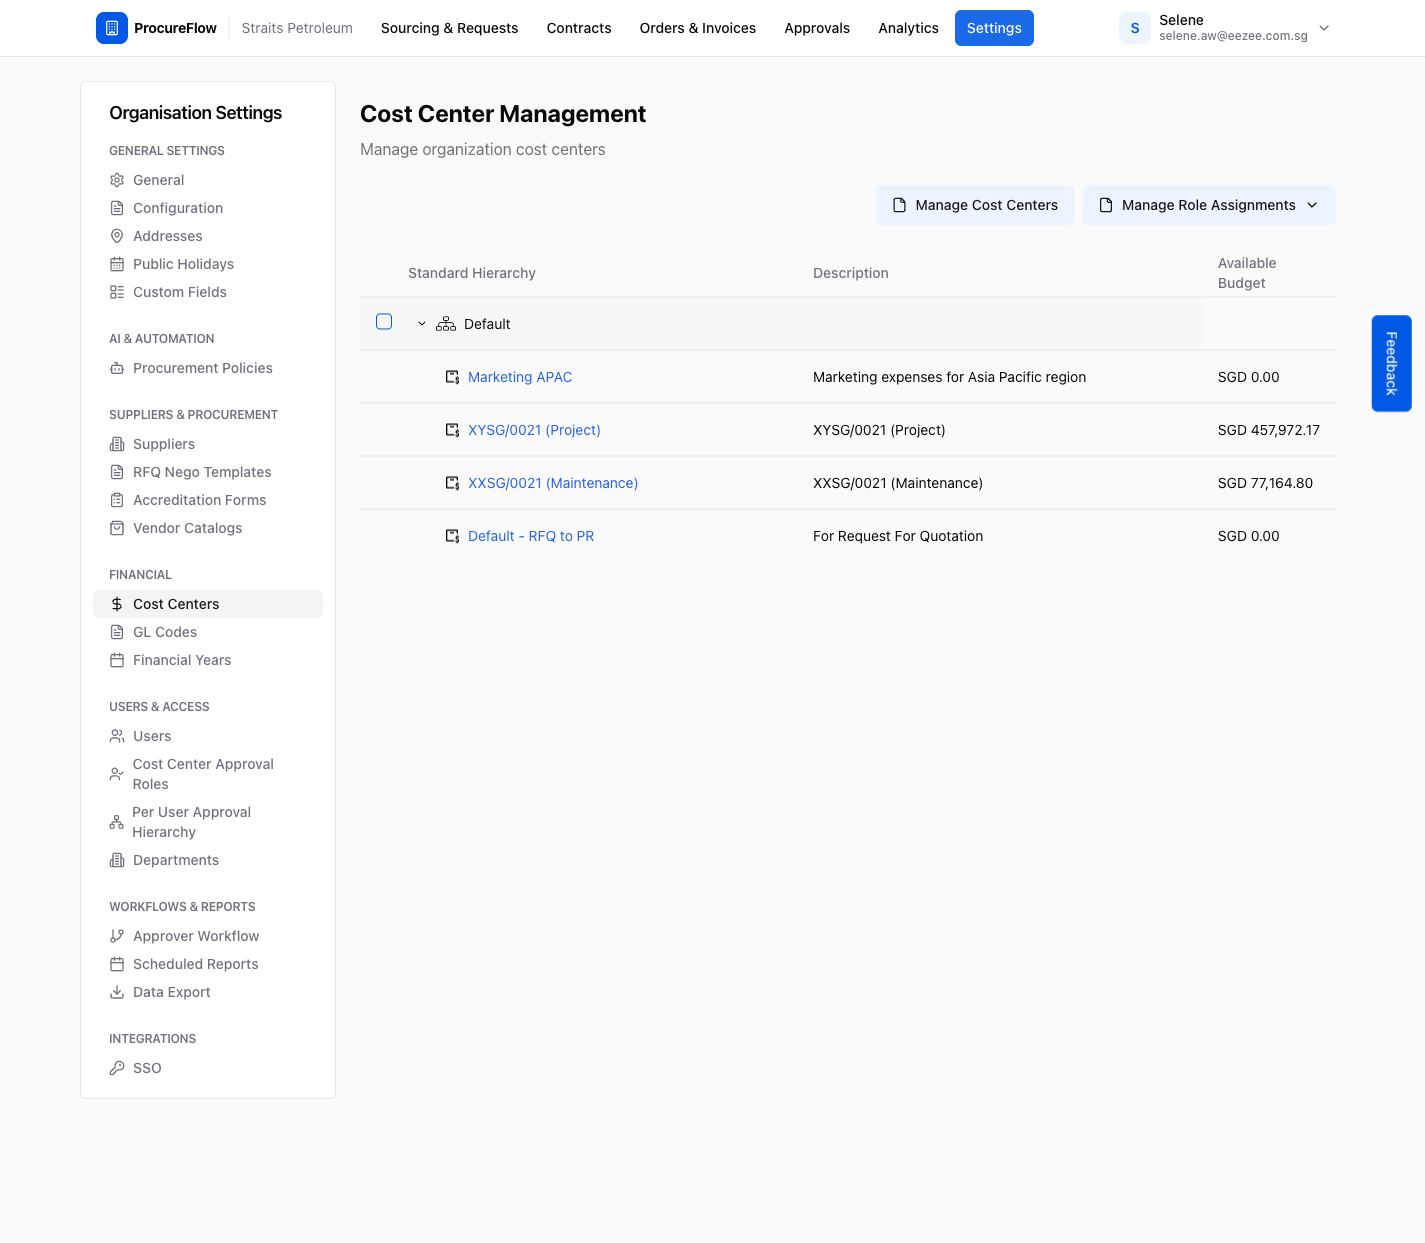
The dialog closes and the Cost Center Management table refreshes.
Click the expand arrow next to the parent group to reveal the new cost center in the hierarchy.
Each entry shows its description and available budget.
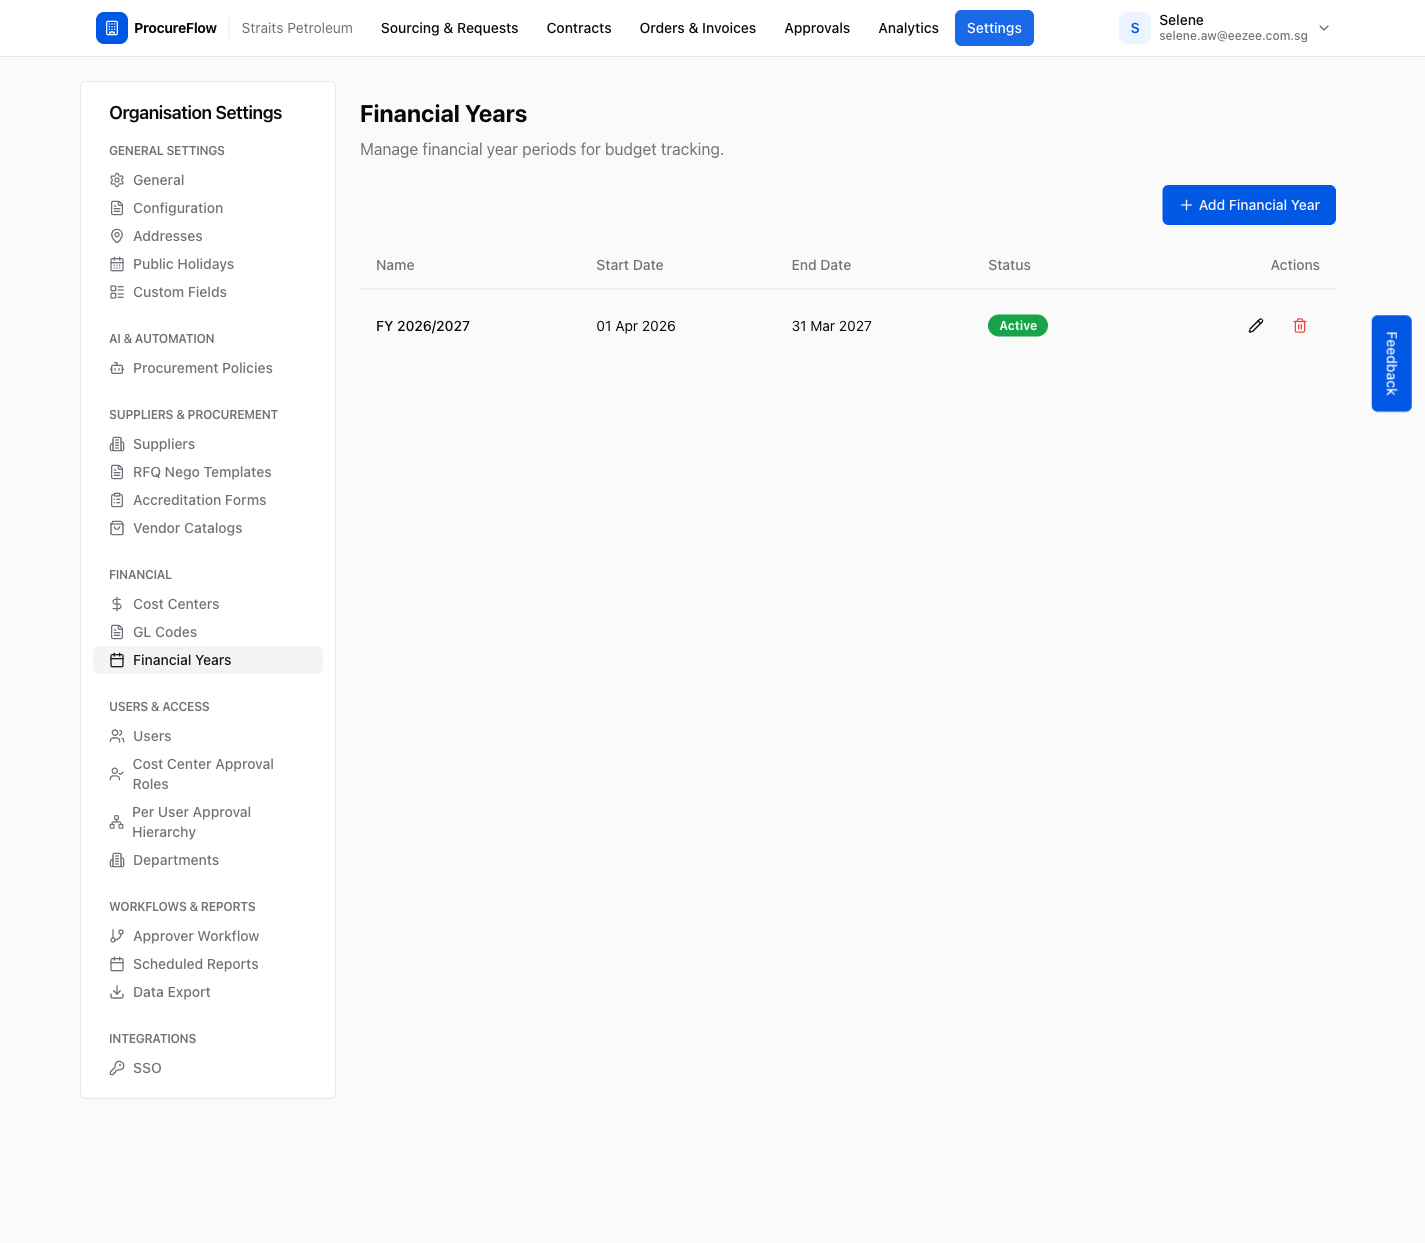
Navigate to Financial Years
In the Organisation Settings sidebar under Financial, click Financial Years.
This page lists all configured financial year periods and their status (Active, Upcoming, or Past).
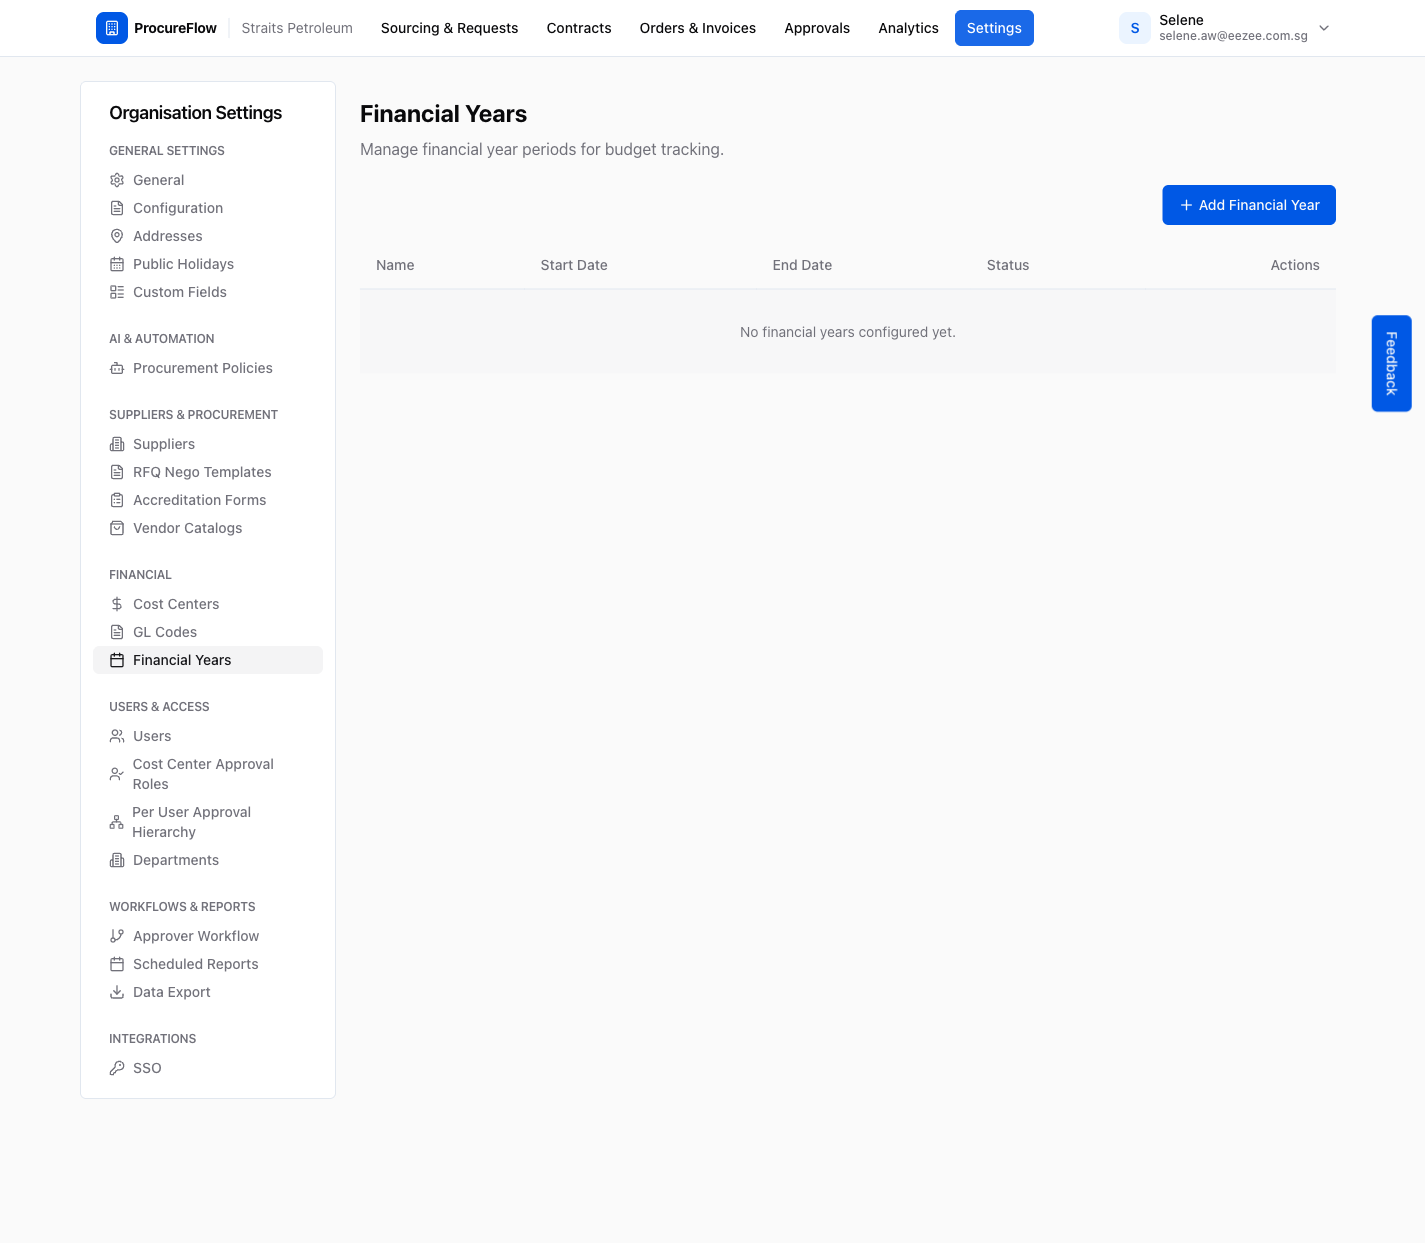
Open the Add Financial Year form
Click the + Add Financial Year button at the top right.
A dialog opens with three fields: Name, Start Date, and End Date.
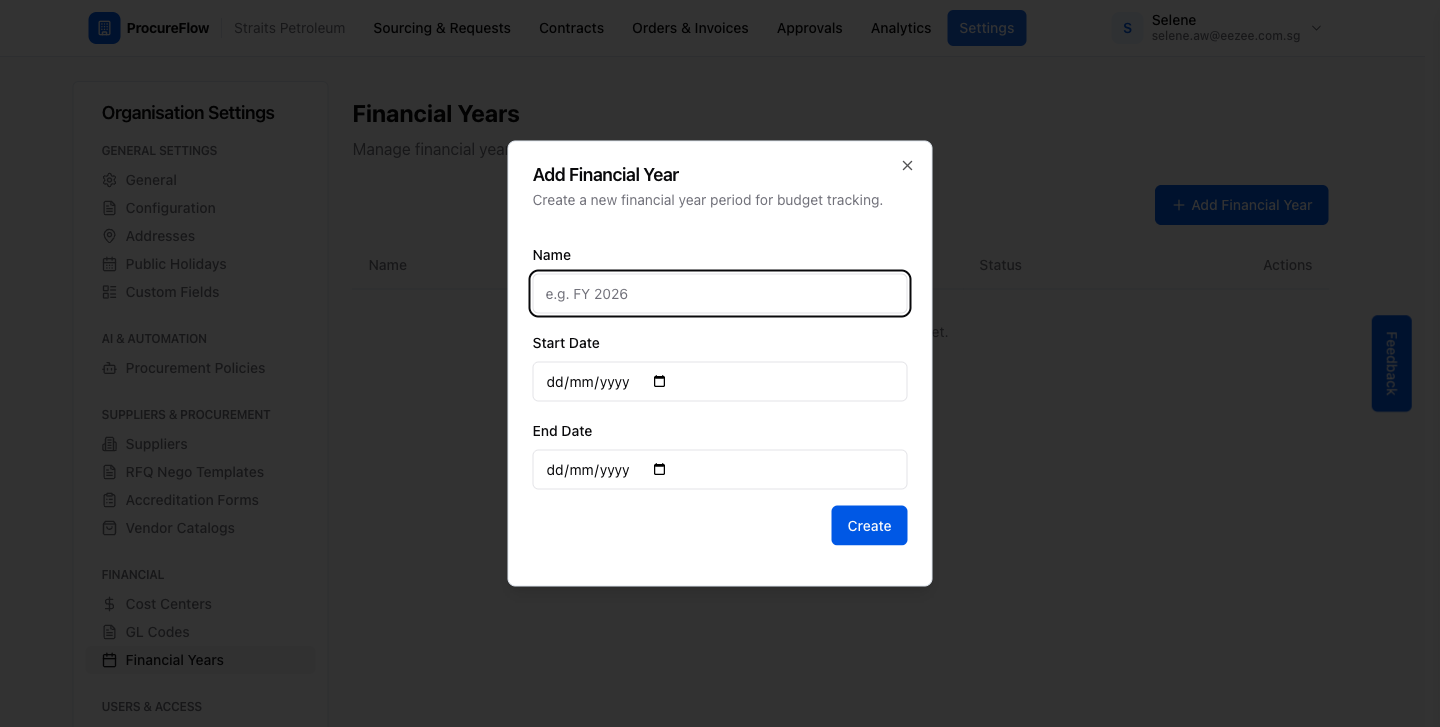
Fill in Financial Year details
Complete the three fields:
- Name: a label for this period (e.g. FY 2026/2027).
- Start Date: the first day of the financial year (e.g. 1 April 2026).
- End Date: the last day of the financial year (e.g. 31 March 2027). Must be after the start date.
Click Create to save.
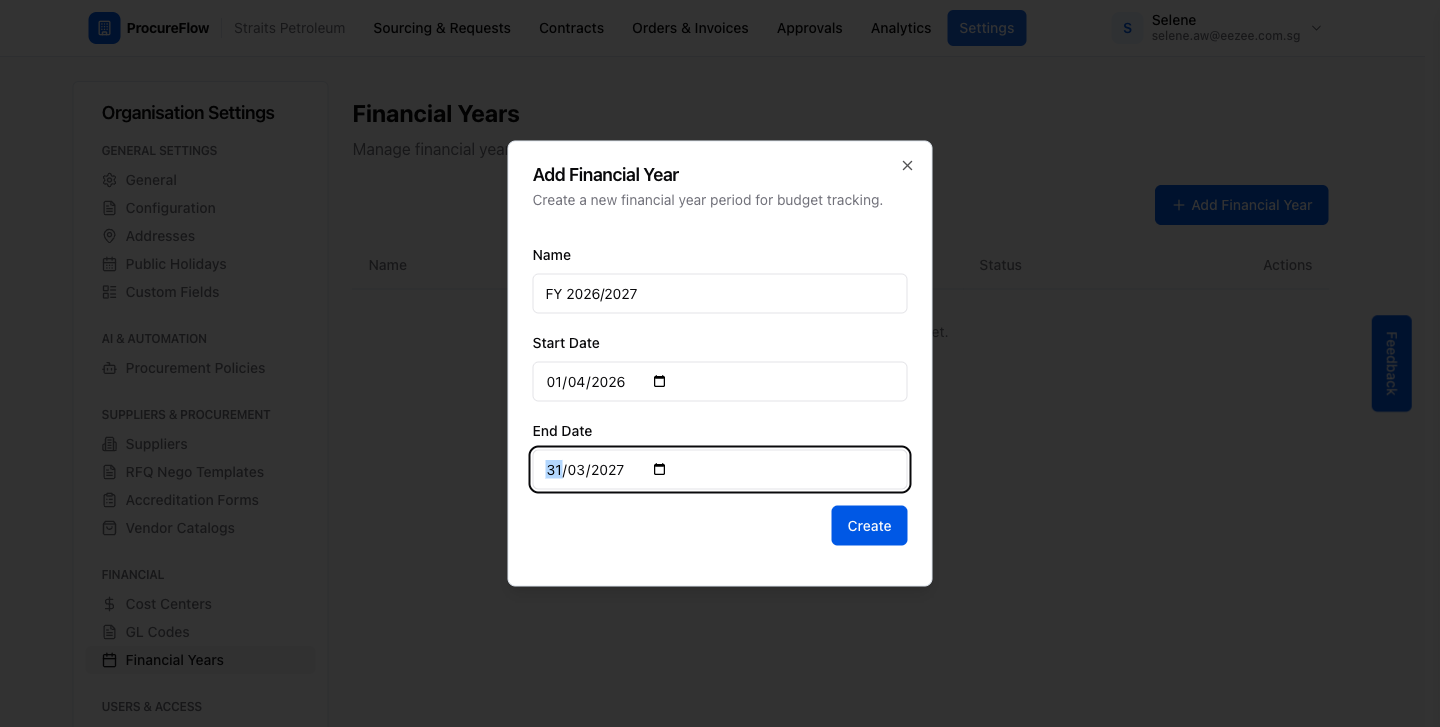
Financial Year created
The new financial year appears in the table.
ProcureFlow automatically calculates its status:
- Active: today falls within the period.
- Upcoming: it starts in the future.
- Past: it has ended.
Cost centers set to Financial Year budget type will now track spend against this period.