Create a Form Template
Step-by-step guide to building and activating a custom accreditation questionnaire that suppliers fill in when they apply to your panel.
Last updated 12 October 2026
Who can use this?
Available to Admin and Developer Employee roles only. Standard procurement users and buyers do not have access to form template settings.
Open Accreditation Form Templates
- From the top navigation, click Settings.
- In the left sidebar, scroll to the Suppliers & Procurement section and click Accreditation Forms.
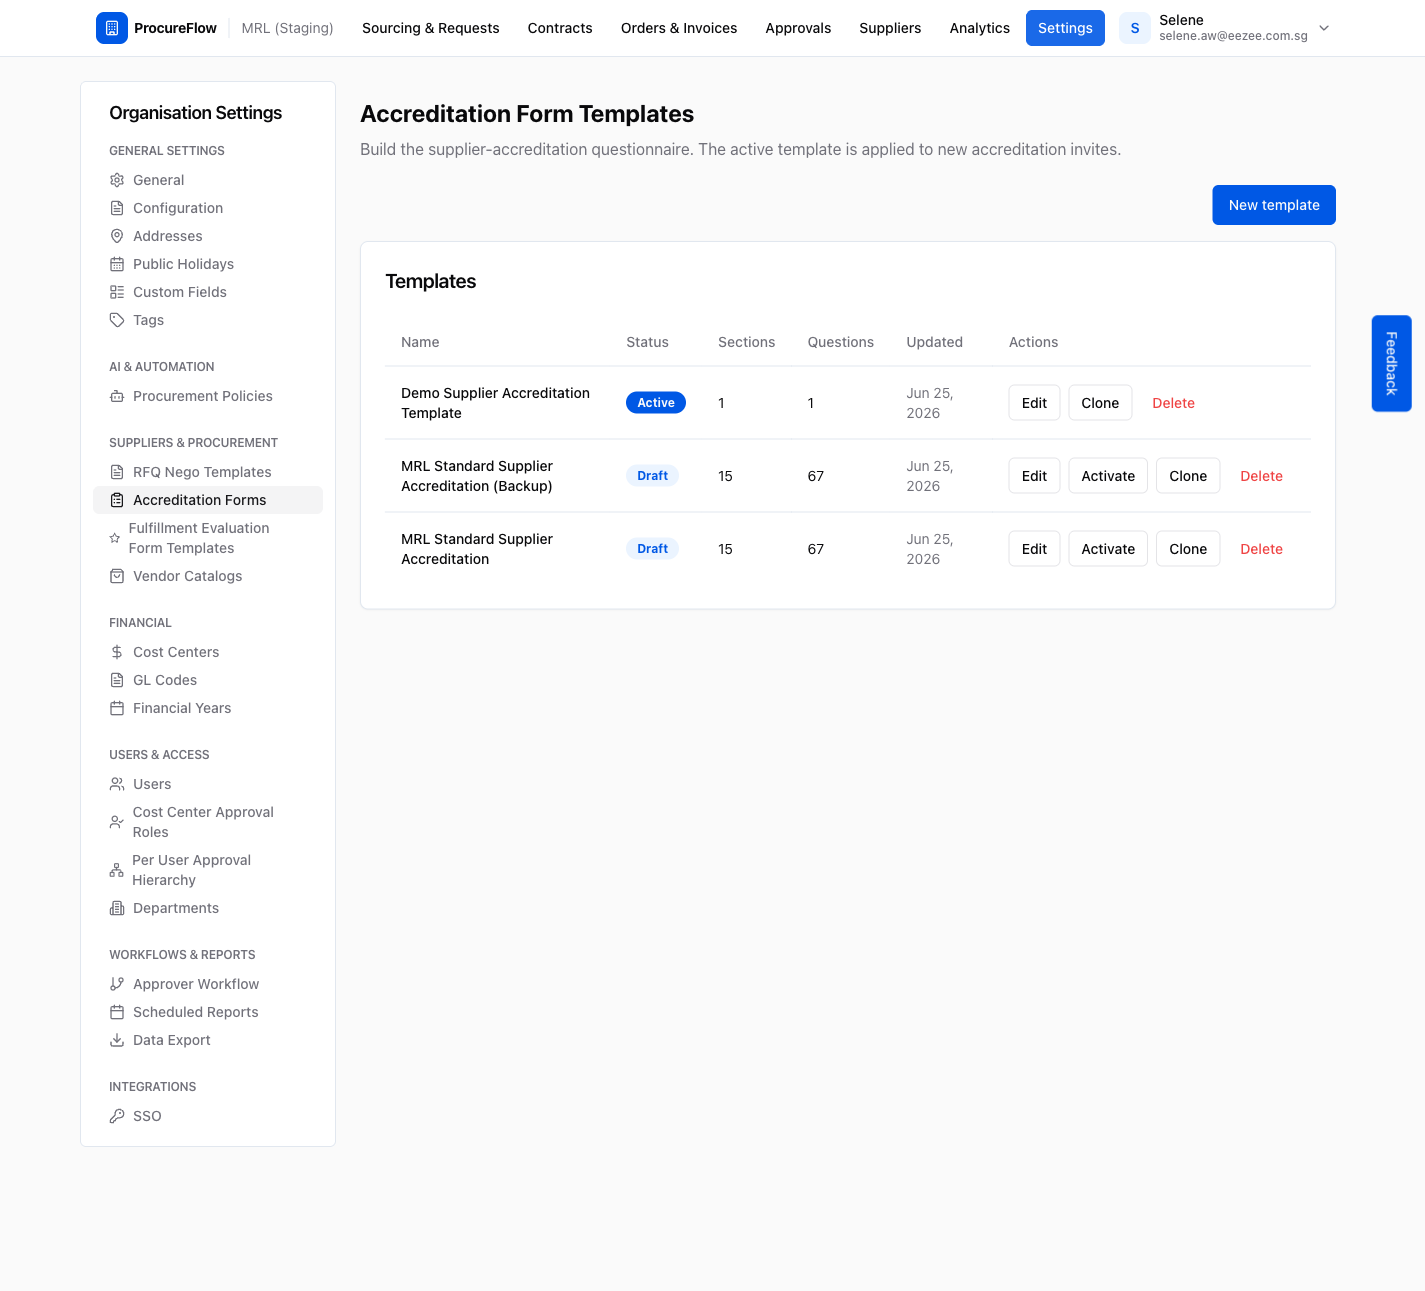
This opens the template list page, which shows all templates your organisation has created.
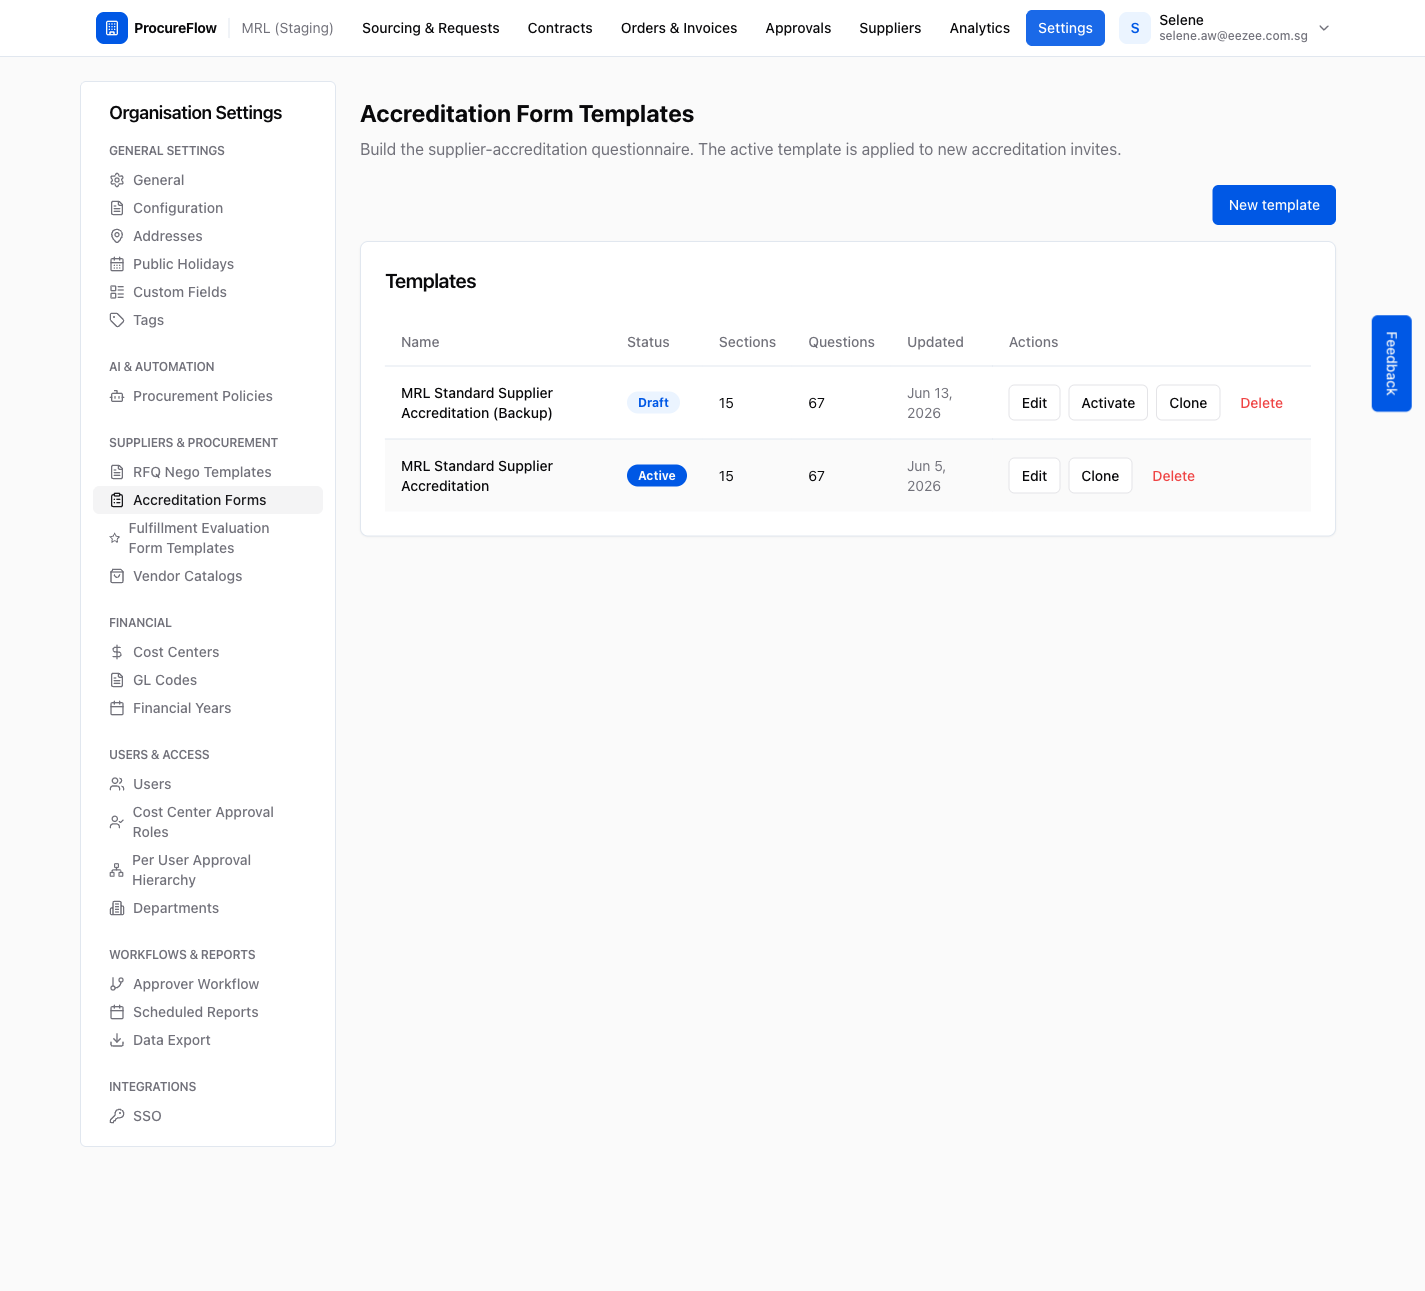
Click "New template"
Click the New template button at the top right of the list.
A dialog will open asking for a name and optional description for the template.
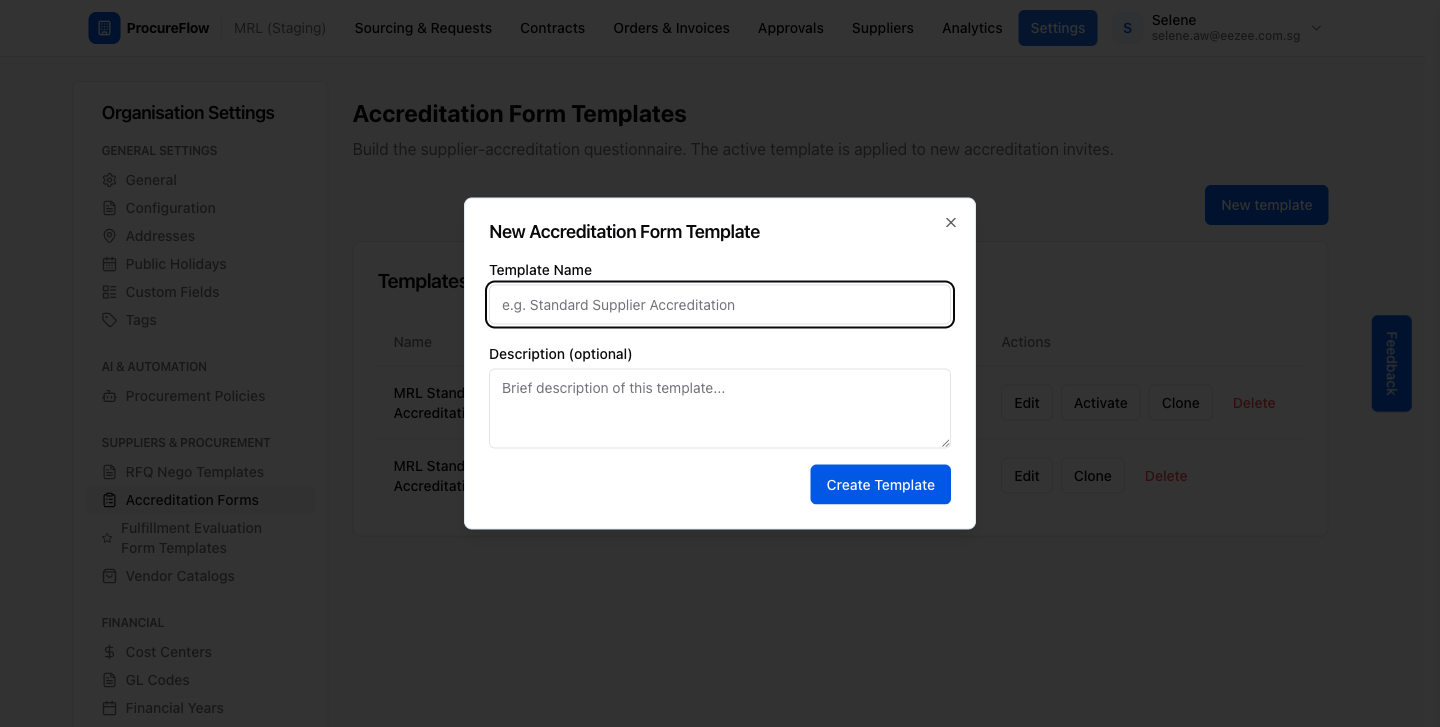
Name your template and click "Create Template"
- Enter a clear Template Name that reflects its purpose (for example, "Standard Supplier Accreditation" or "Vendor Pre-qualification Q3 2026").
- The Description field is optional but helps your team identify the right template when you have multiple versions.
- Click Create Template when ready.
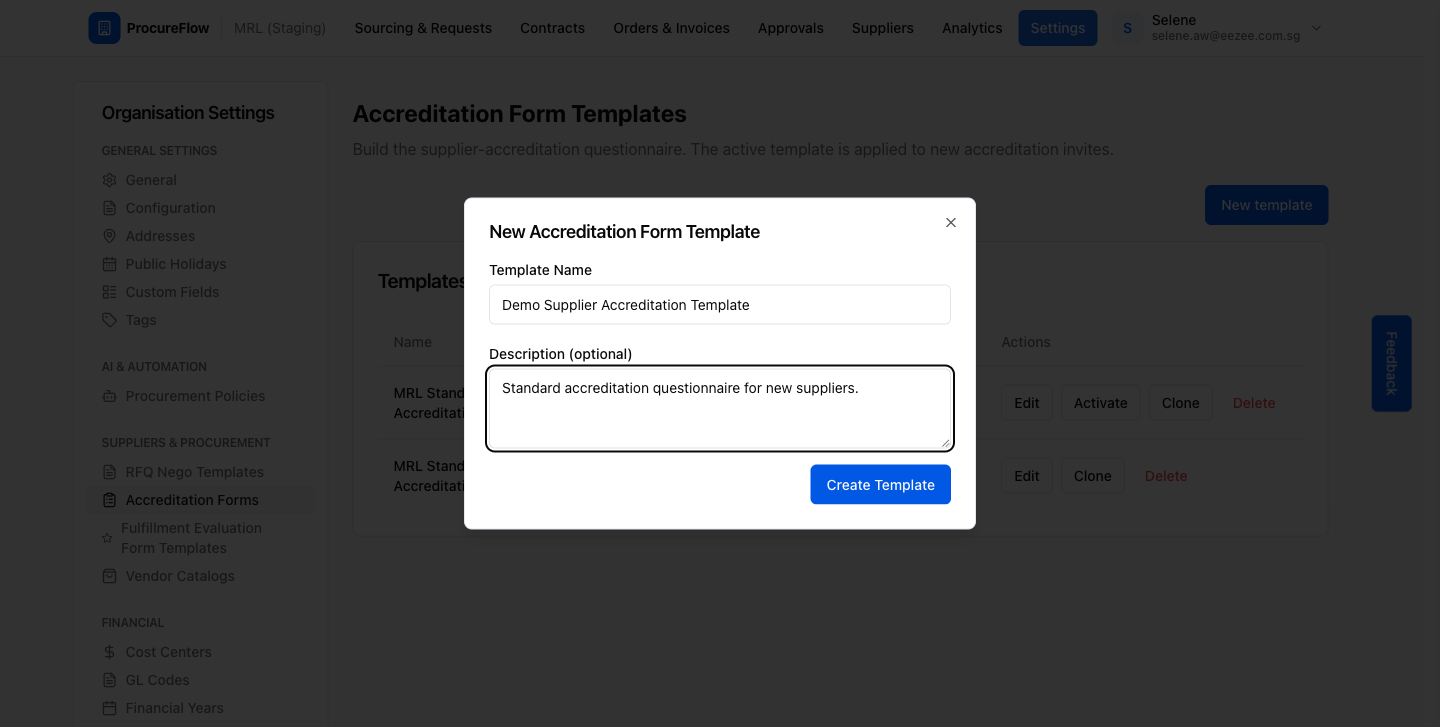
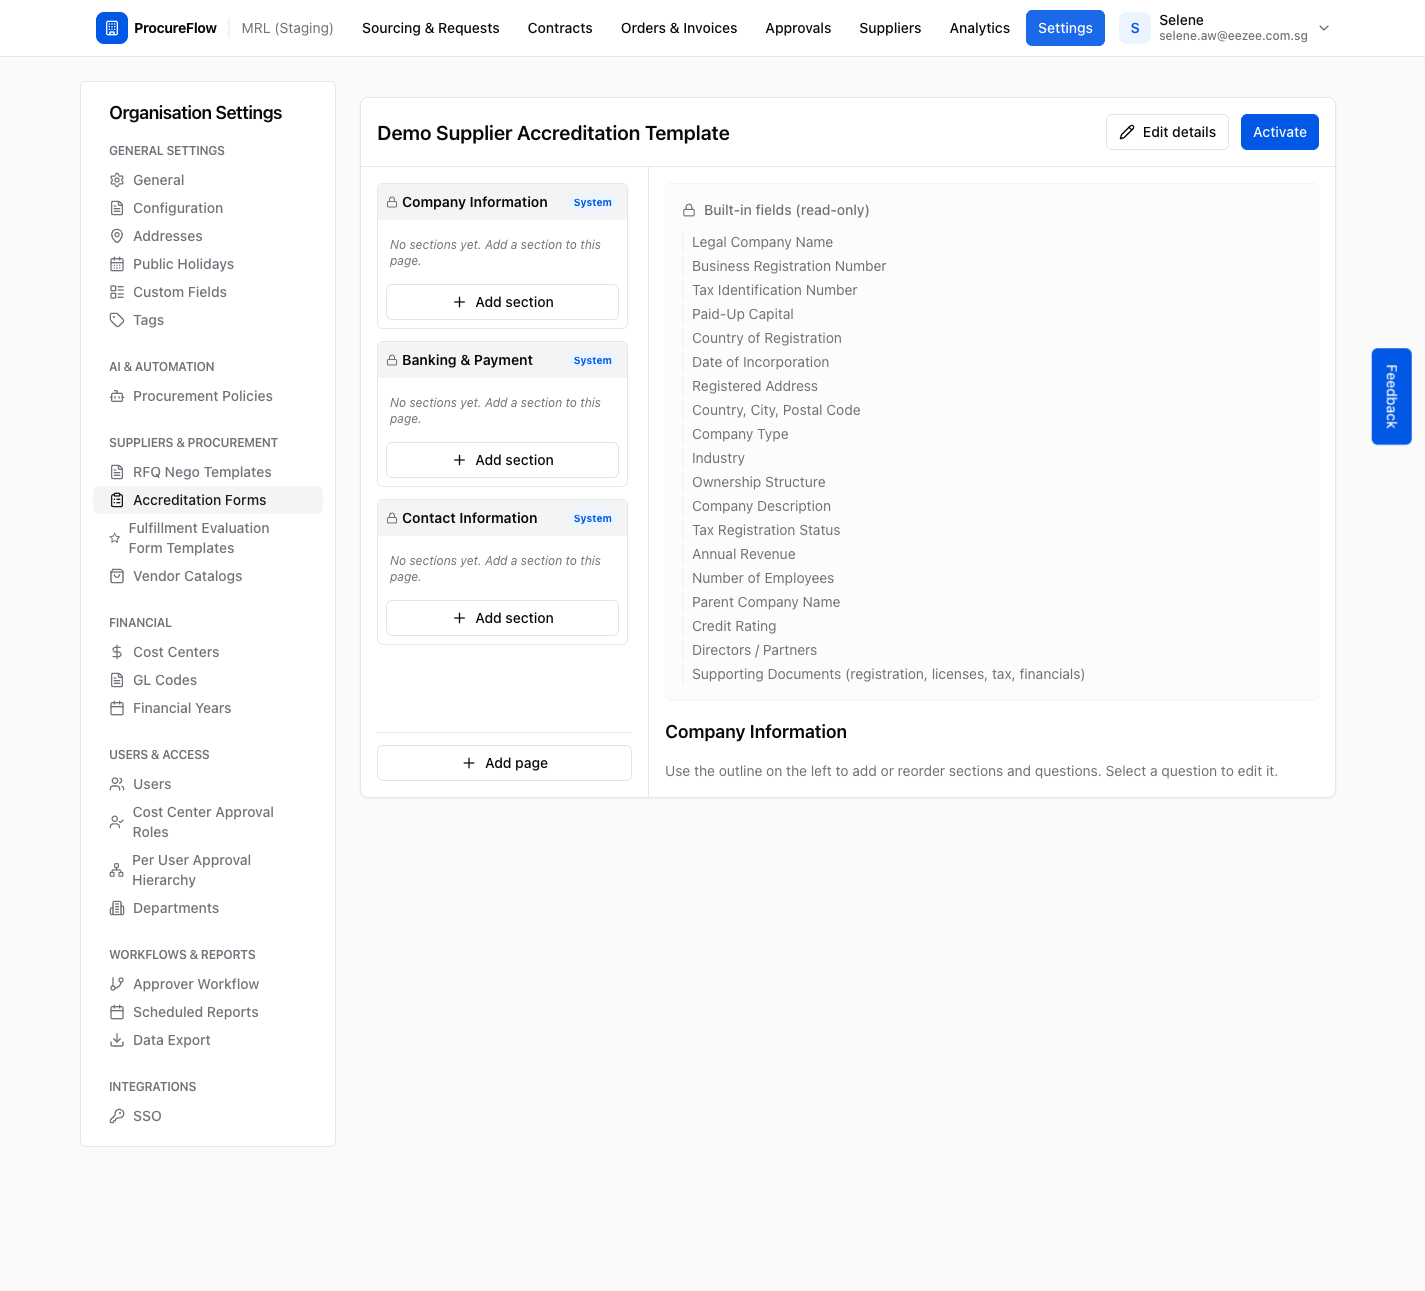
Template builder overview
After creating the template, you are taken to the template builder.
The builder has two panels:
- Outline (left): a tree of pages, sections, and questions.
- Editor (right): where you edit the selected item.
Use the outline to navigate and organise the form structure.
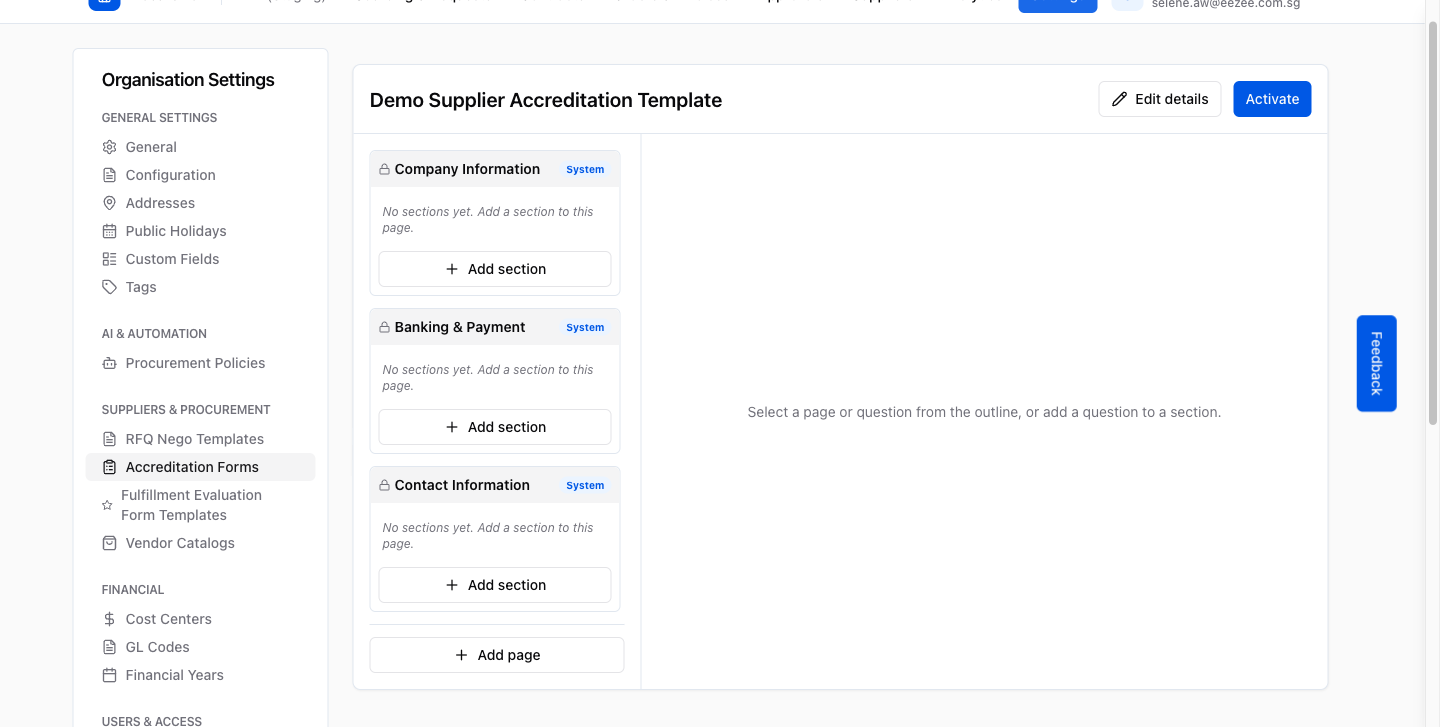
Review the built-in system pages
Click any system page label in the outline (for example, Company Information) to preview the built-in fields it collects.
These fields are read-only and automatically presented to every supplier who fills in the form. You do not need to recreate them.
Add a custom page
To add your own questions, you first need to create a custom page.
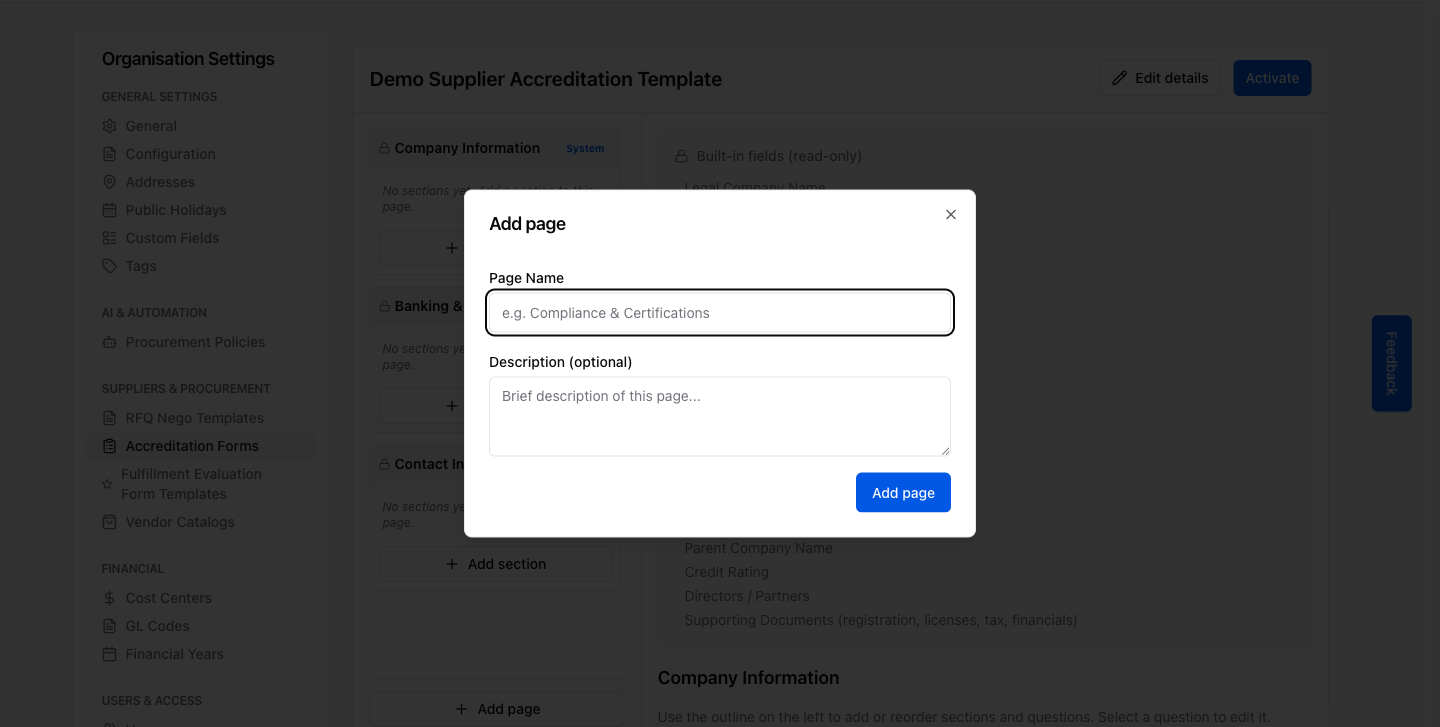
- Click the + Add page button at the bottom of the outline.
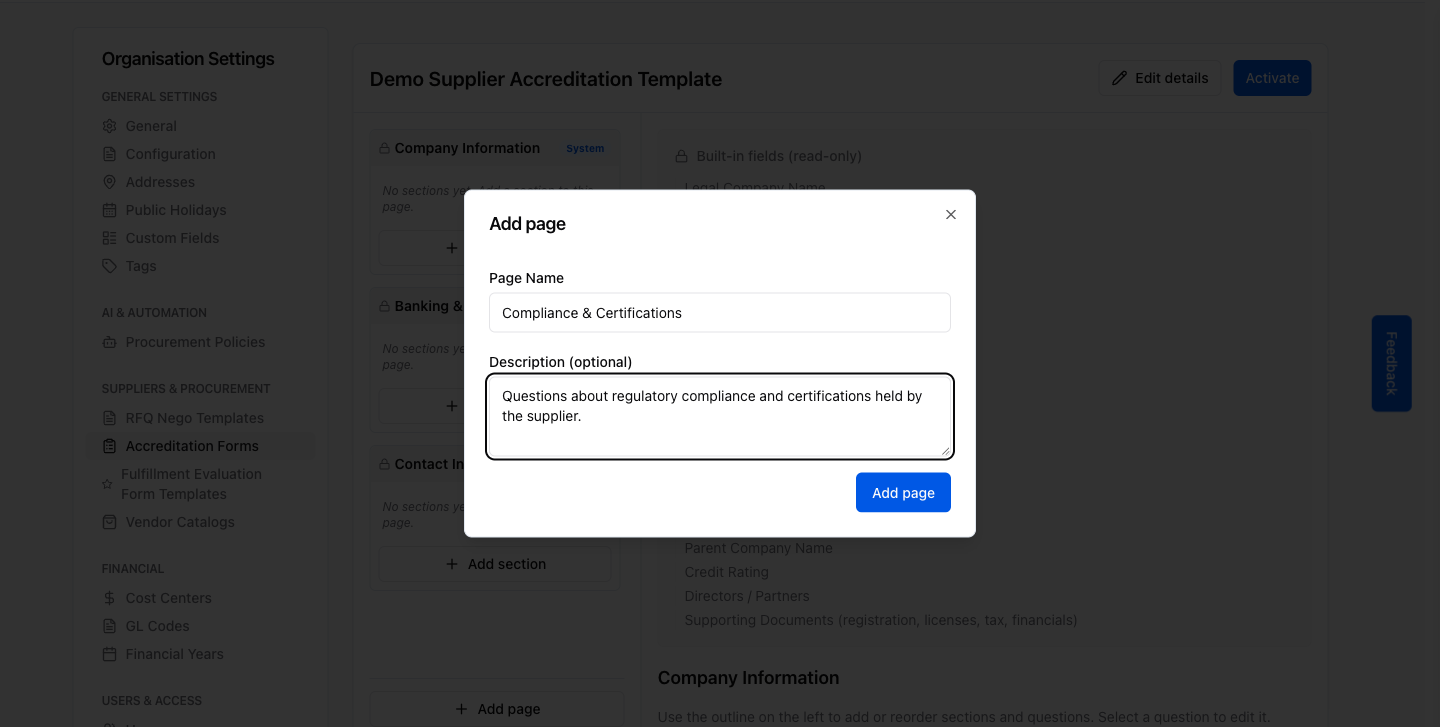
- In the dialog, enter a Page Name (for example, "Compliance & Certifications") and an optional description.
- Click Add page.
Add a section to the page
Pages are divided into sections, which group related questions together under a heading.
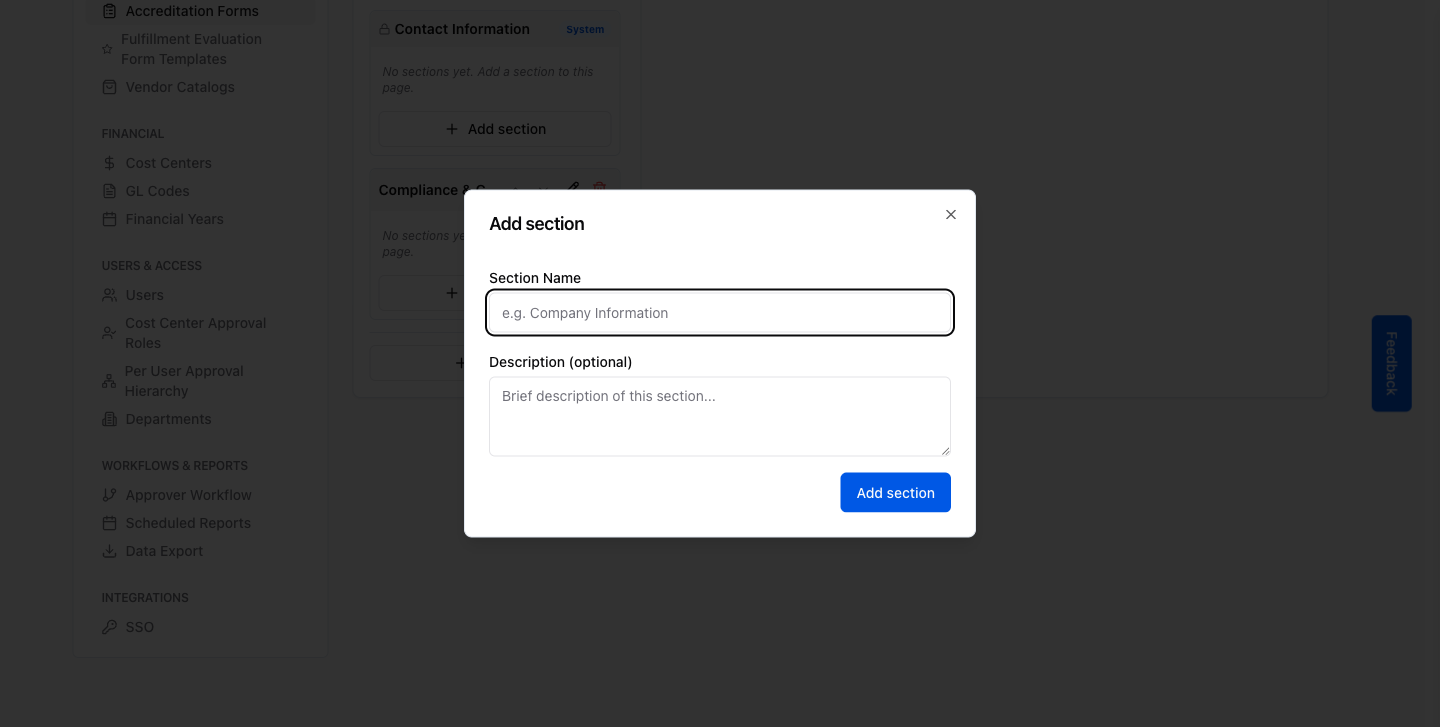
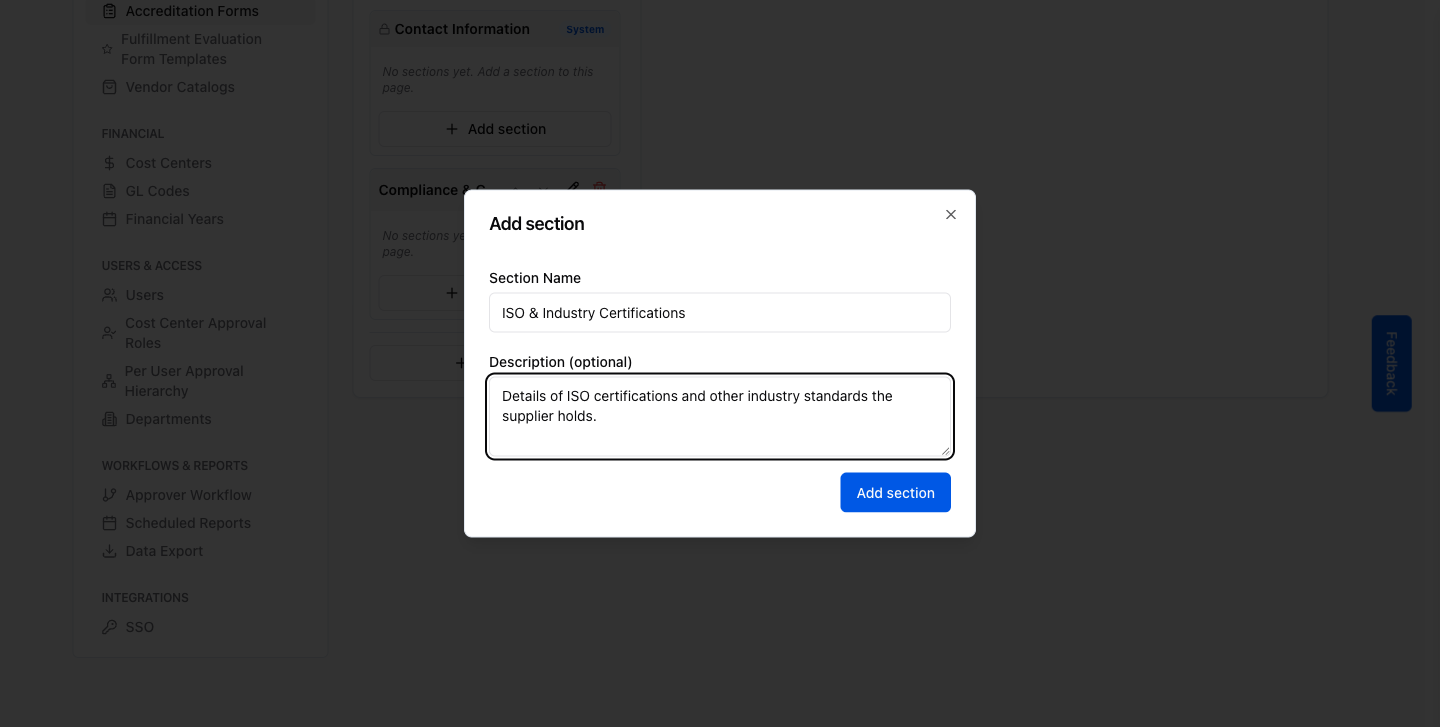
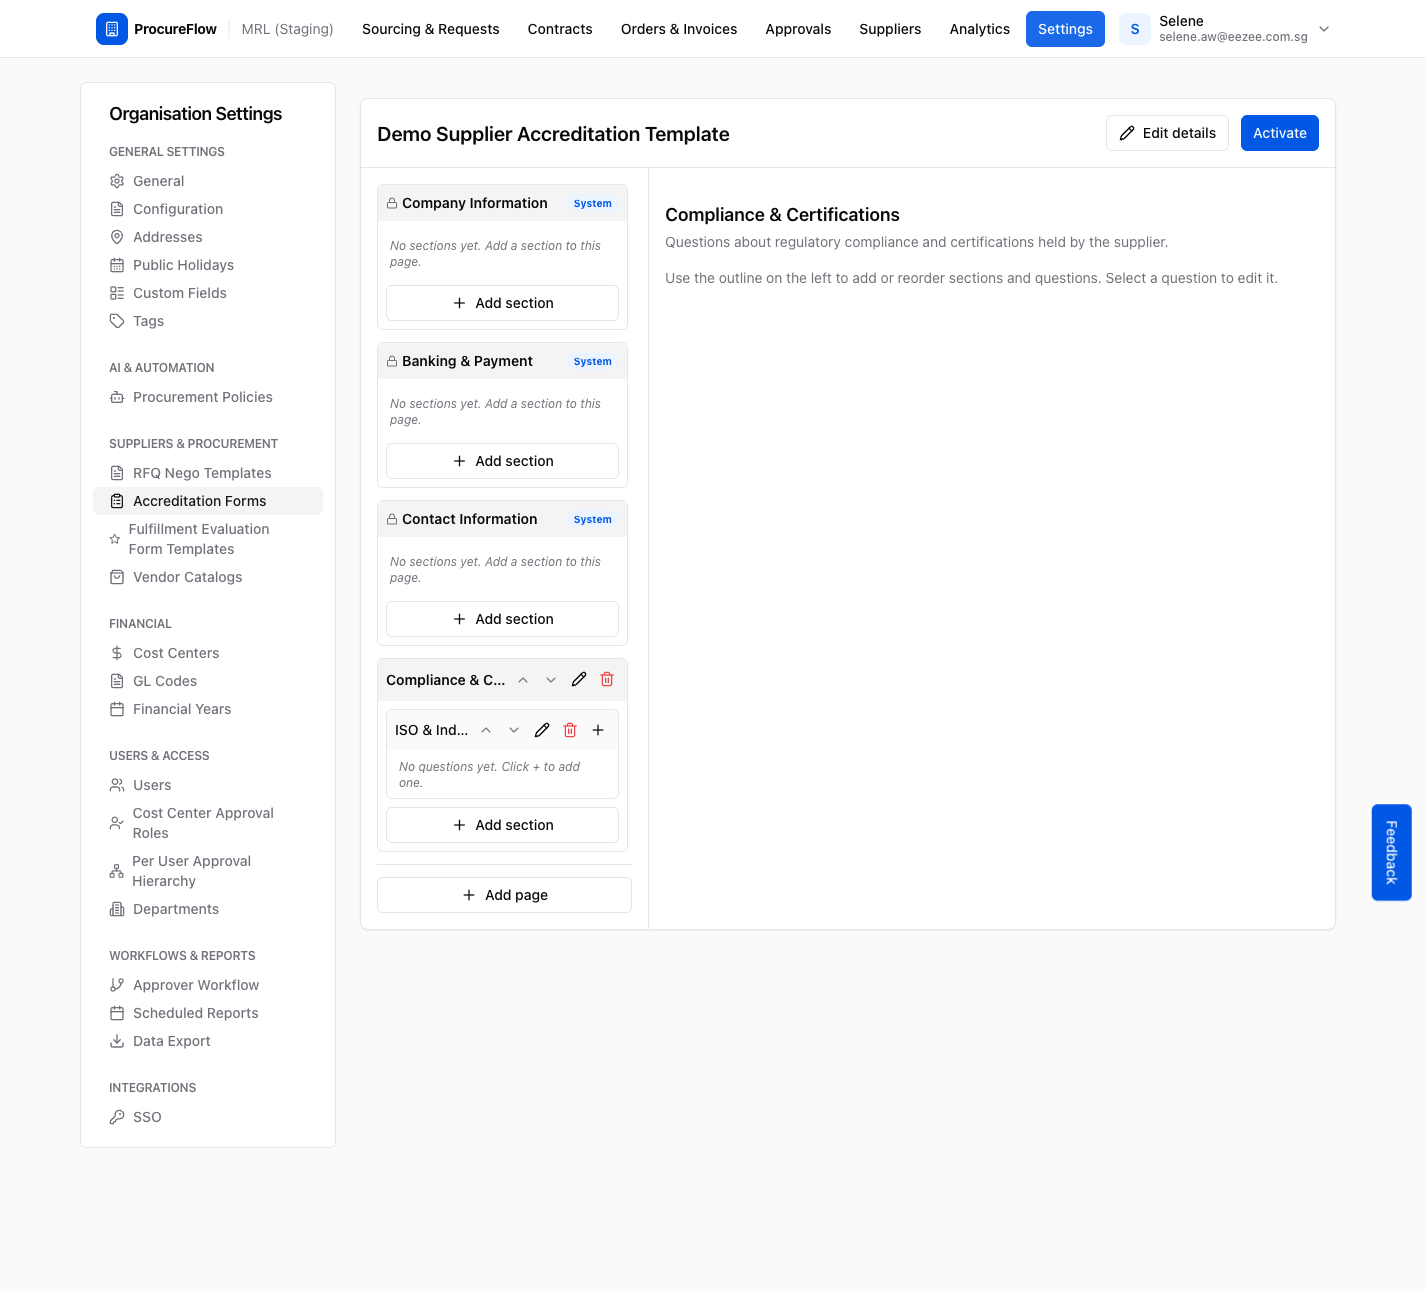
- Click the + Add section button under your new page in the outline.
- Enter a Section Name (for example, "ISO & Industry Certifications") and an optional description.
- Click Add section.
Add a question
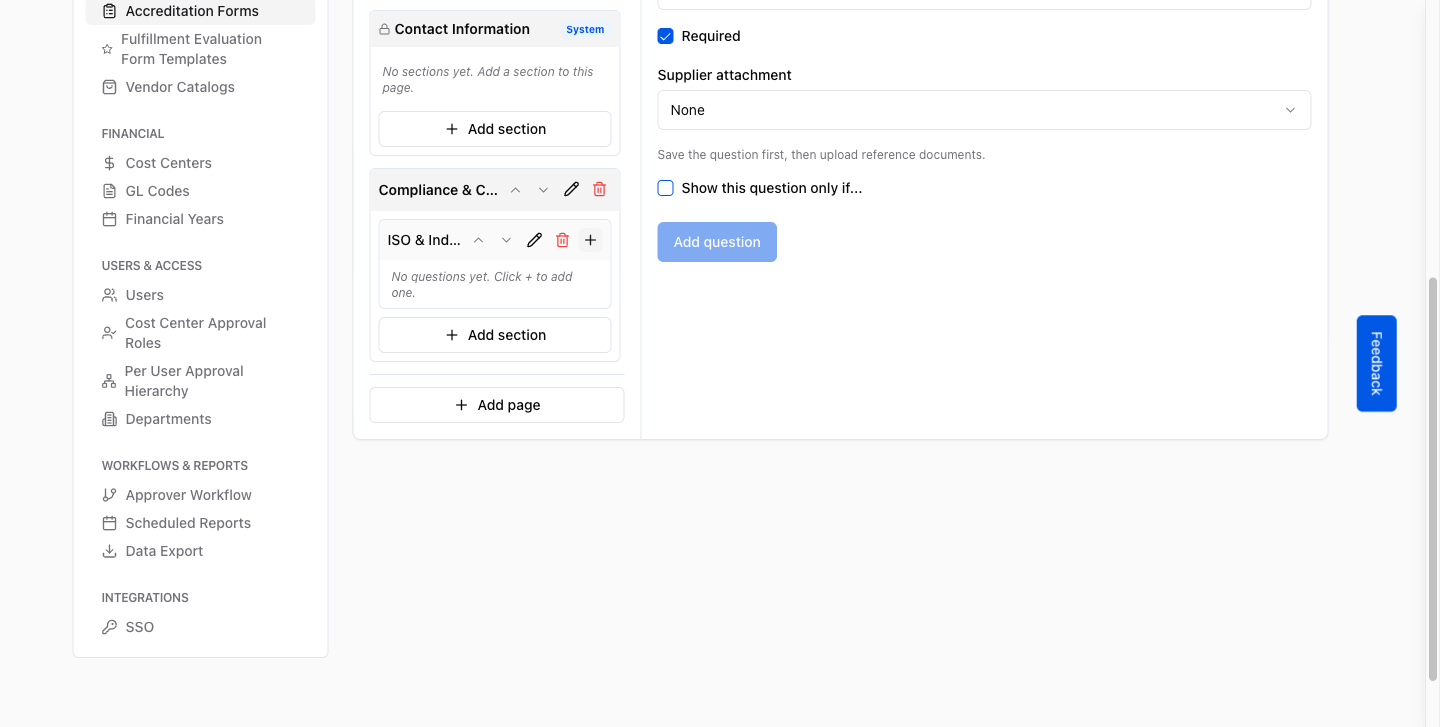
- Click the + (Add question) icon next to the section name in the outline. The question editor opens on the right.
- Enter your Question text and, optionally, a Help text that provides additional context or instructions for the supplier.
Choose an answer type
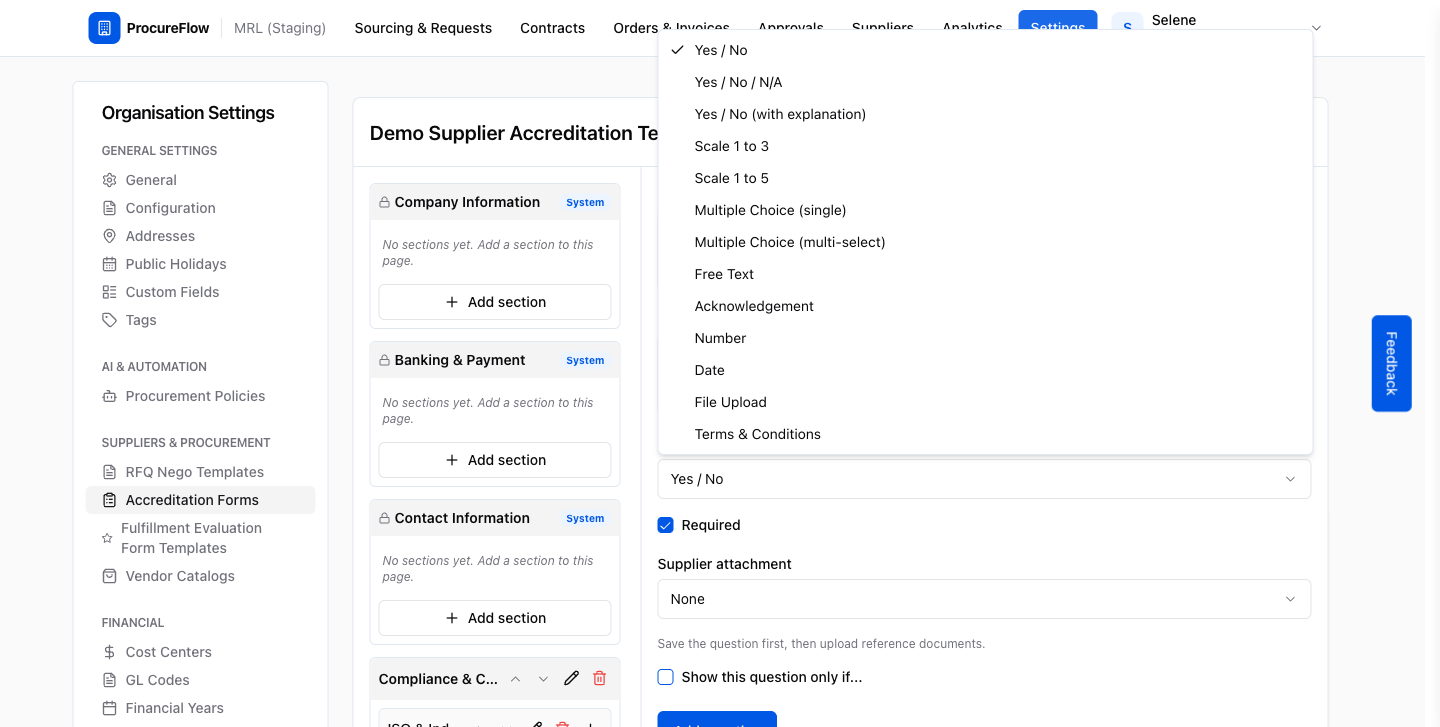
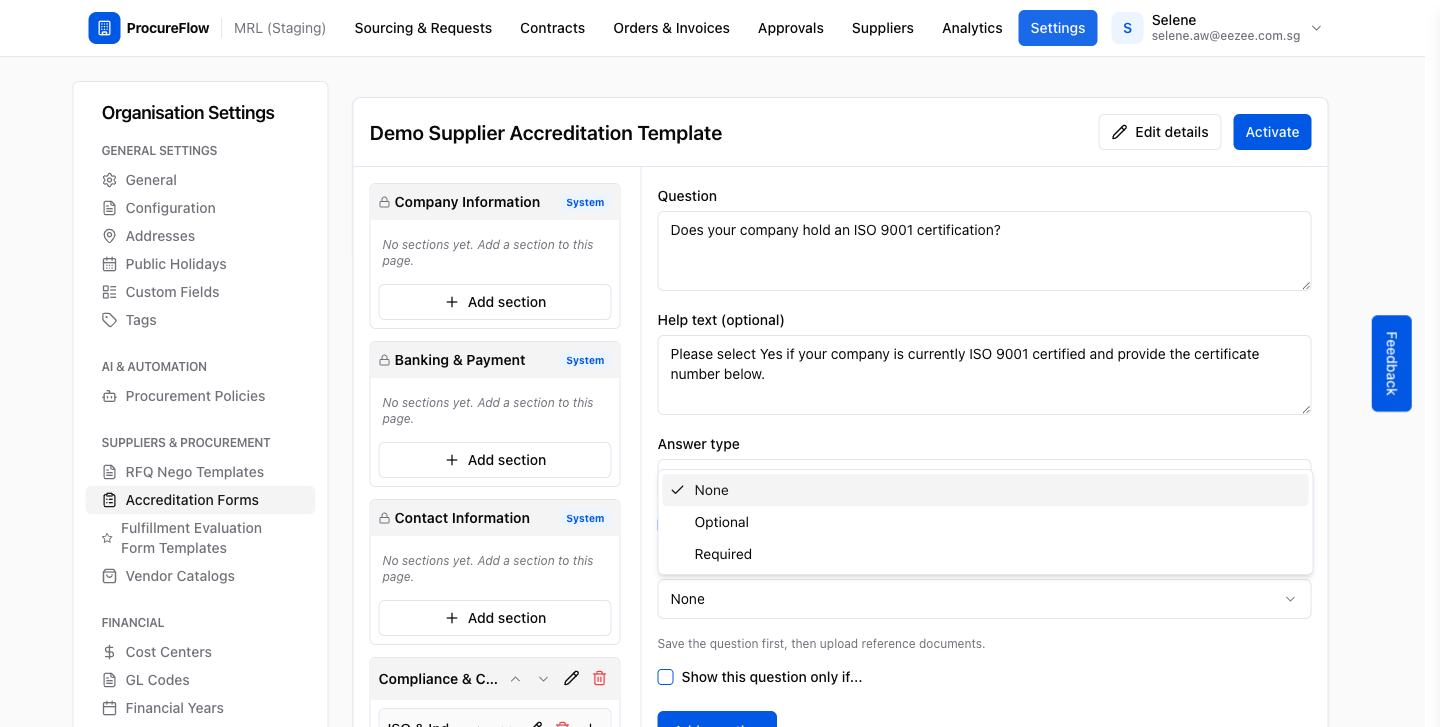
Click the Answer type dropdown to select how the supplier should respond. ProcureFlow supports a wide range of answer formats:
- Yes / No: simple binary choice
- Yes / No / N/A: binary with a not-applicable option
- Yes / No (with explanation): binary plus a text field for justification
- Scale 1 to 3 / 1 to 5: numeric rating scales
- Multiple Choice (single / multi-select): pick from predefined options
- Free Text: open-ended text response
- Acknowledgement: supplier ticks to confirm they have read something
- Number / Date / File Upload: structured data types
- Terms & Conditions: supplier must accept T&C before proceeding
Set attachment requirement and mark as required
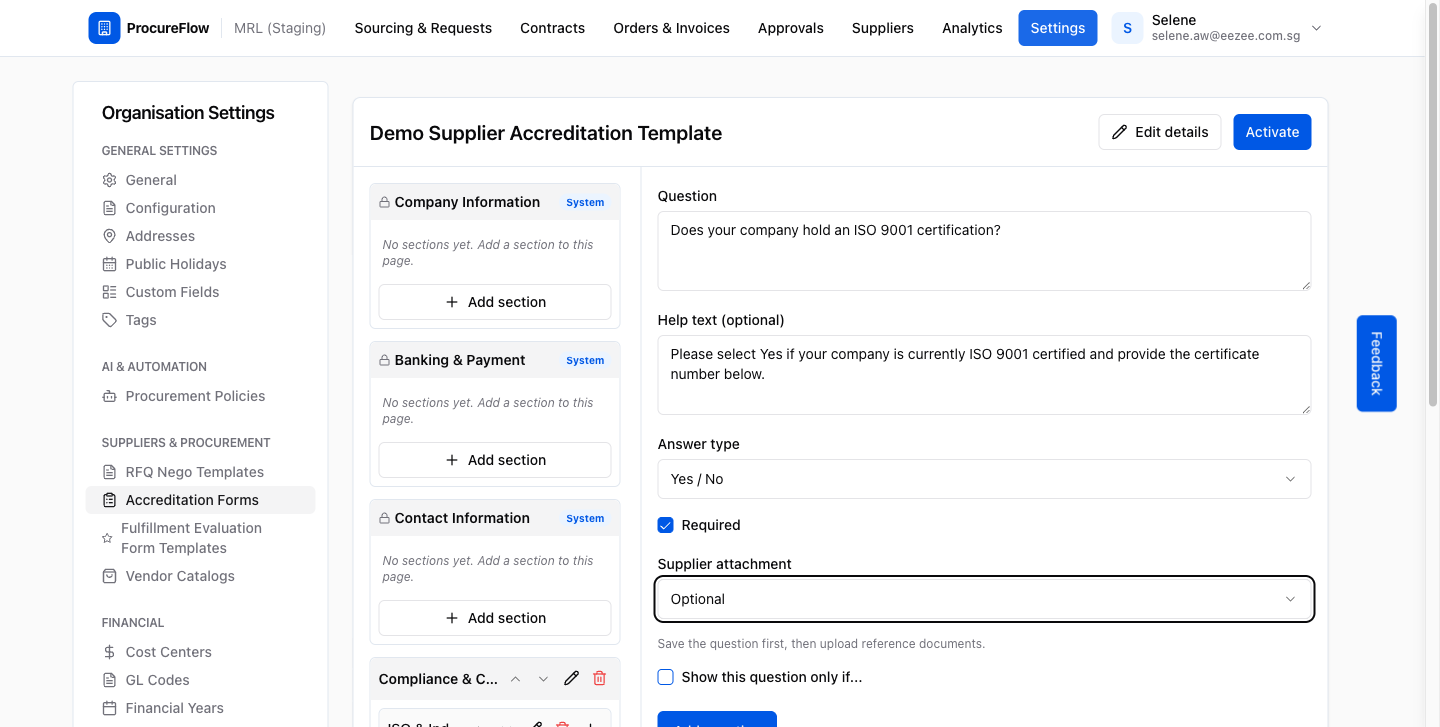
Use the Required checkbox to make the question mandatory for suppliers.
Then use the Supplier attachment dropdown to control whether suppliers can upload a supporting document alongside their answer:
- None: no file upload for this question
- Optional: supplier may attach a file but is not required to
- Required: supplier must attach a file to submit the form
Save the question
Click Add question at the bottom of the editor panel.
The question is saved and appears in the outline under its section. Click it in the outline at any time to edit the text, type, or attachment settings.
Repeat steps 8–11 for each question you want to add.
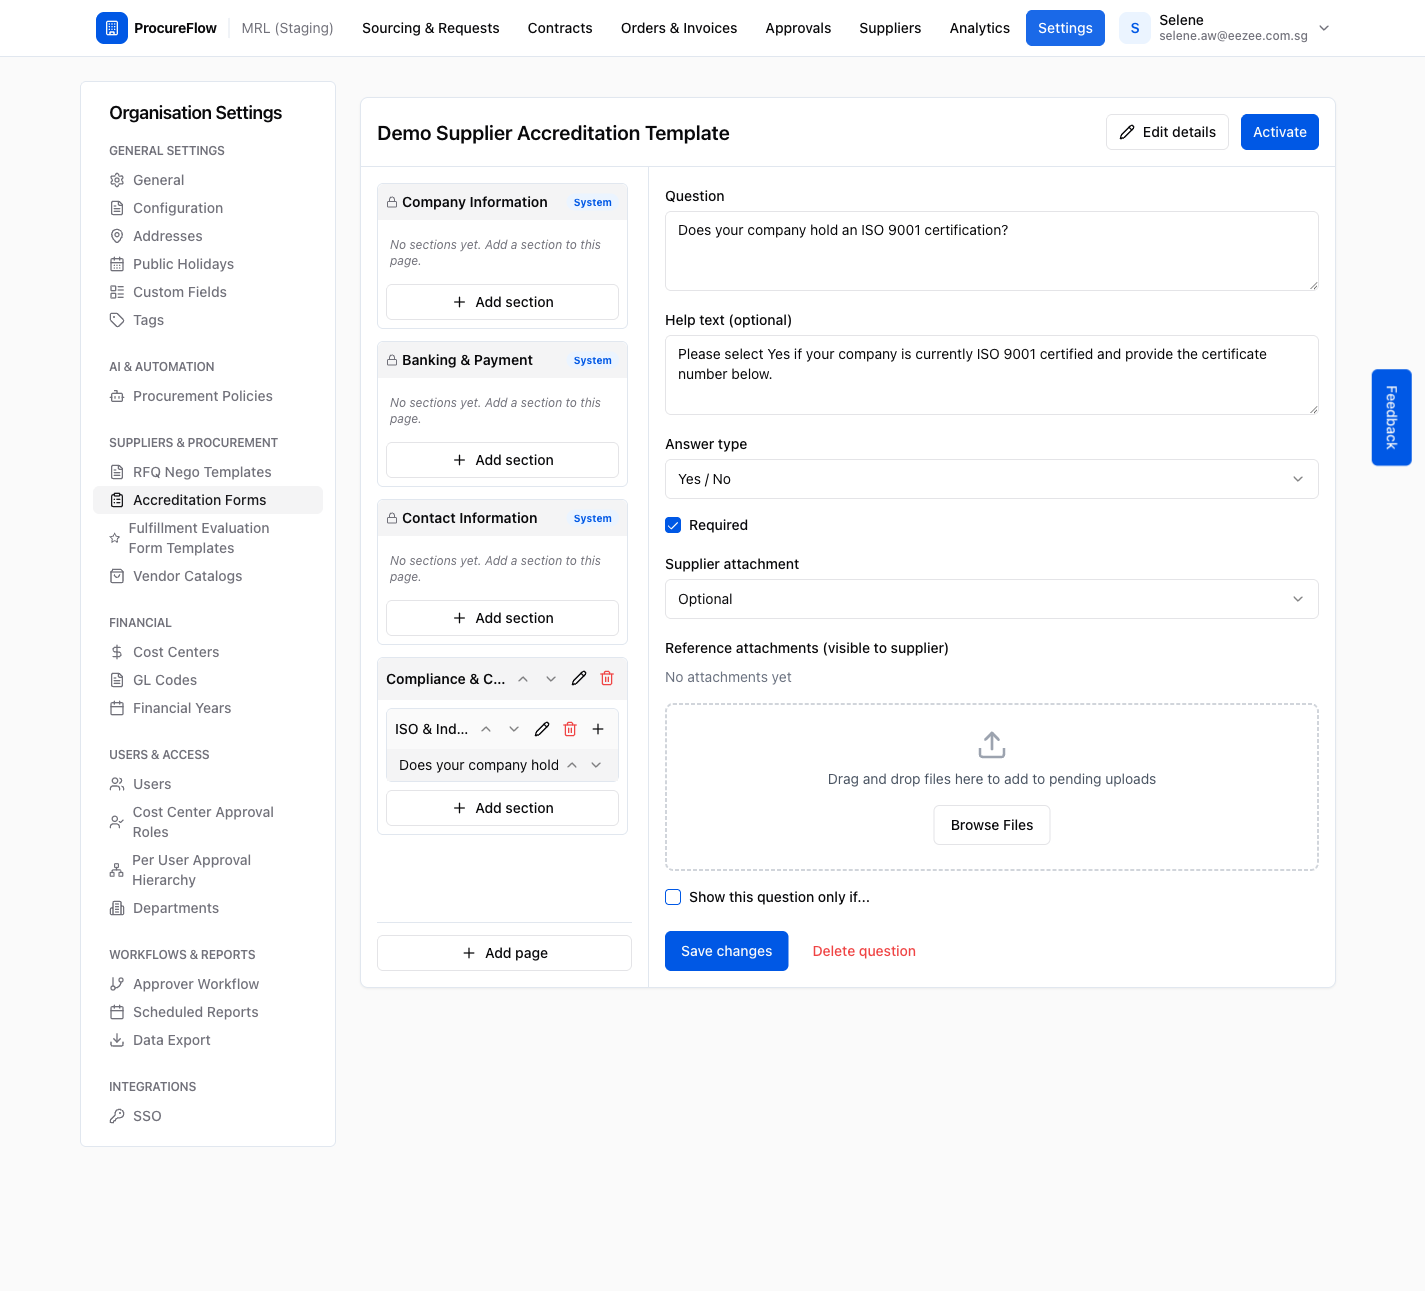
Activate the template
When you are satisfied with the form structure, click the Activate button at the top right of the builder.
The template status changes to Active.
Only one template can be active at a time. Activating a new one automatically deactivates the previous one.
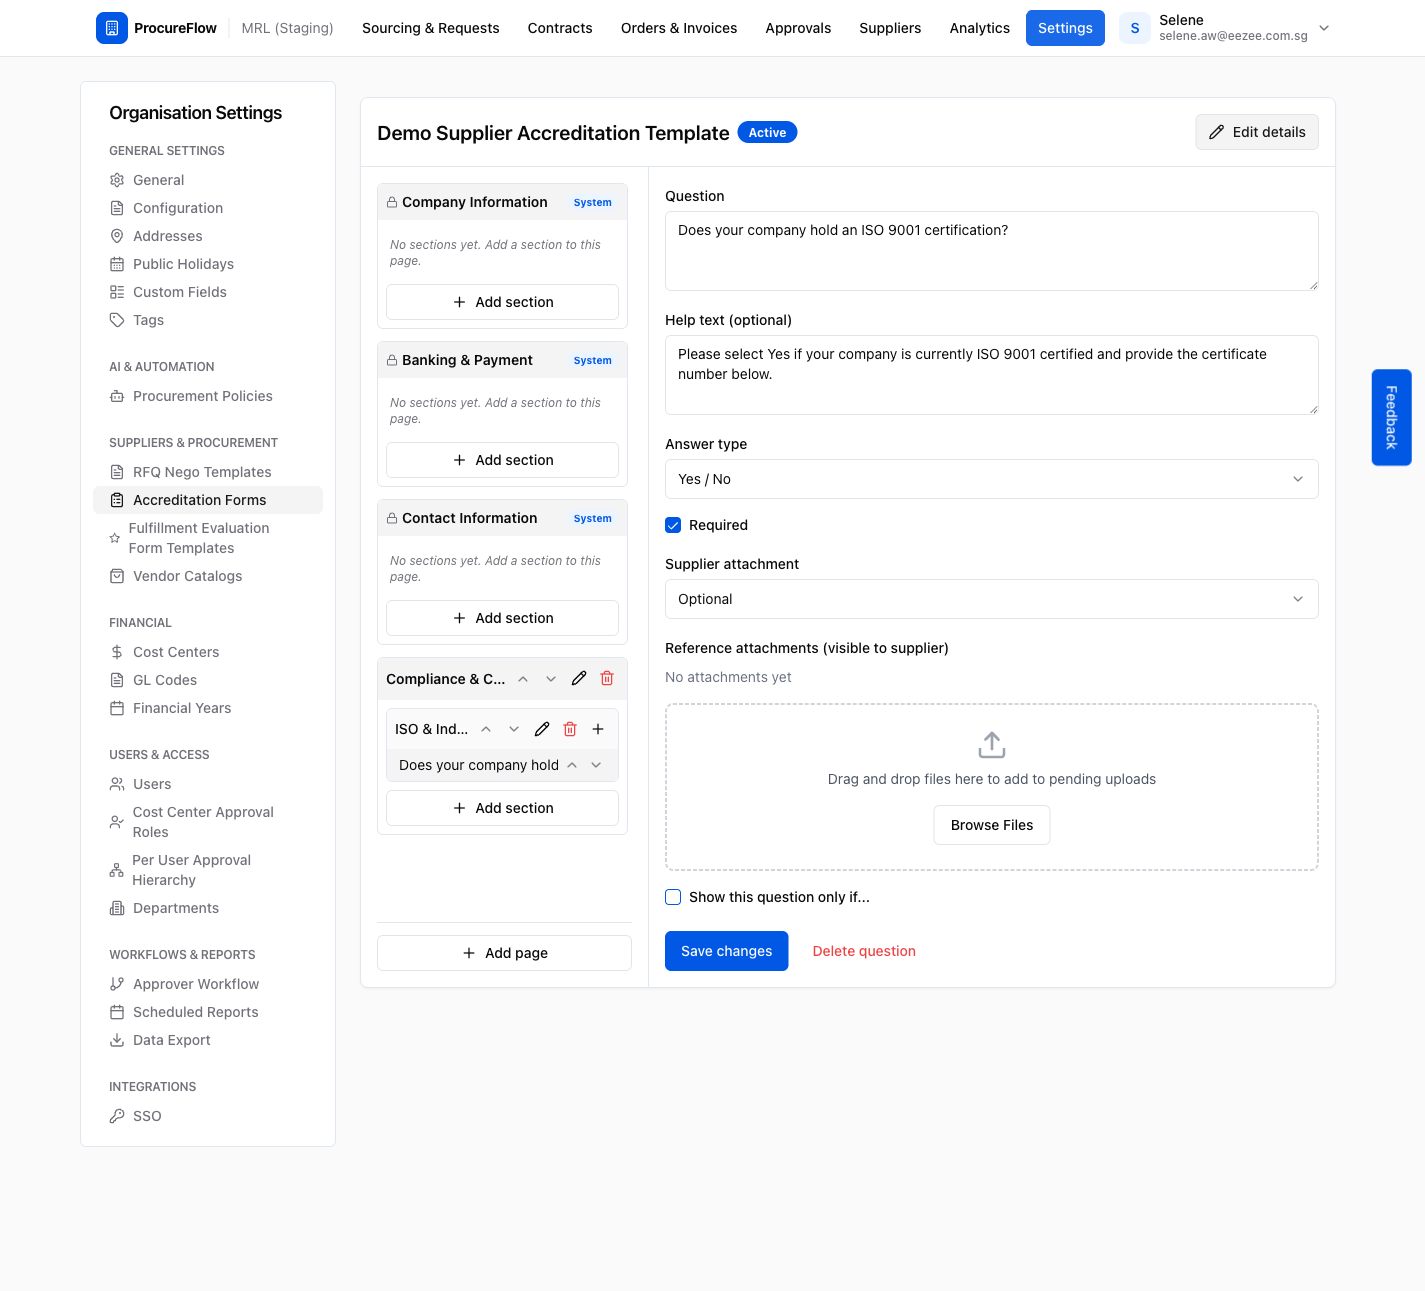
Confirm the template is live from the list
Navigate back to Settings > Accreditation Forms to confirm the template shows an Active status in the table.
From this list you can also:
- Clone the template to create a variant.
- Edit an existing draft template at any time.
Blacklist a Supplier
Record a blacklist period against a supplier to flag non-compliant behaviour and maintain an auditable offense history.
Invite a Supplier
Send a magic link to a supplier so they can complete and submit their accreditation form, then review their submission and decide whether to send it for approval or return it to the supplier for amendments.