Edit a Posted RFQ
Update the bid closing date and time, and add attachments to an RFQ that is already open for bidding.
Last updated 12 October 2026
Who can use this?
Available to Procurement Buyer and Procurement Admin roles. Standard users cannot edit a posted RFQ.
Navigate to the RFQ
Open the RFQ list
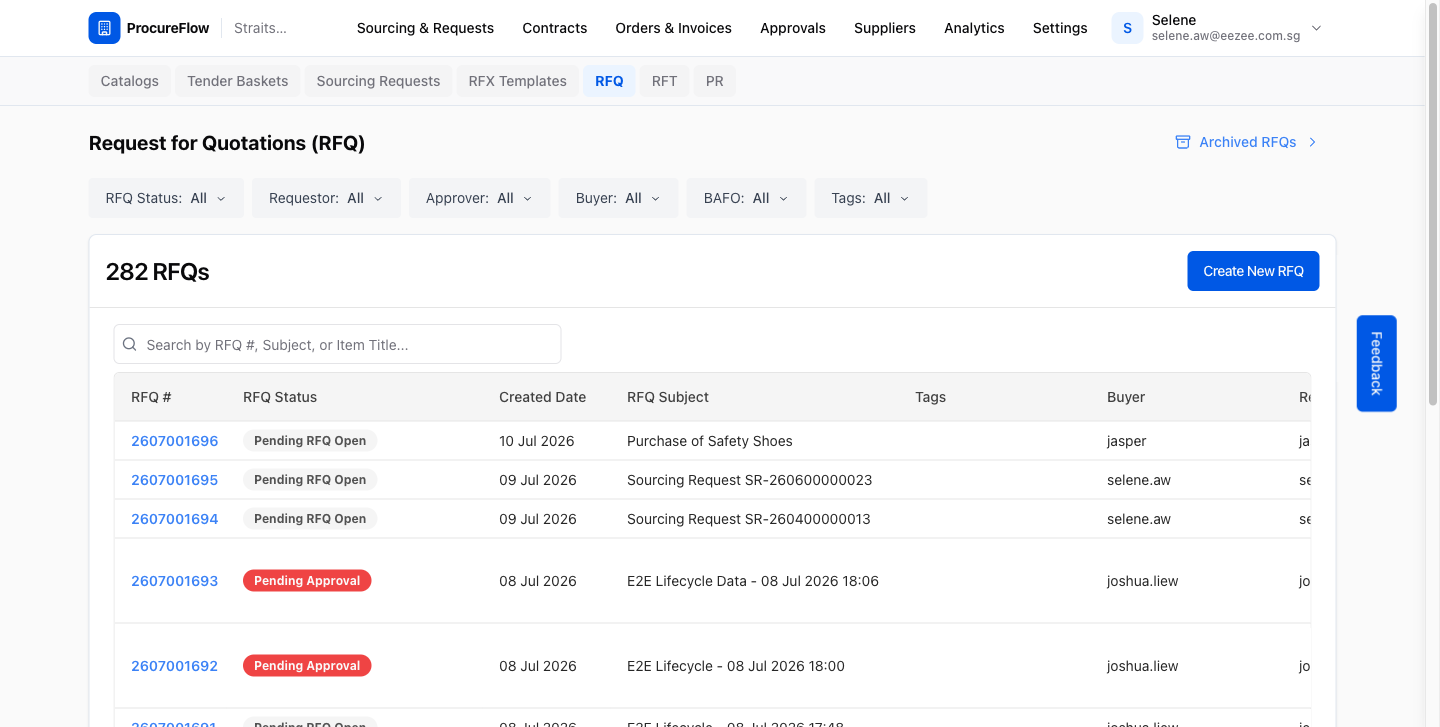
From the left sidebar, go to Sourcing & Requests → RFQ.
The list shows all RFQs in your organisation. RFQs that are open for bidding show the status Pending Bidding Close.
Open the posted RFQ
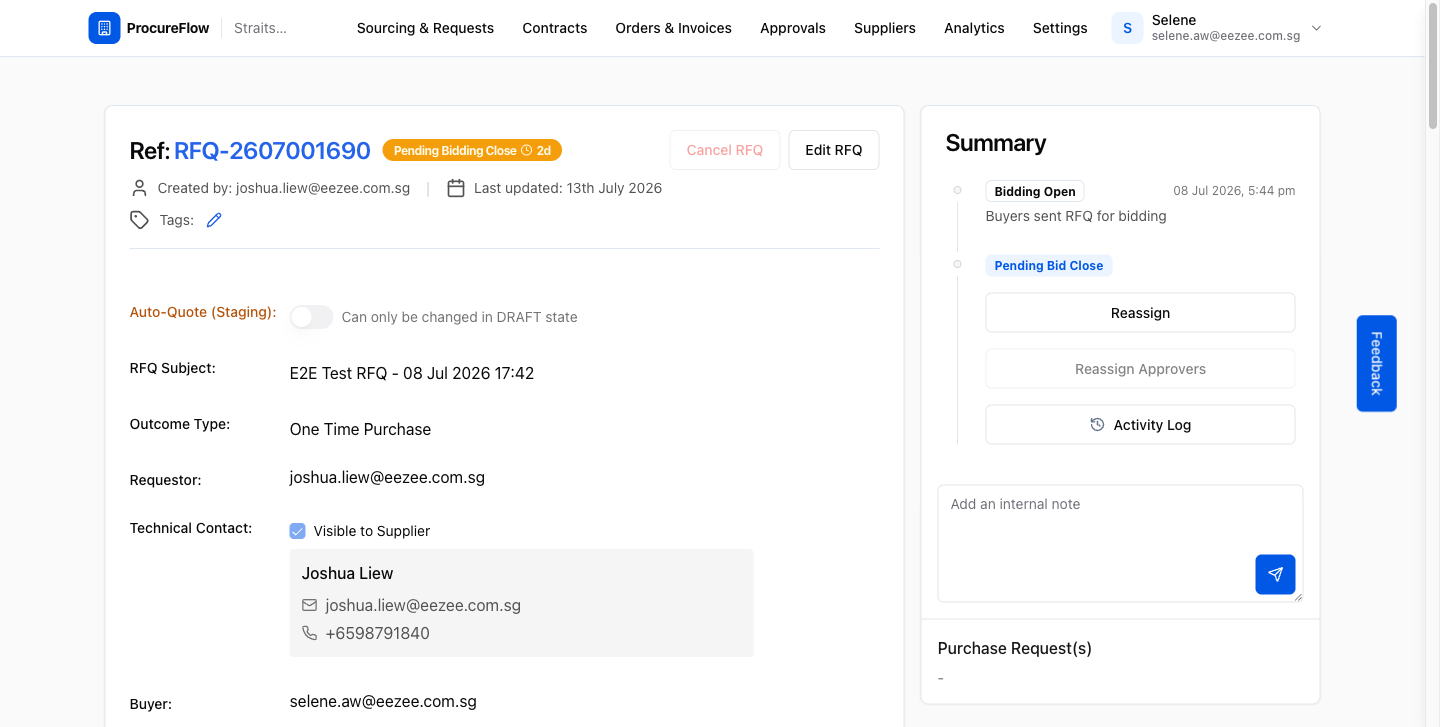
Click the RFQ number to open its detail page.
The RFQ has two separate edit controls:
- Edit RFQ (top-right of the RFQ card): edits general details and attachments.
- Edit (on the Bidding Schedule card, further down the page): changes the closing date and time.
Edit Bid Closing Date & Time
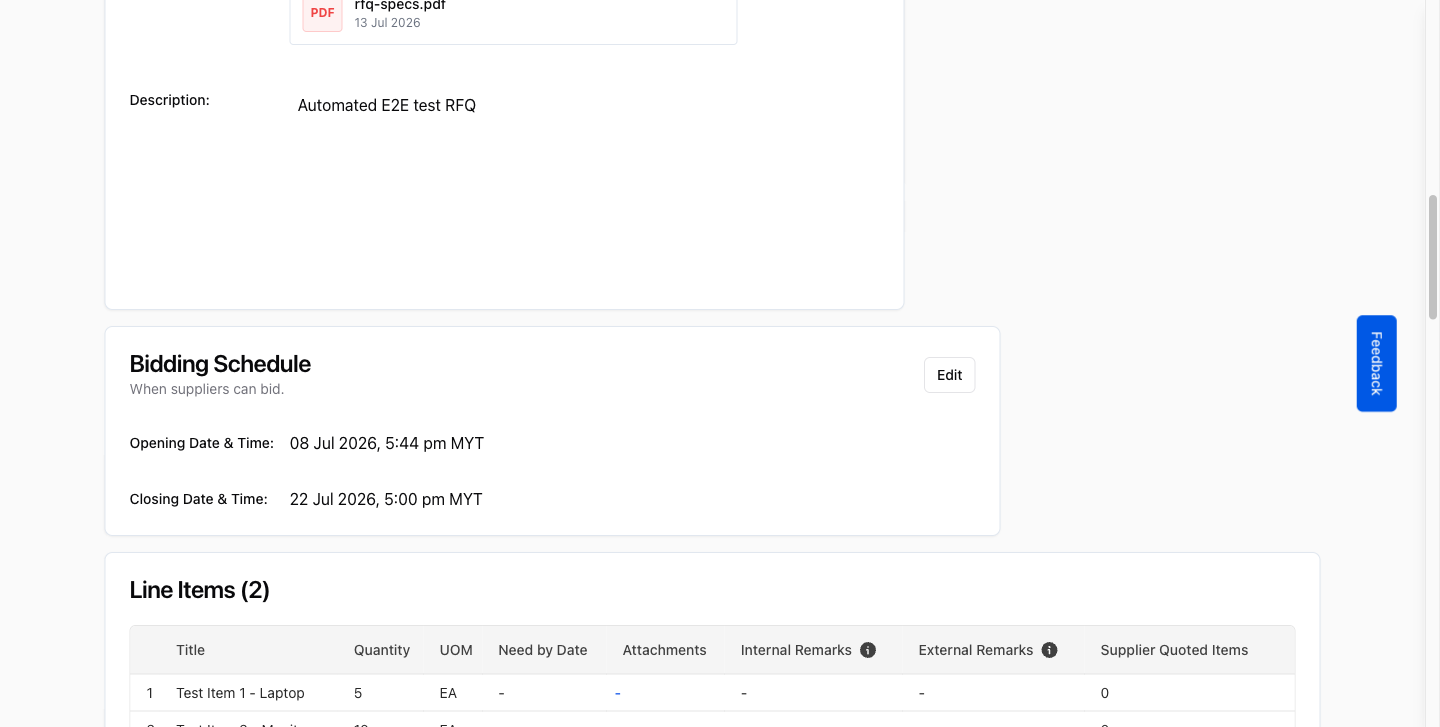
Find the Bidding Schedule card
Scroll down the page until you reach the Initial Bidding Round card.
This card shows the current bid opening and closing date and time. An Edit button appears in the card header when the RFQ is open for bidding.
Click Edit
Click the Edit button in the card header.
The closing date and time fields become editable. Two new buttons, Discard and Save changes, replace the Edit button.
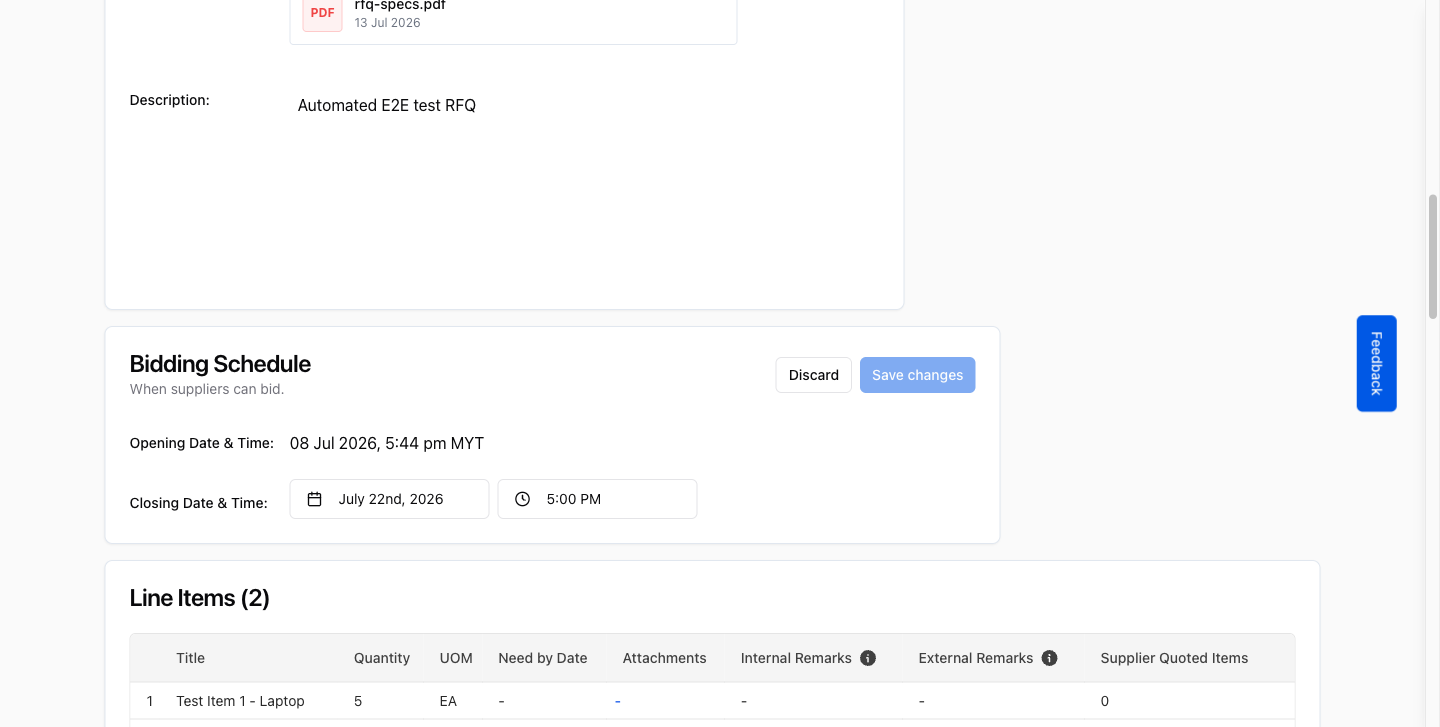
Update the date and time
Update the closing schedule:
- Click the date field and select a new closing date.
- Adjust the time if needed.
The new date and time must be in the future. The system will show an error if you attempt to save a past date.
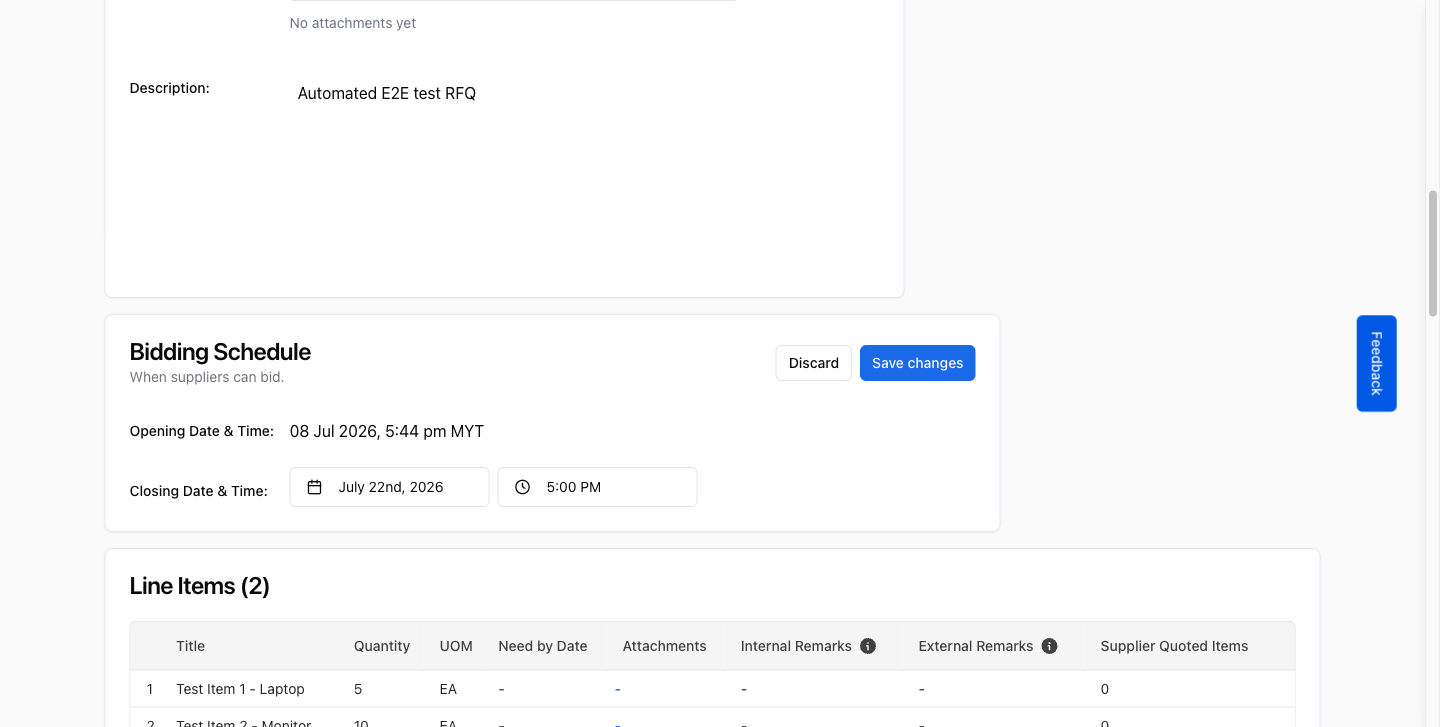
Save and confirm
Save the change:
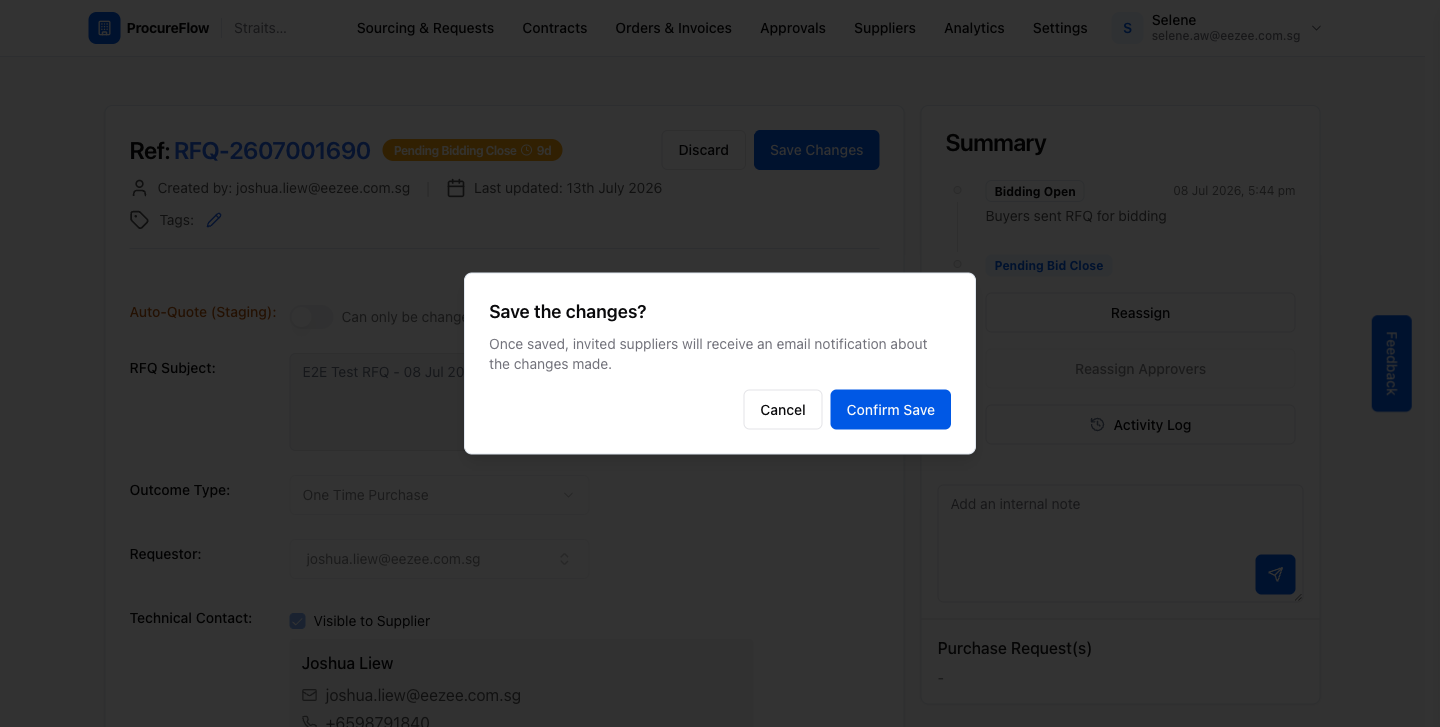
- Click Save changes. A confirmation dialog appears, warning that all invited suppliers will receive an email notification about the updated closing date and time.
- Click Confirm Save to proceed.
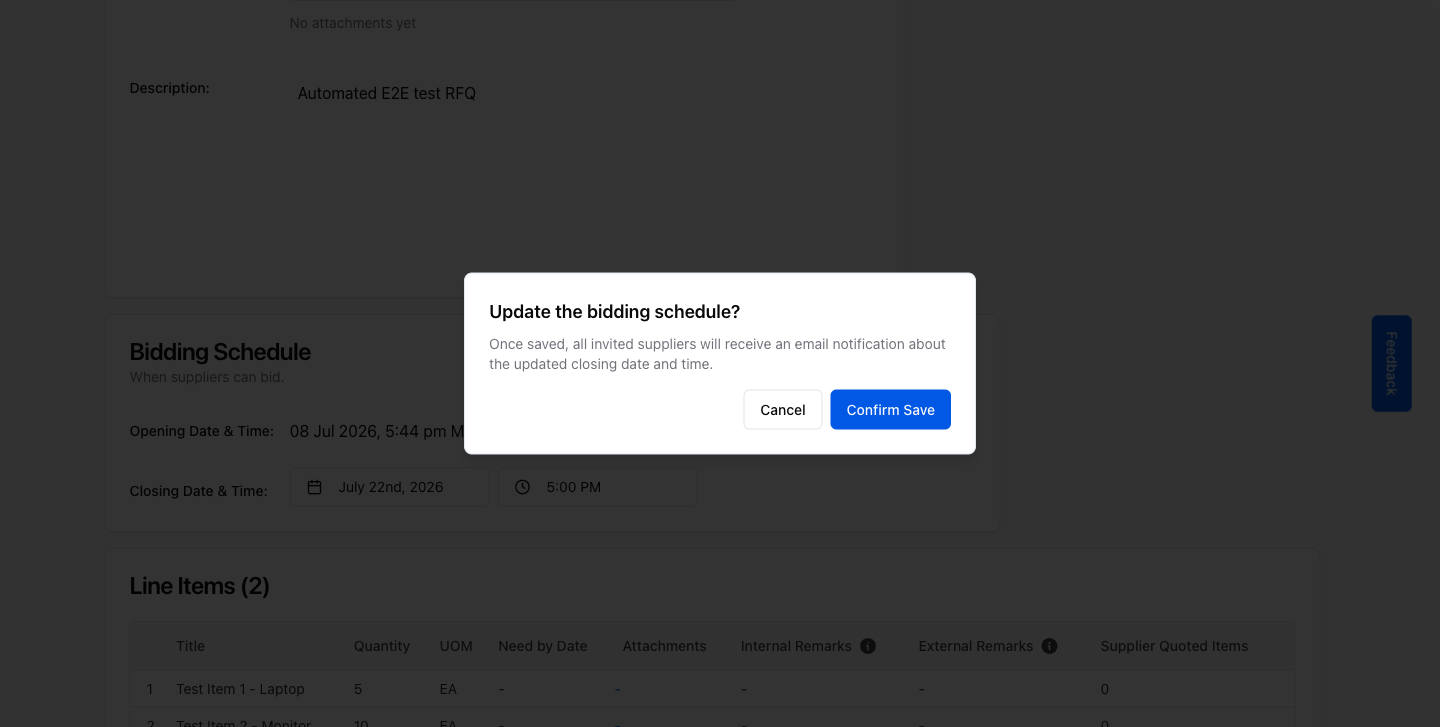
Verify the new schedule
After saving, the card returns to view mode and the Bidding Schedule card displays the updated closing date and time.
A success toast confirms the change was saved.
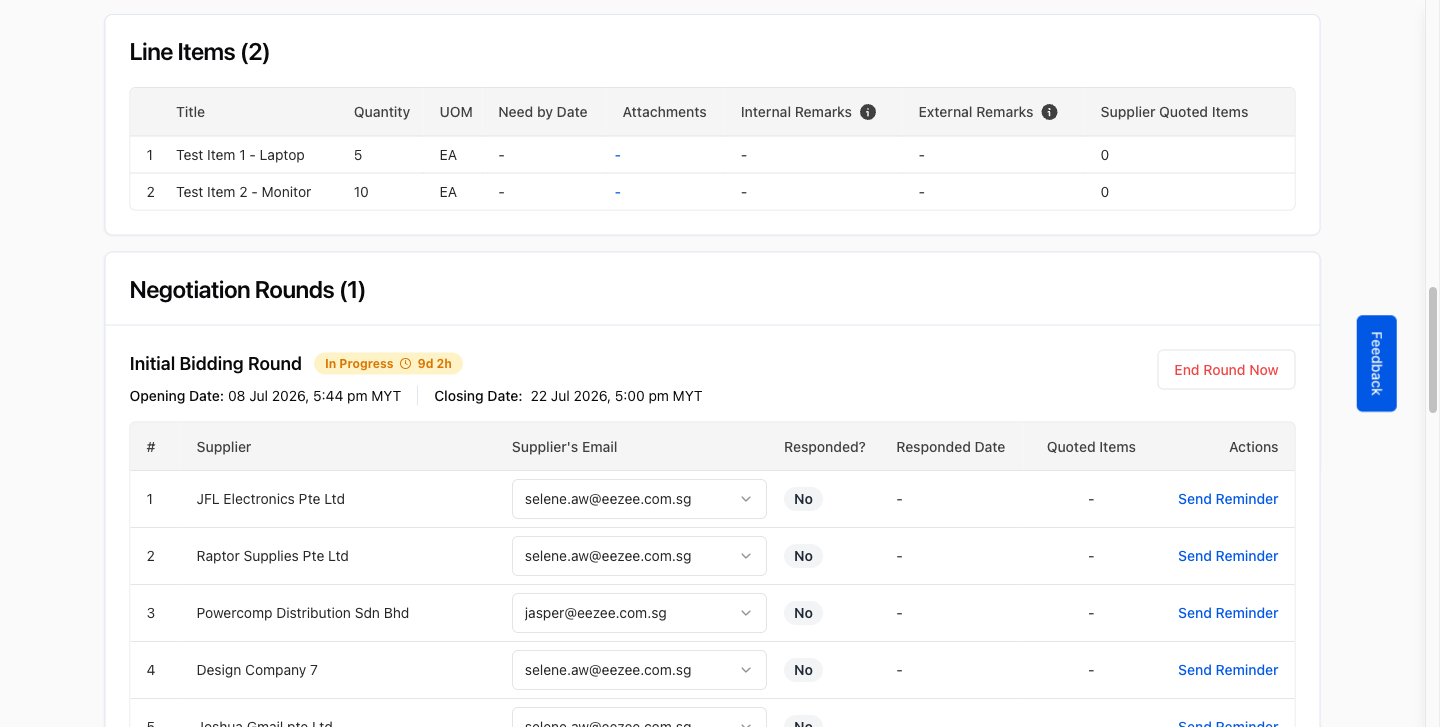
Add an Attachment
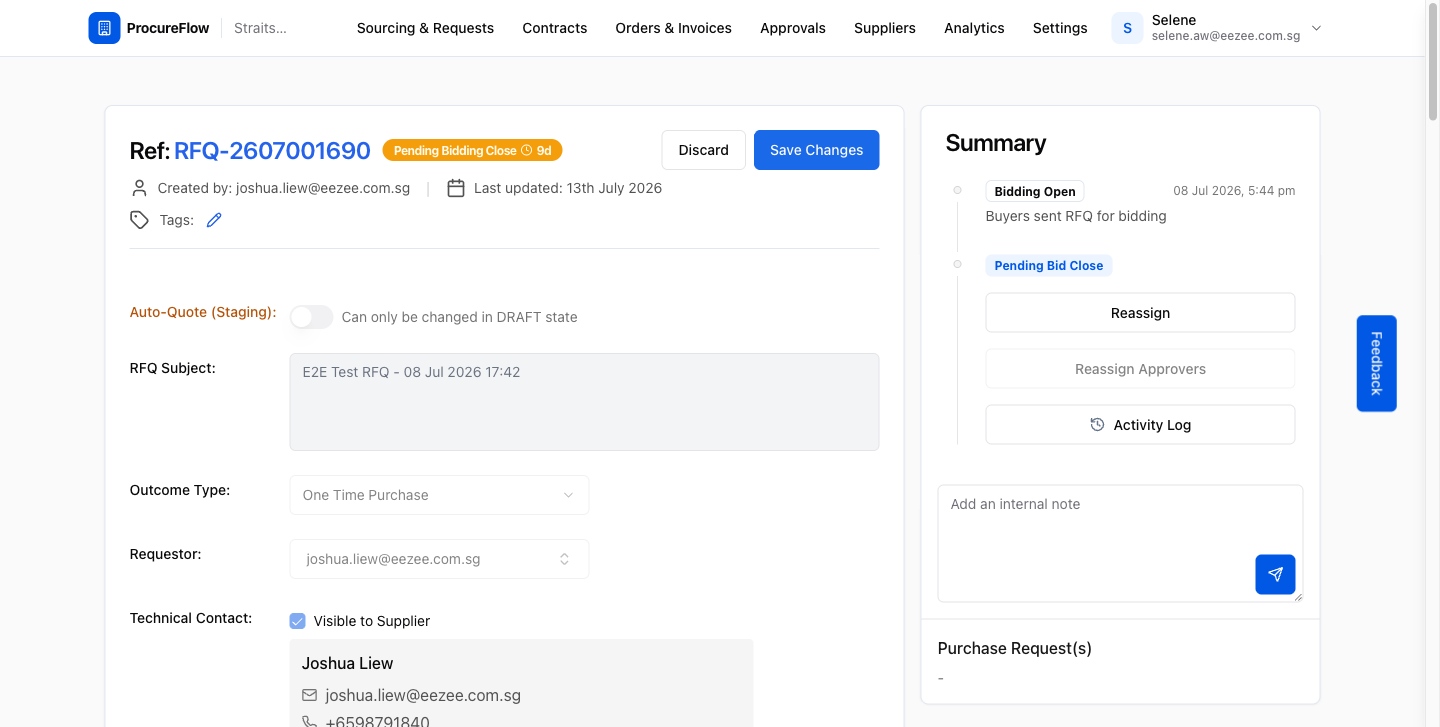
Click Edit RFQ
- Scroll back to the top of the page.
- Click Edit RFQ in the top-right of the RFQ details card.
The card switches to edit mode: the Edit RFQ button is replaced by Discard and Save Changes.
Upload the file
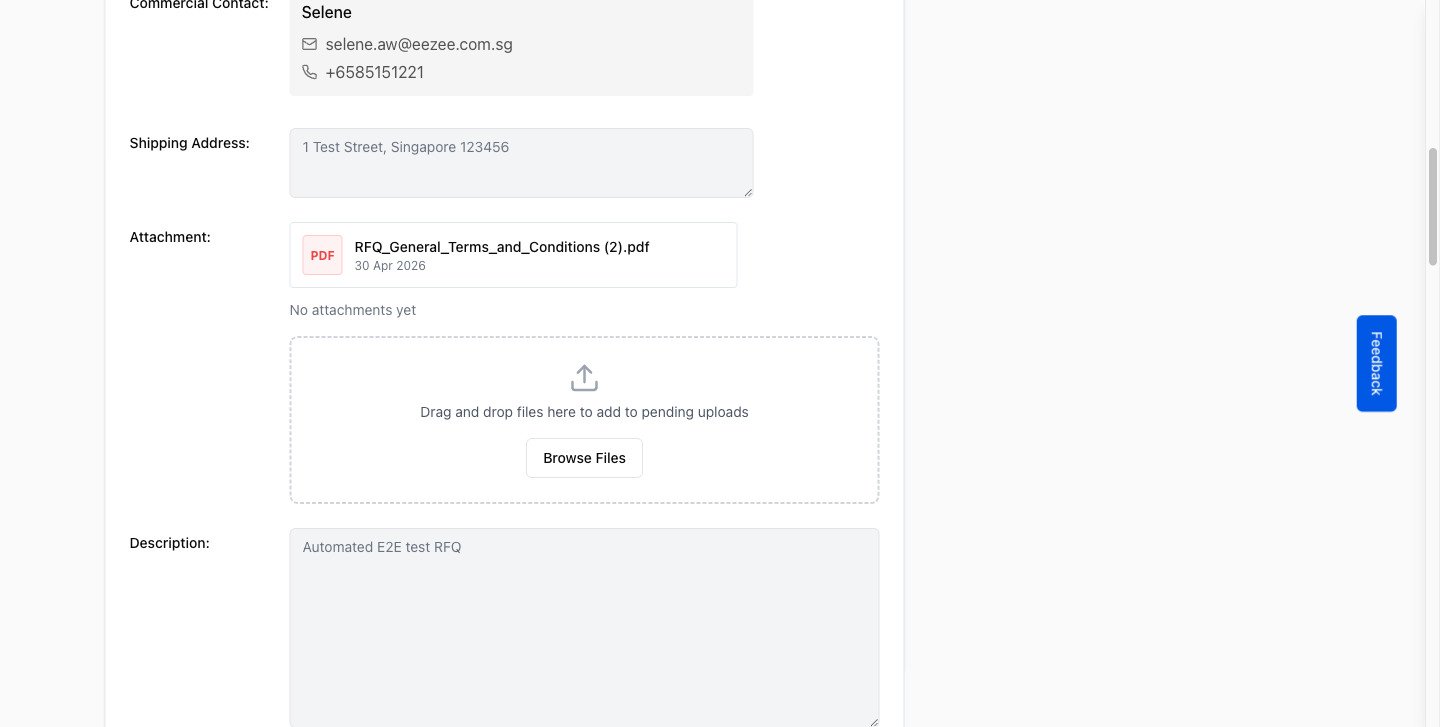
Scroll down to the Attachment field. A dropzone with a Browse Files button appears.
Add a file in either way:
- Click Browse Files to select a file from your computer.
- Drag and drop a file onto the dropzone.
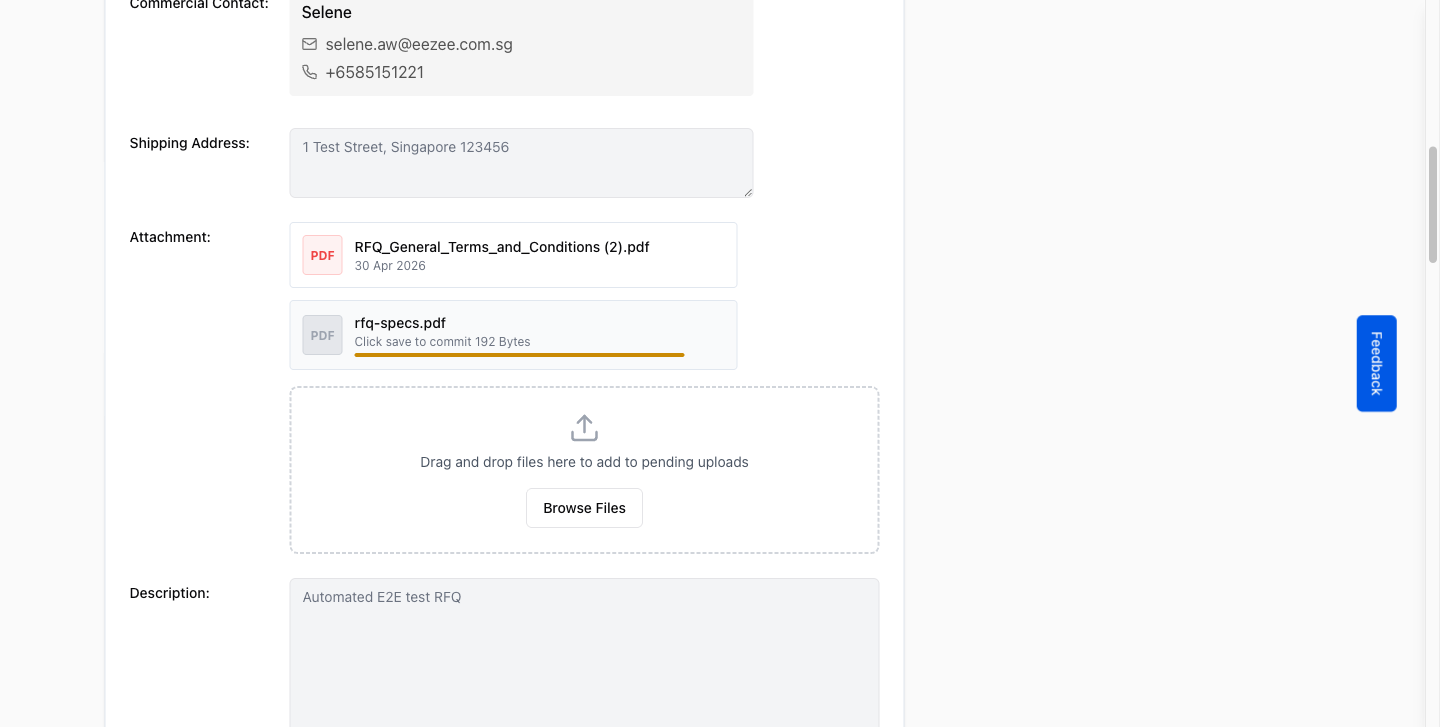
The file name appears as a chip once selected. It is staged locally and will be uploaded when you save the form.
Click Save Changes and confirm
Scroll to the top of the card:
- Click Save Changes.
- The same confirmation dialog appears. Click Confirm Save.
The file is uploaded to storage and attached to the RFQ.
Verify the attachment
After saving, the form returns to view mode.
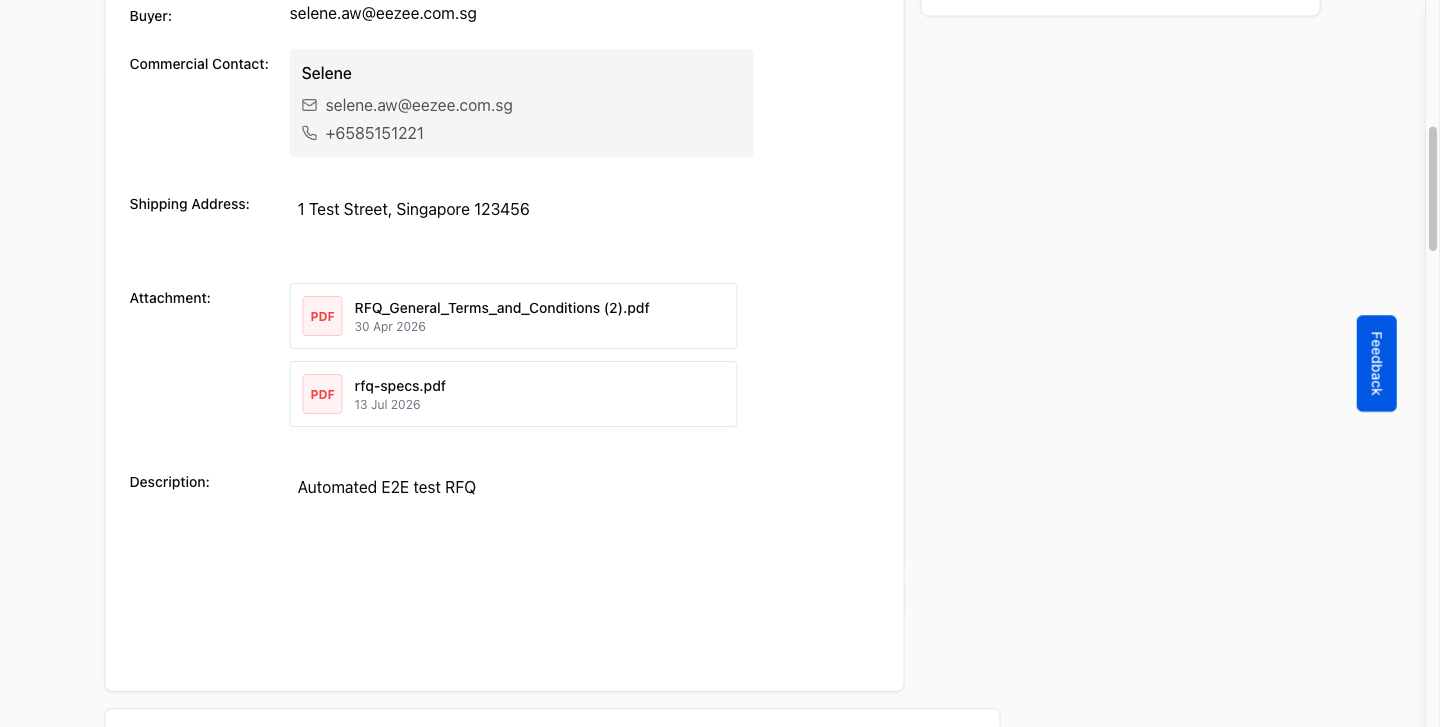
Scroll to the Attachment field. The newly uploaded file appears in the list alongside any existing attachments.